
To make sourdough bread, or sourdough anything, what you need is a sourdough starter. They can be big or small, fed with lots of different flours, and each one has a unique combination of yeasts that grow inside it. Some bakeries have heritage starters that have been around for over a century! If you want to get in on the sourdough boom, here’s an easy way of doing it. Note: I started playing with sourdough about 6 months ago. I don’t know everything, but I am enthusiastic and have learned a lot, including some myths that I will talk about at the end of the article. I am sure that in a few years I will look back, embarrassed at my lack of knowledge, but what I will tell you today will be enough to get you started. You will need:
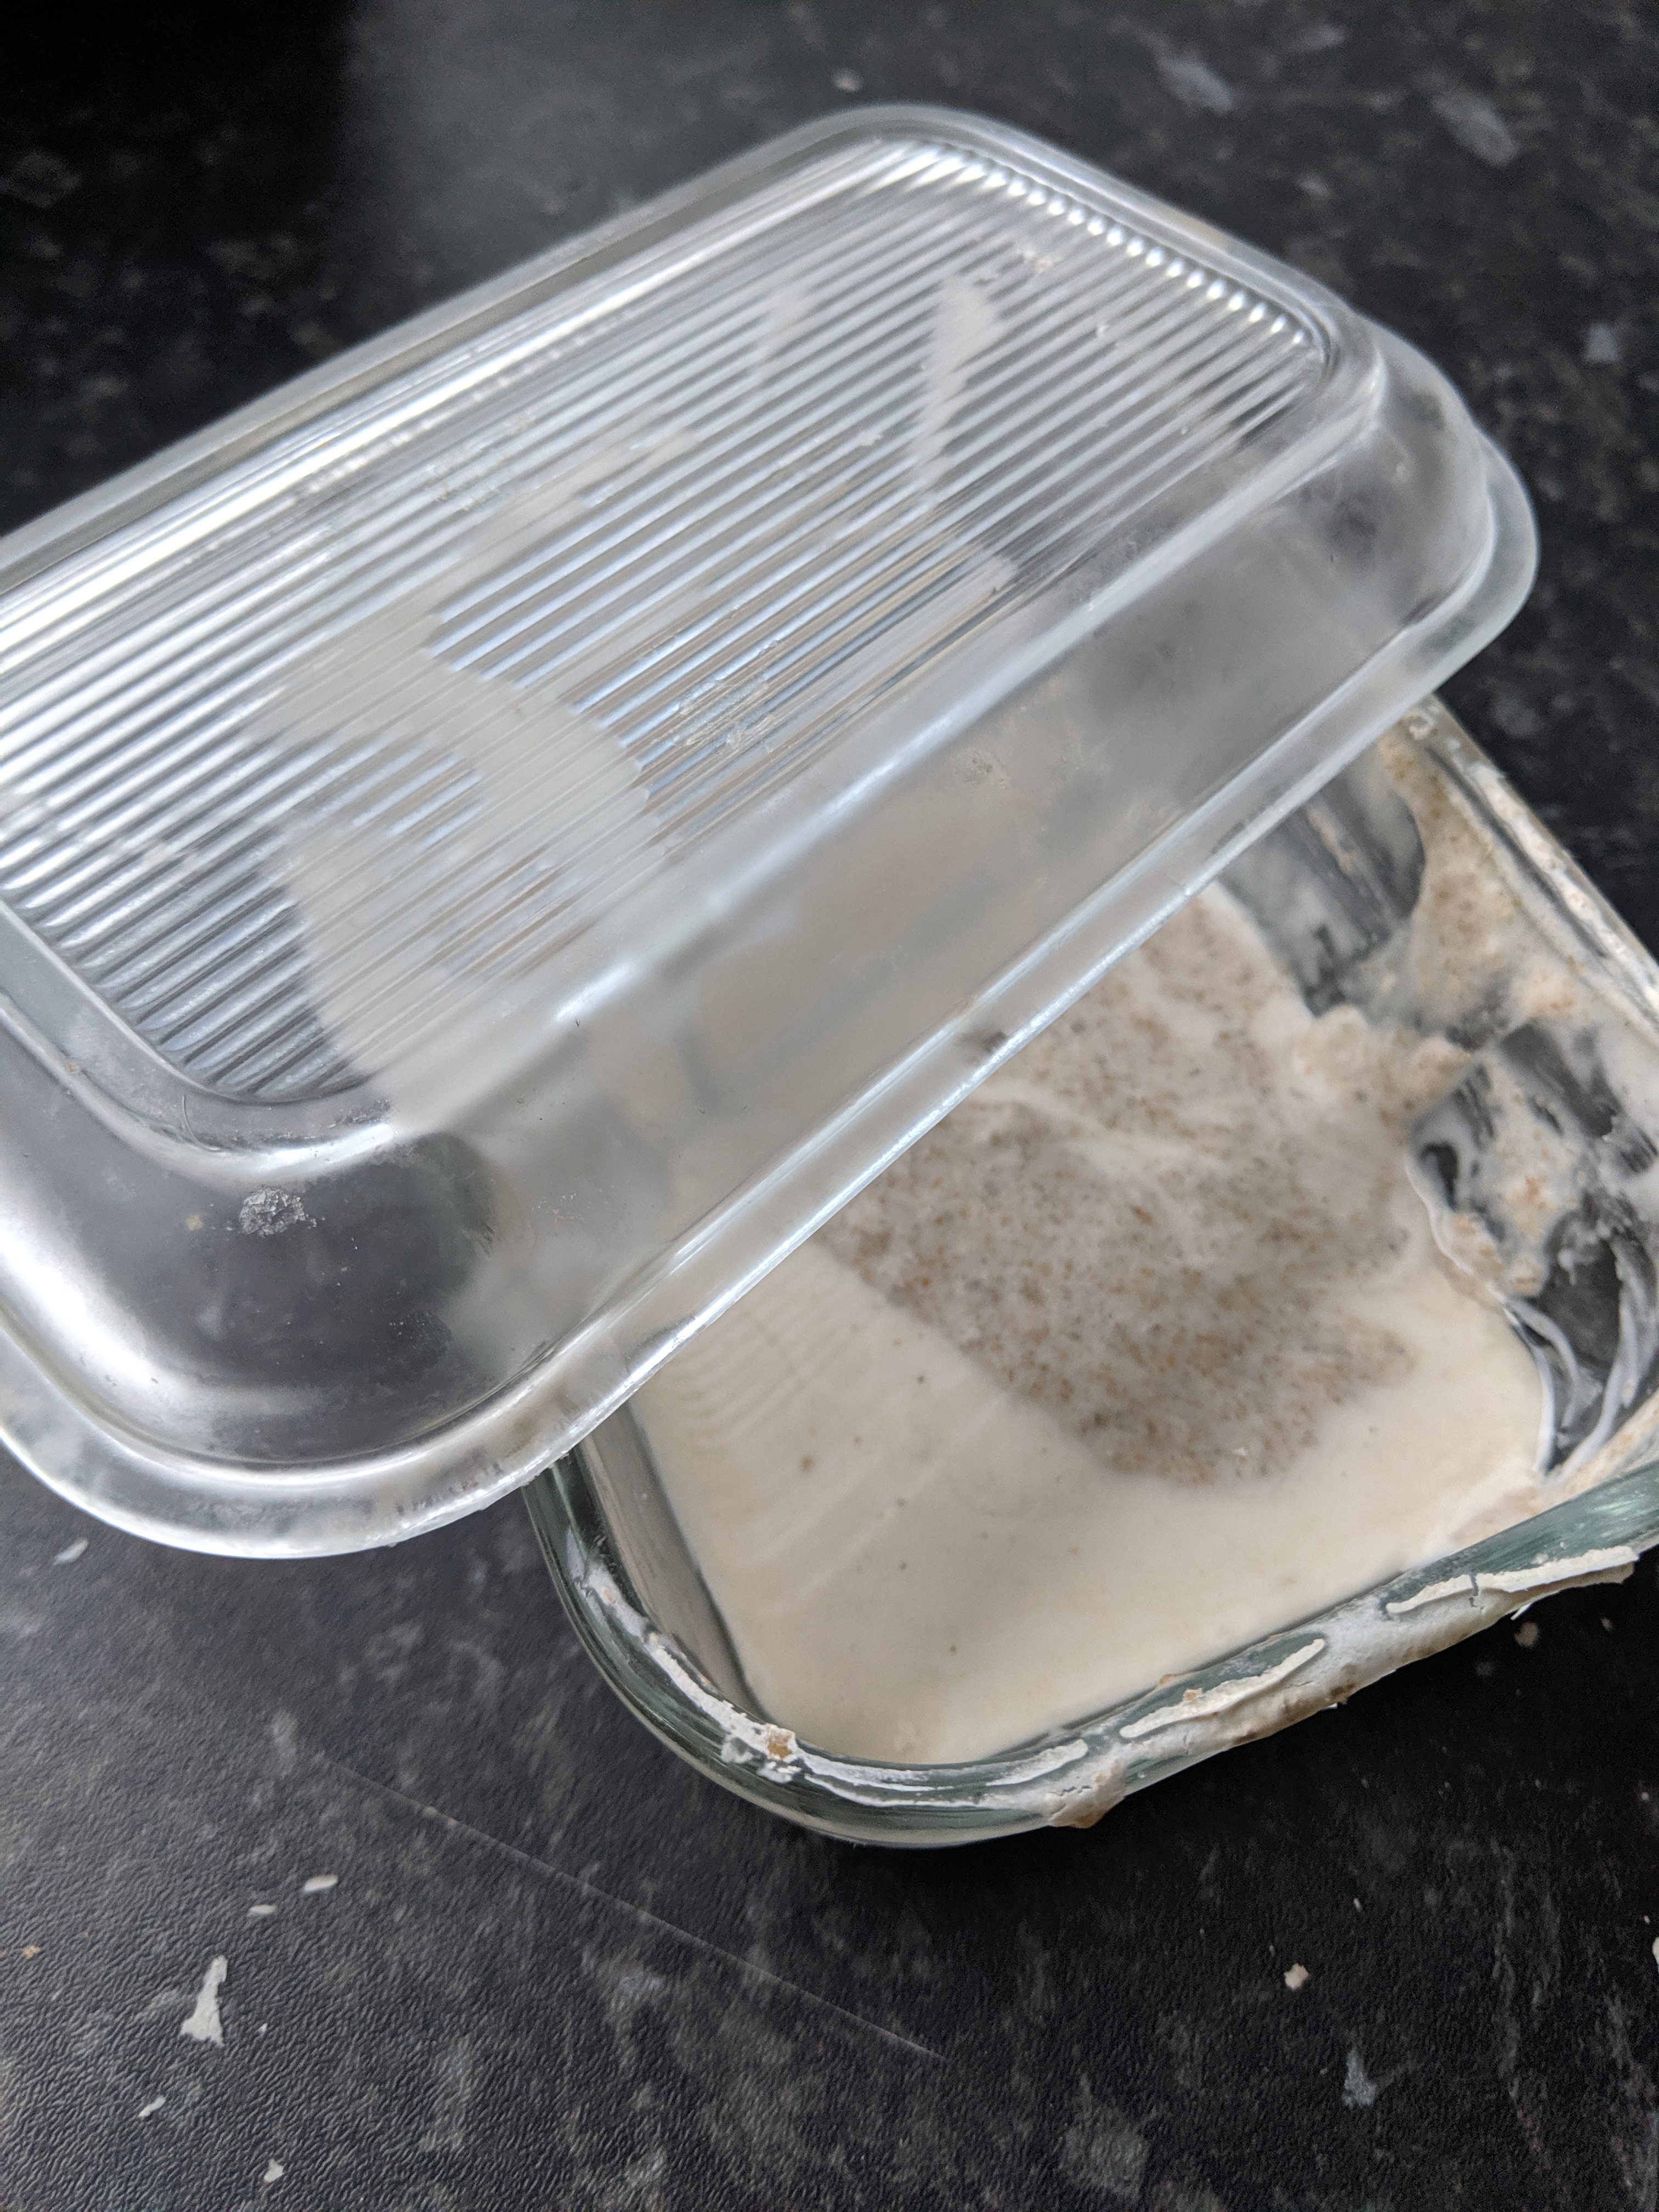
- Glass jar – sourdough likes glass, not plastic. A wide neck is good, and the lid shouldn’t ever be airtight
- Scales – to weight out your ingredients
- Spoon/spatula
- Flour – for best success, get some vaguely fancy rye flour. This is probably your most expensive outlay, and even the priciest flour is maybe £3. Remember, this will probably dictate a lot of the flavour of the starter
- Water
- Patience – making this takes at least 5 days, and up to 2 weeks before your starter is fully happy!
First things first, let’s make the starter. This involves mixing together flour and water every day for 5 days, and leaving the mixture at room temperature for the rest of the time.
- Day 1: 100g flour + 100g water.
- Day 2: 50g flour + 50g water.
- Day 3: 50g flour + 50g water. You might see bubbles by now!
- Day 4: 50g flour + 50g water. You should be seeing some bubbles
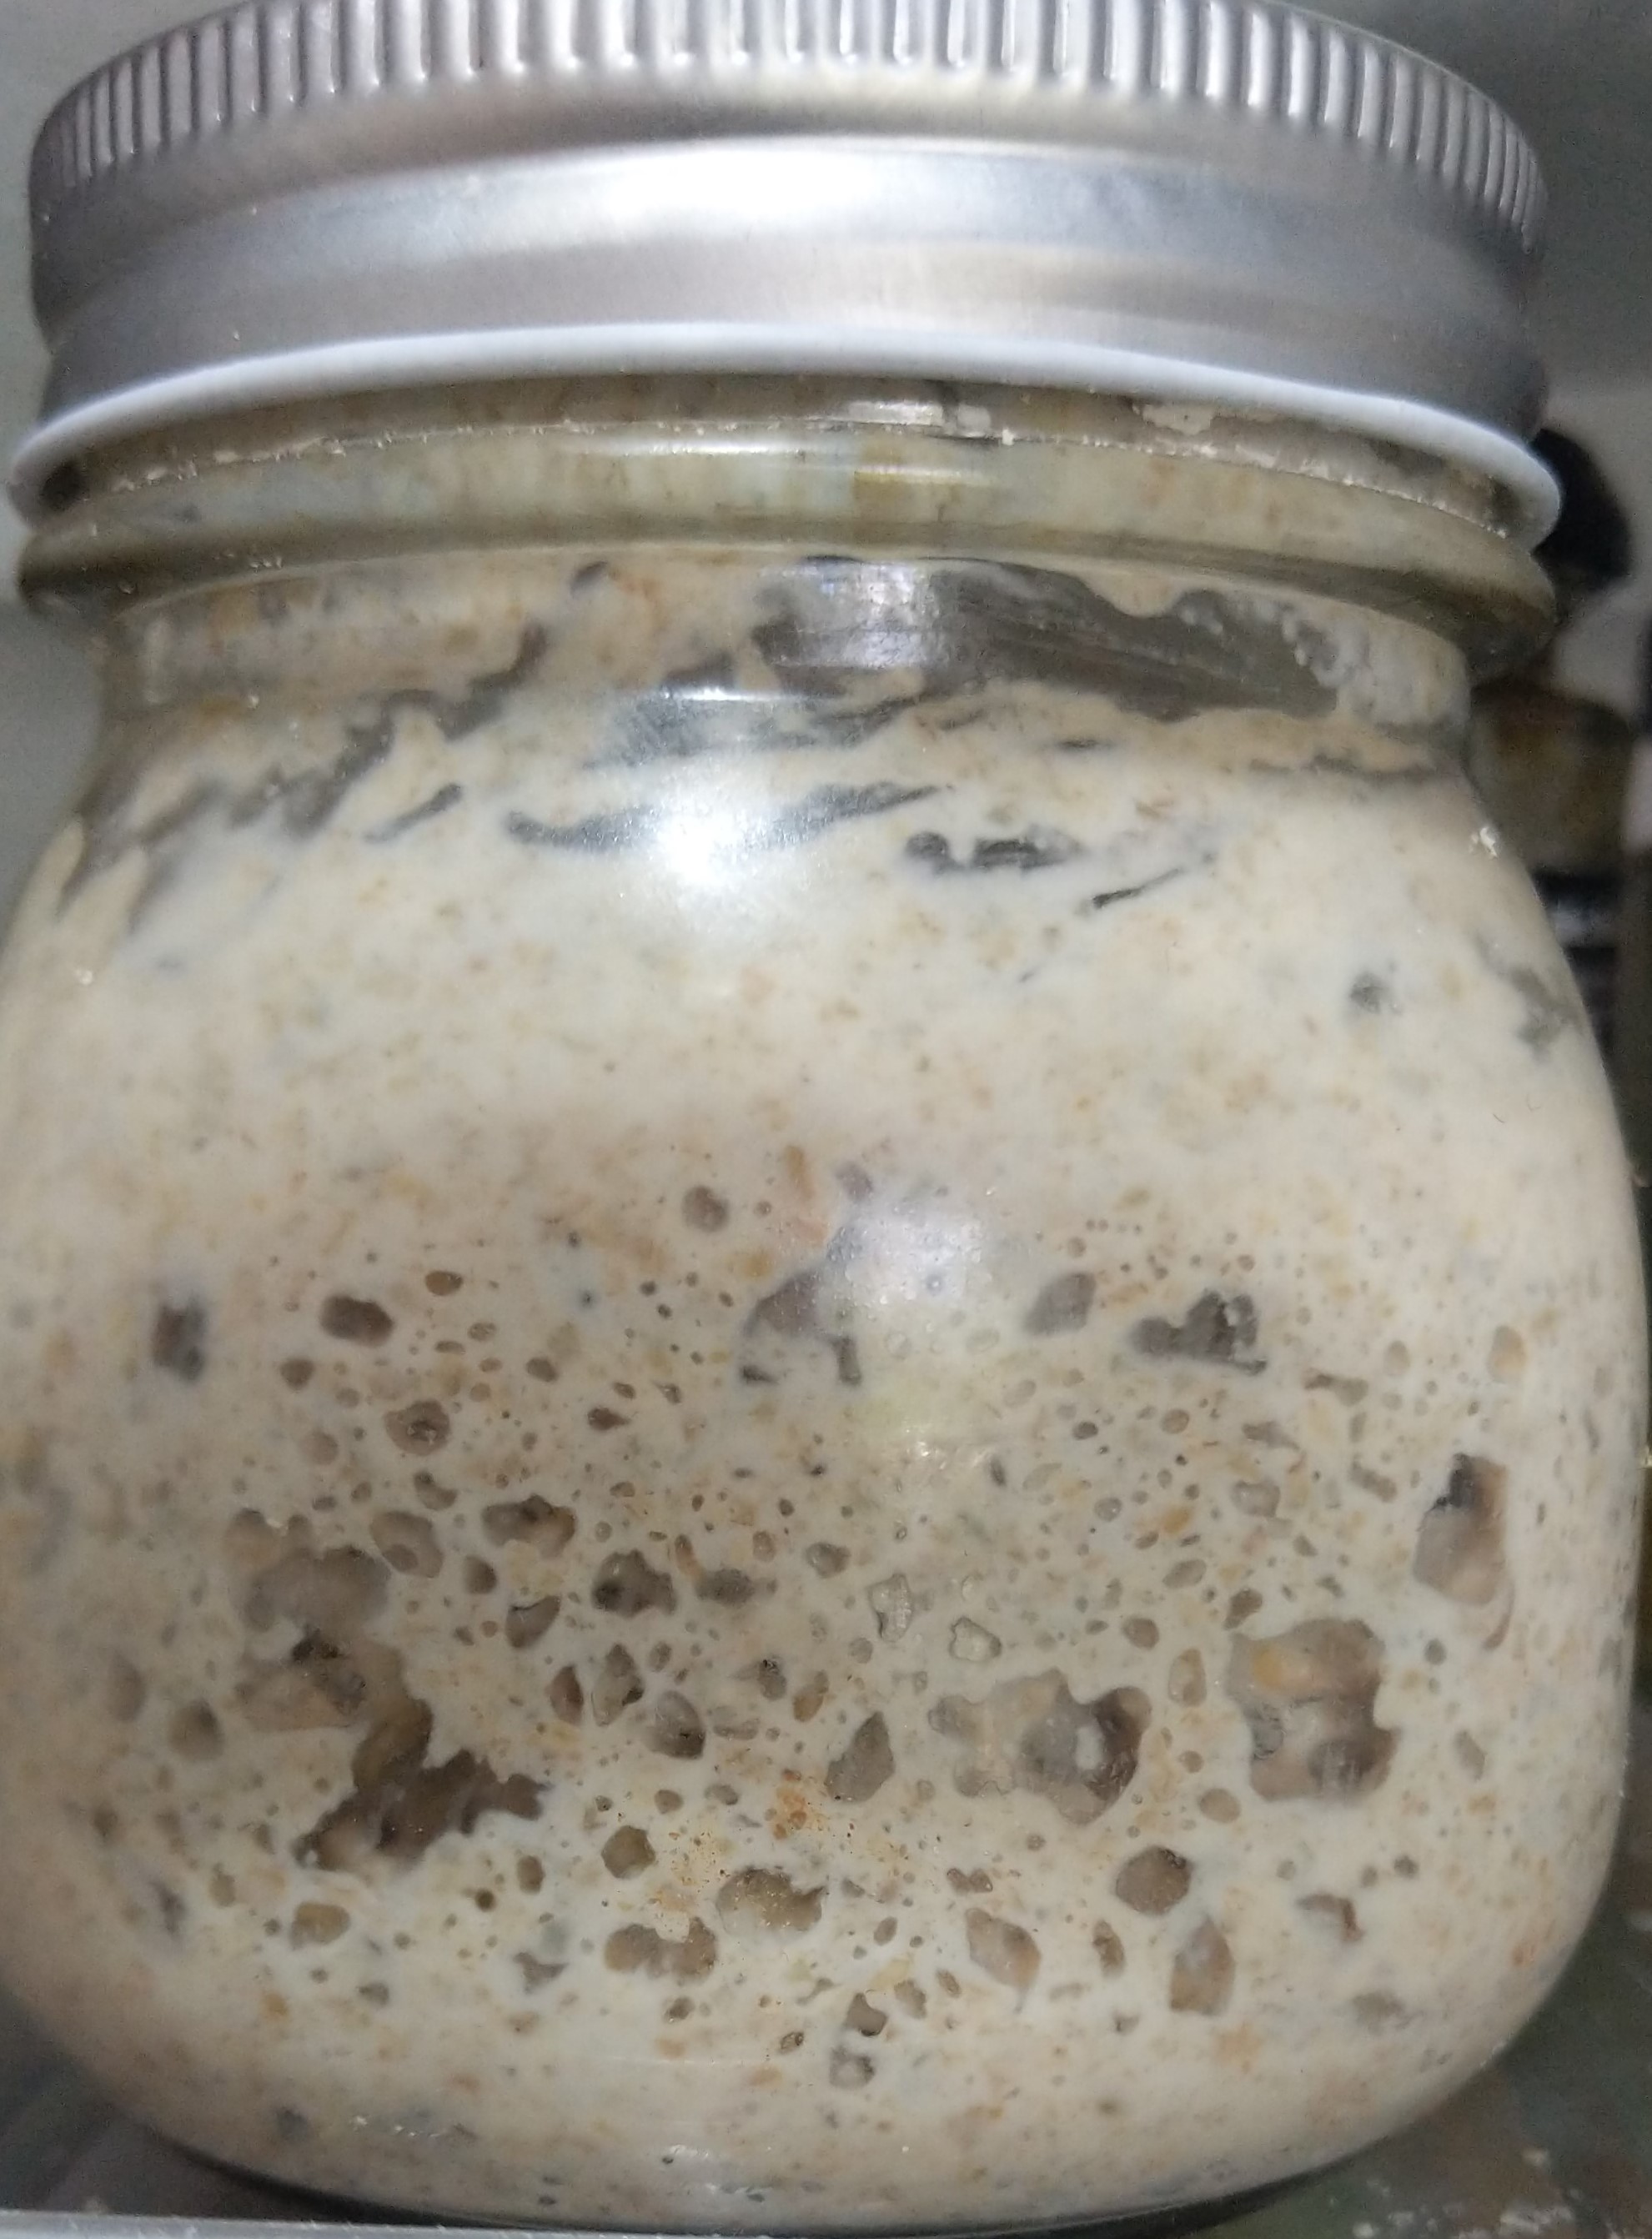
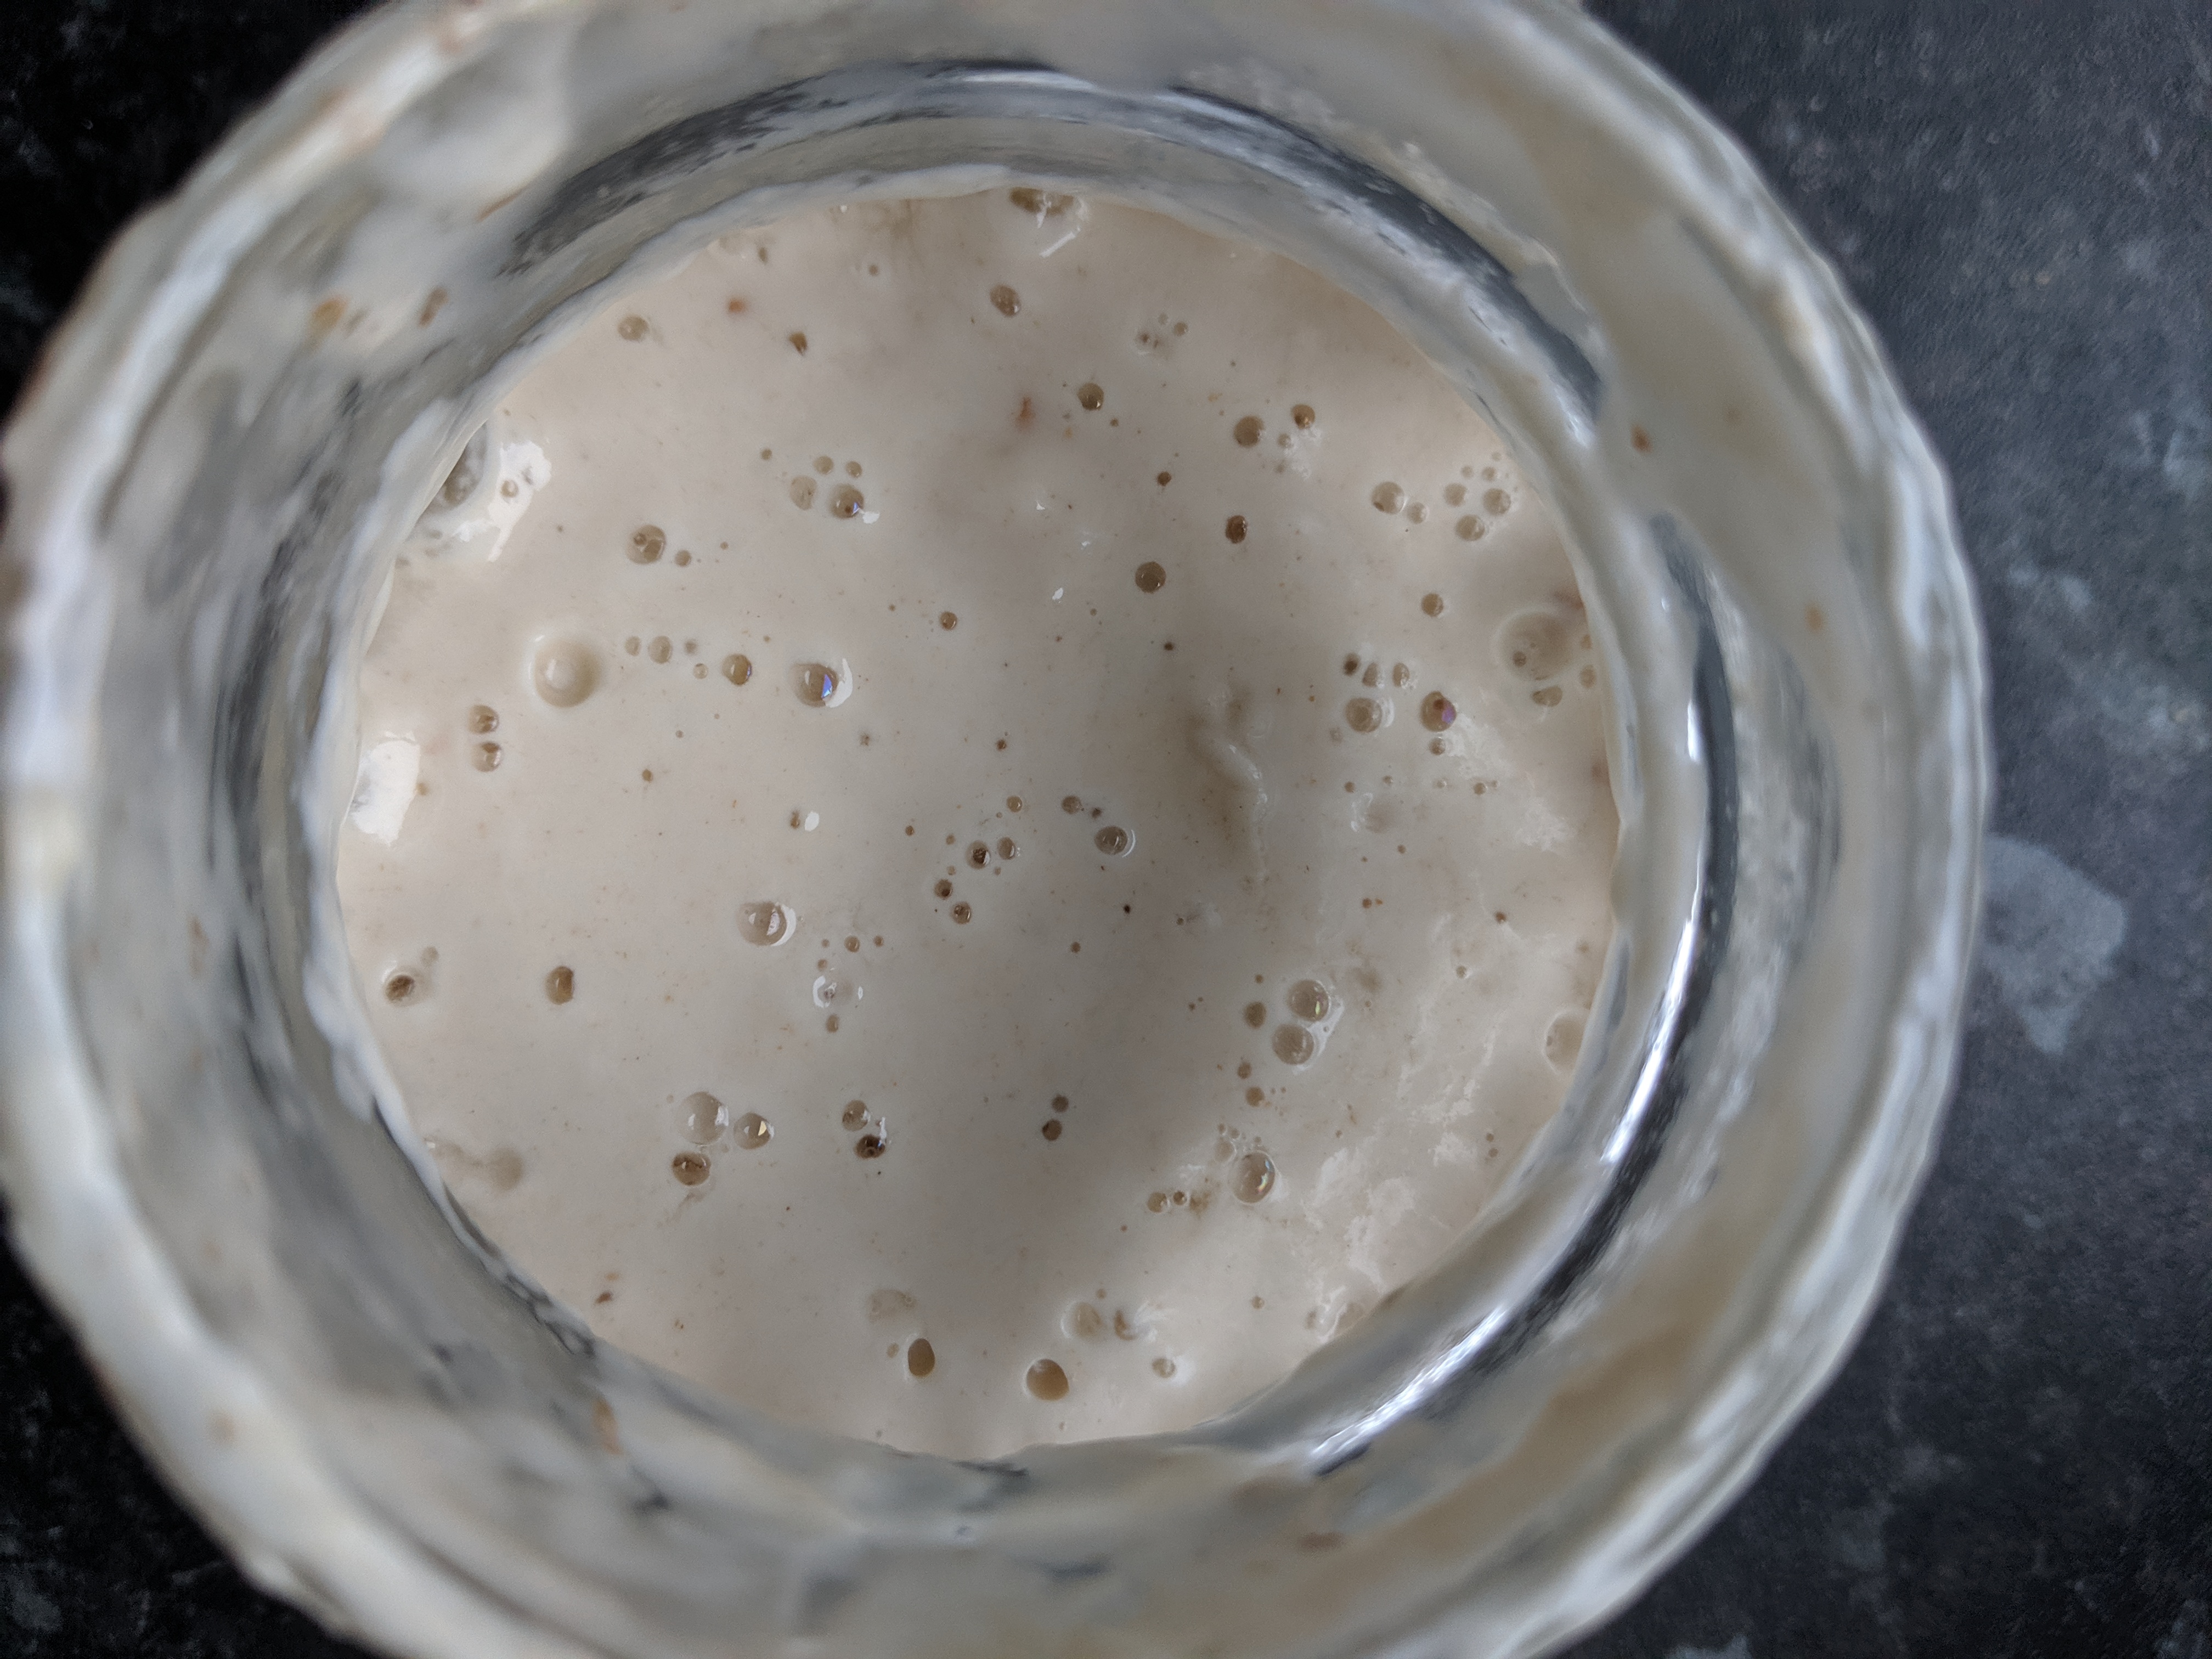
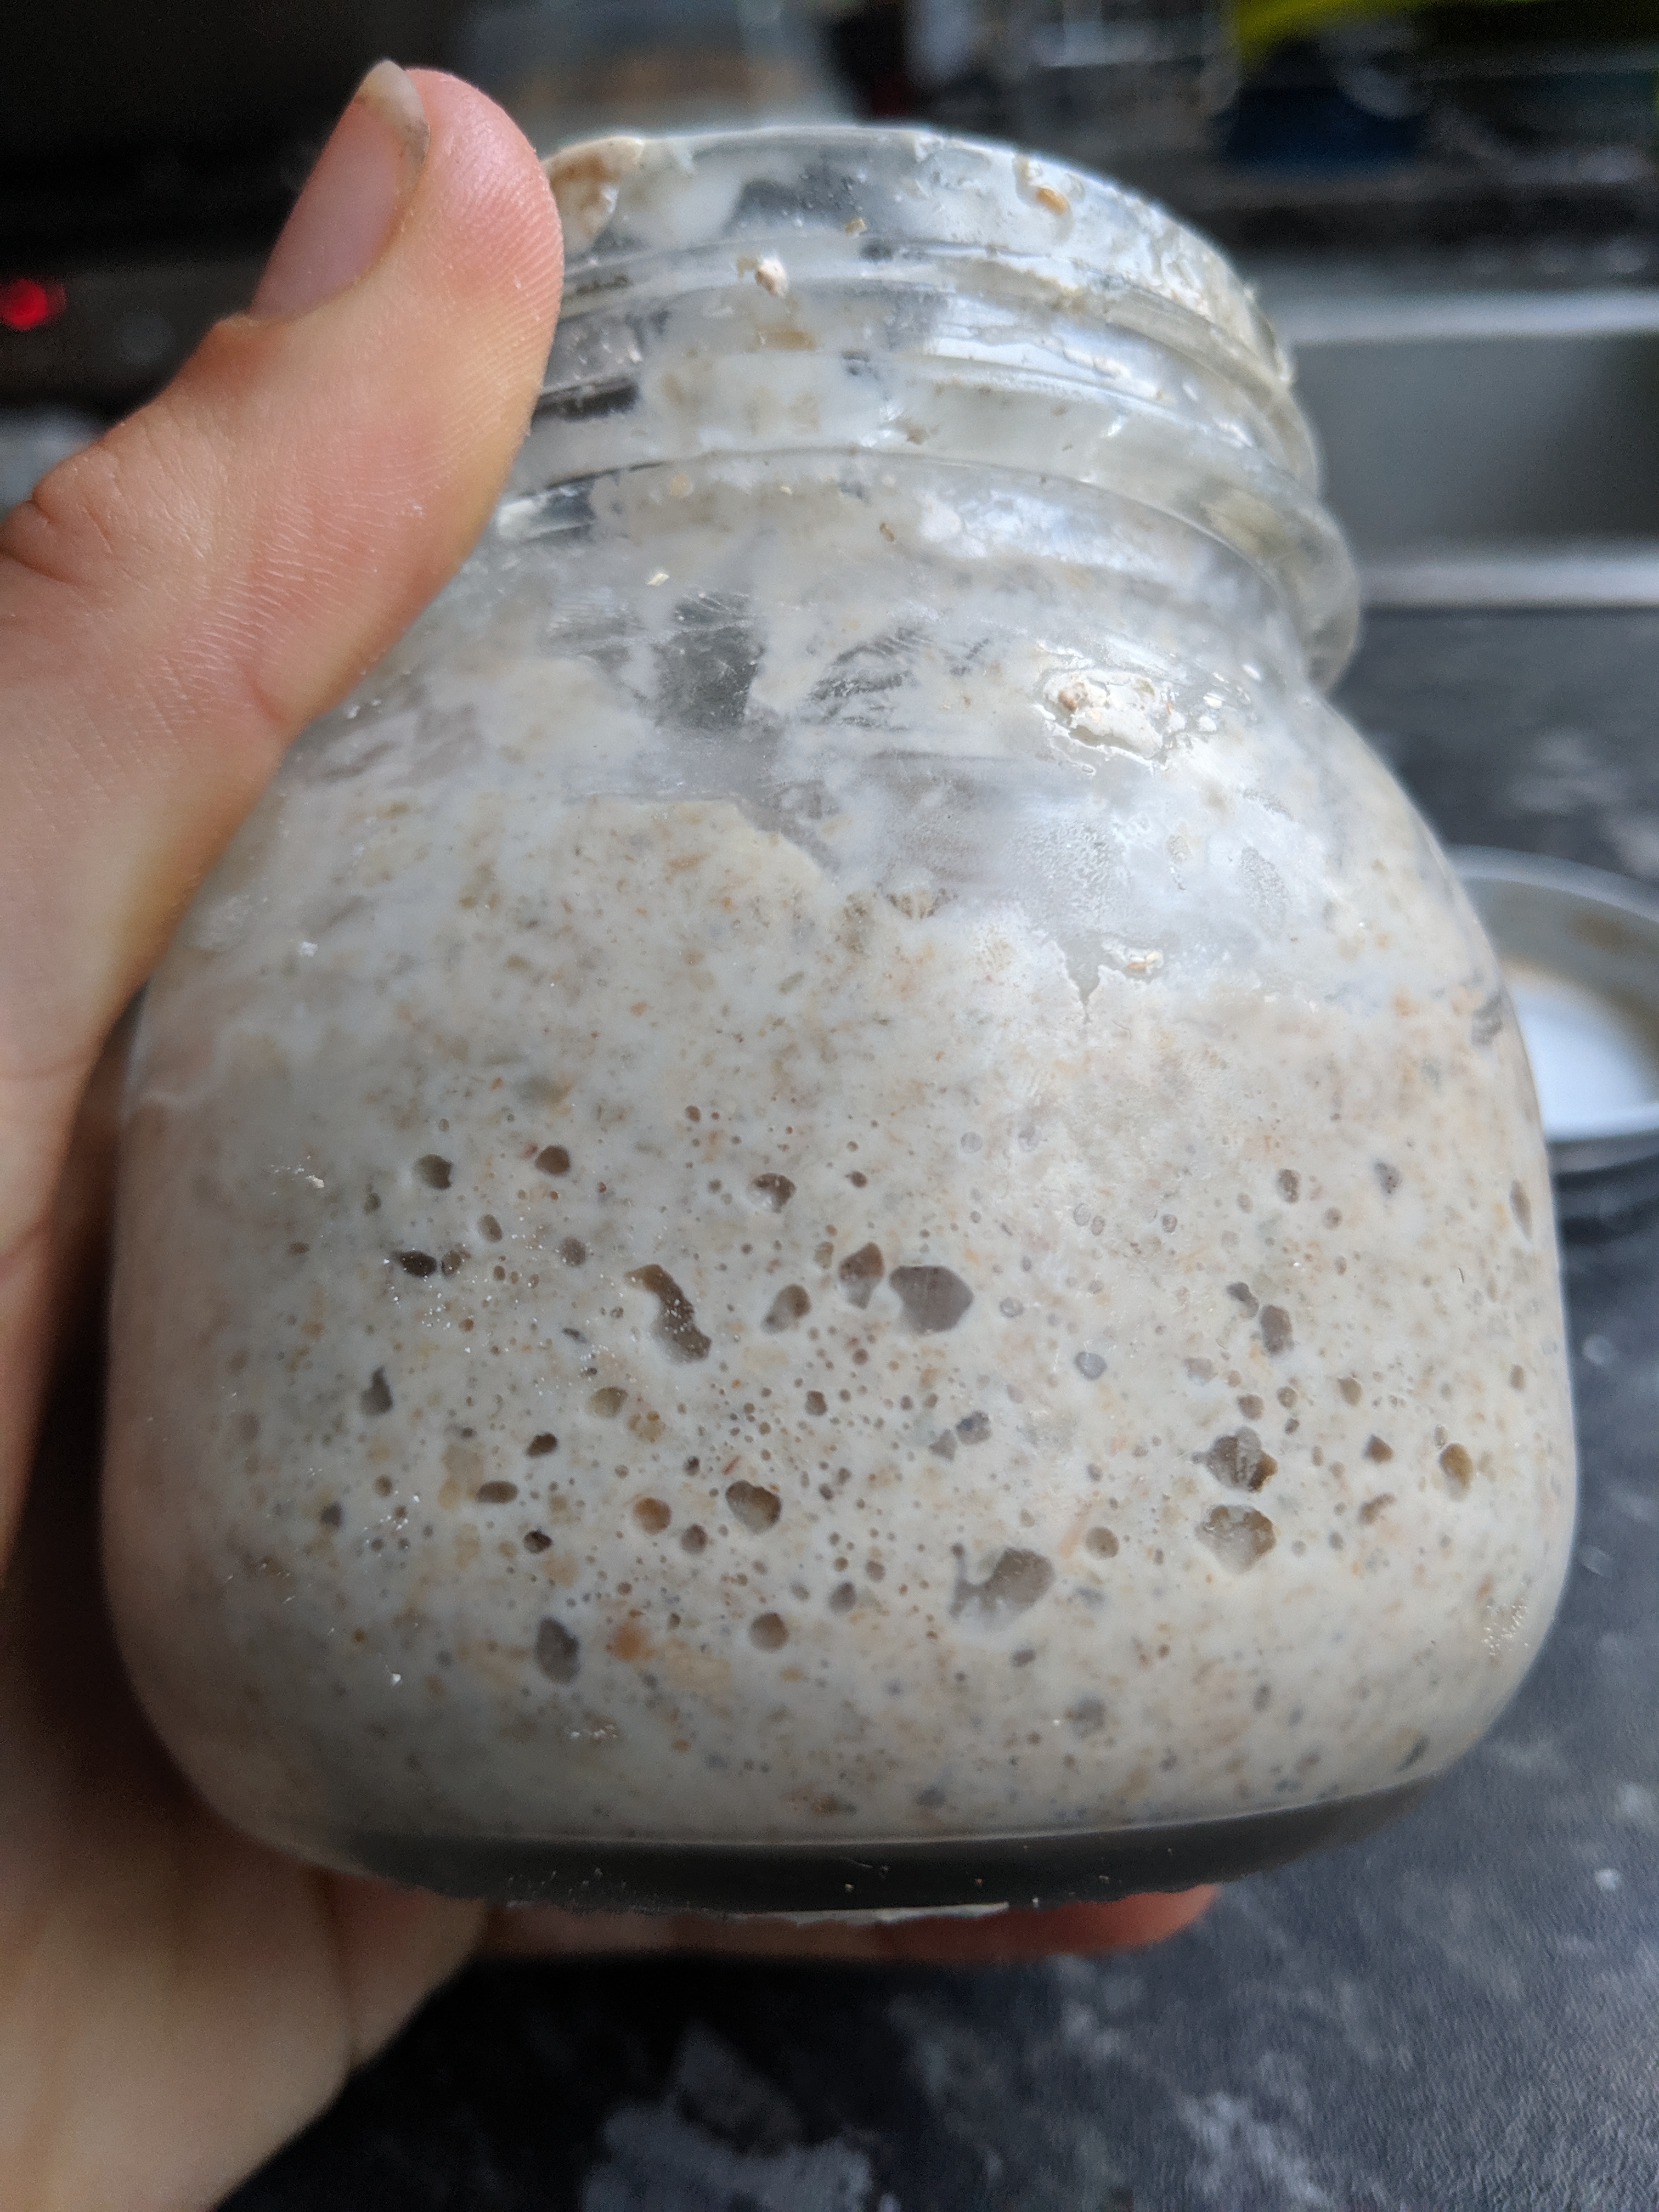
- Day 5: 50g flour + 50g water. You should have a starter now! A bit bubbly and smelling slightly sour. Time to name your new pet.
Even though your starter is alive and bubbling by day 5, I would say that it will take a couple weeks for it to properly find its feet. Different yeast strains are competing, and a few will win out to populate most of the starter but this takes a little time. After day 5, you can put your starter in the fridge, but when I made mine I kept him out and fed him every few days for maybe two weeks. The first loaf I made about a week in didn’t rise so much, but subsequent ones did once Ryeley was more mature.
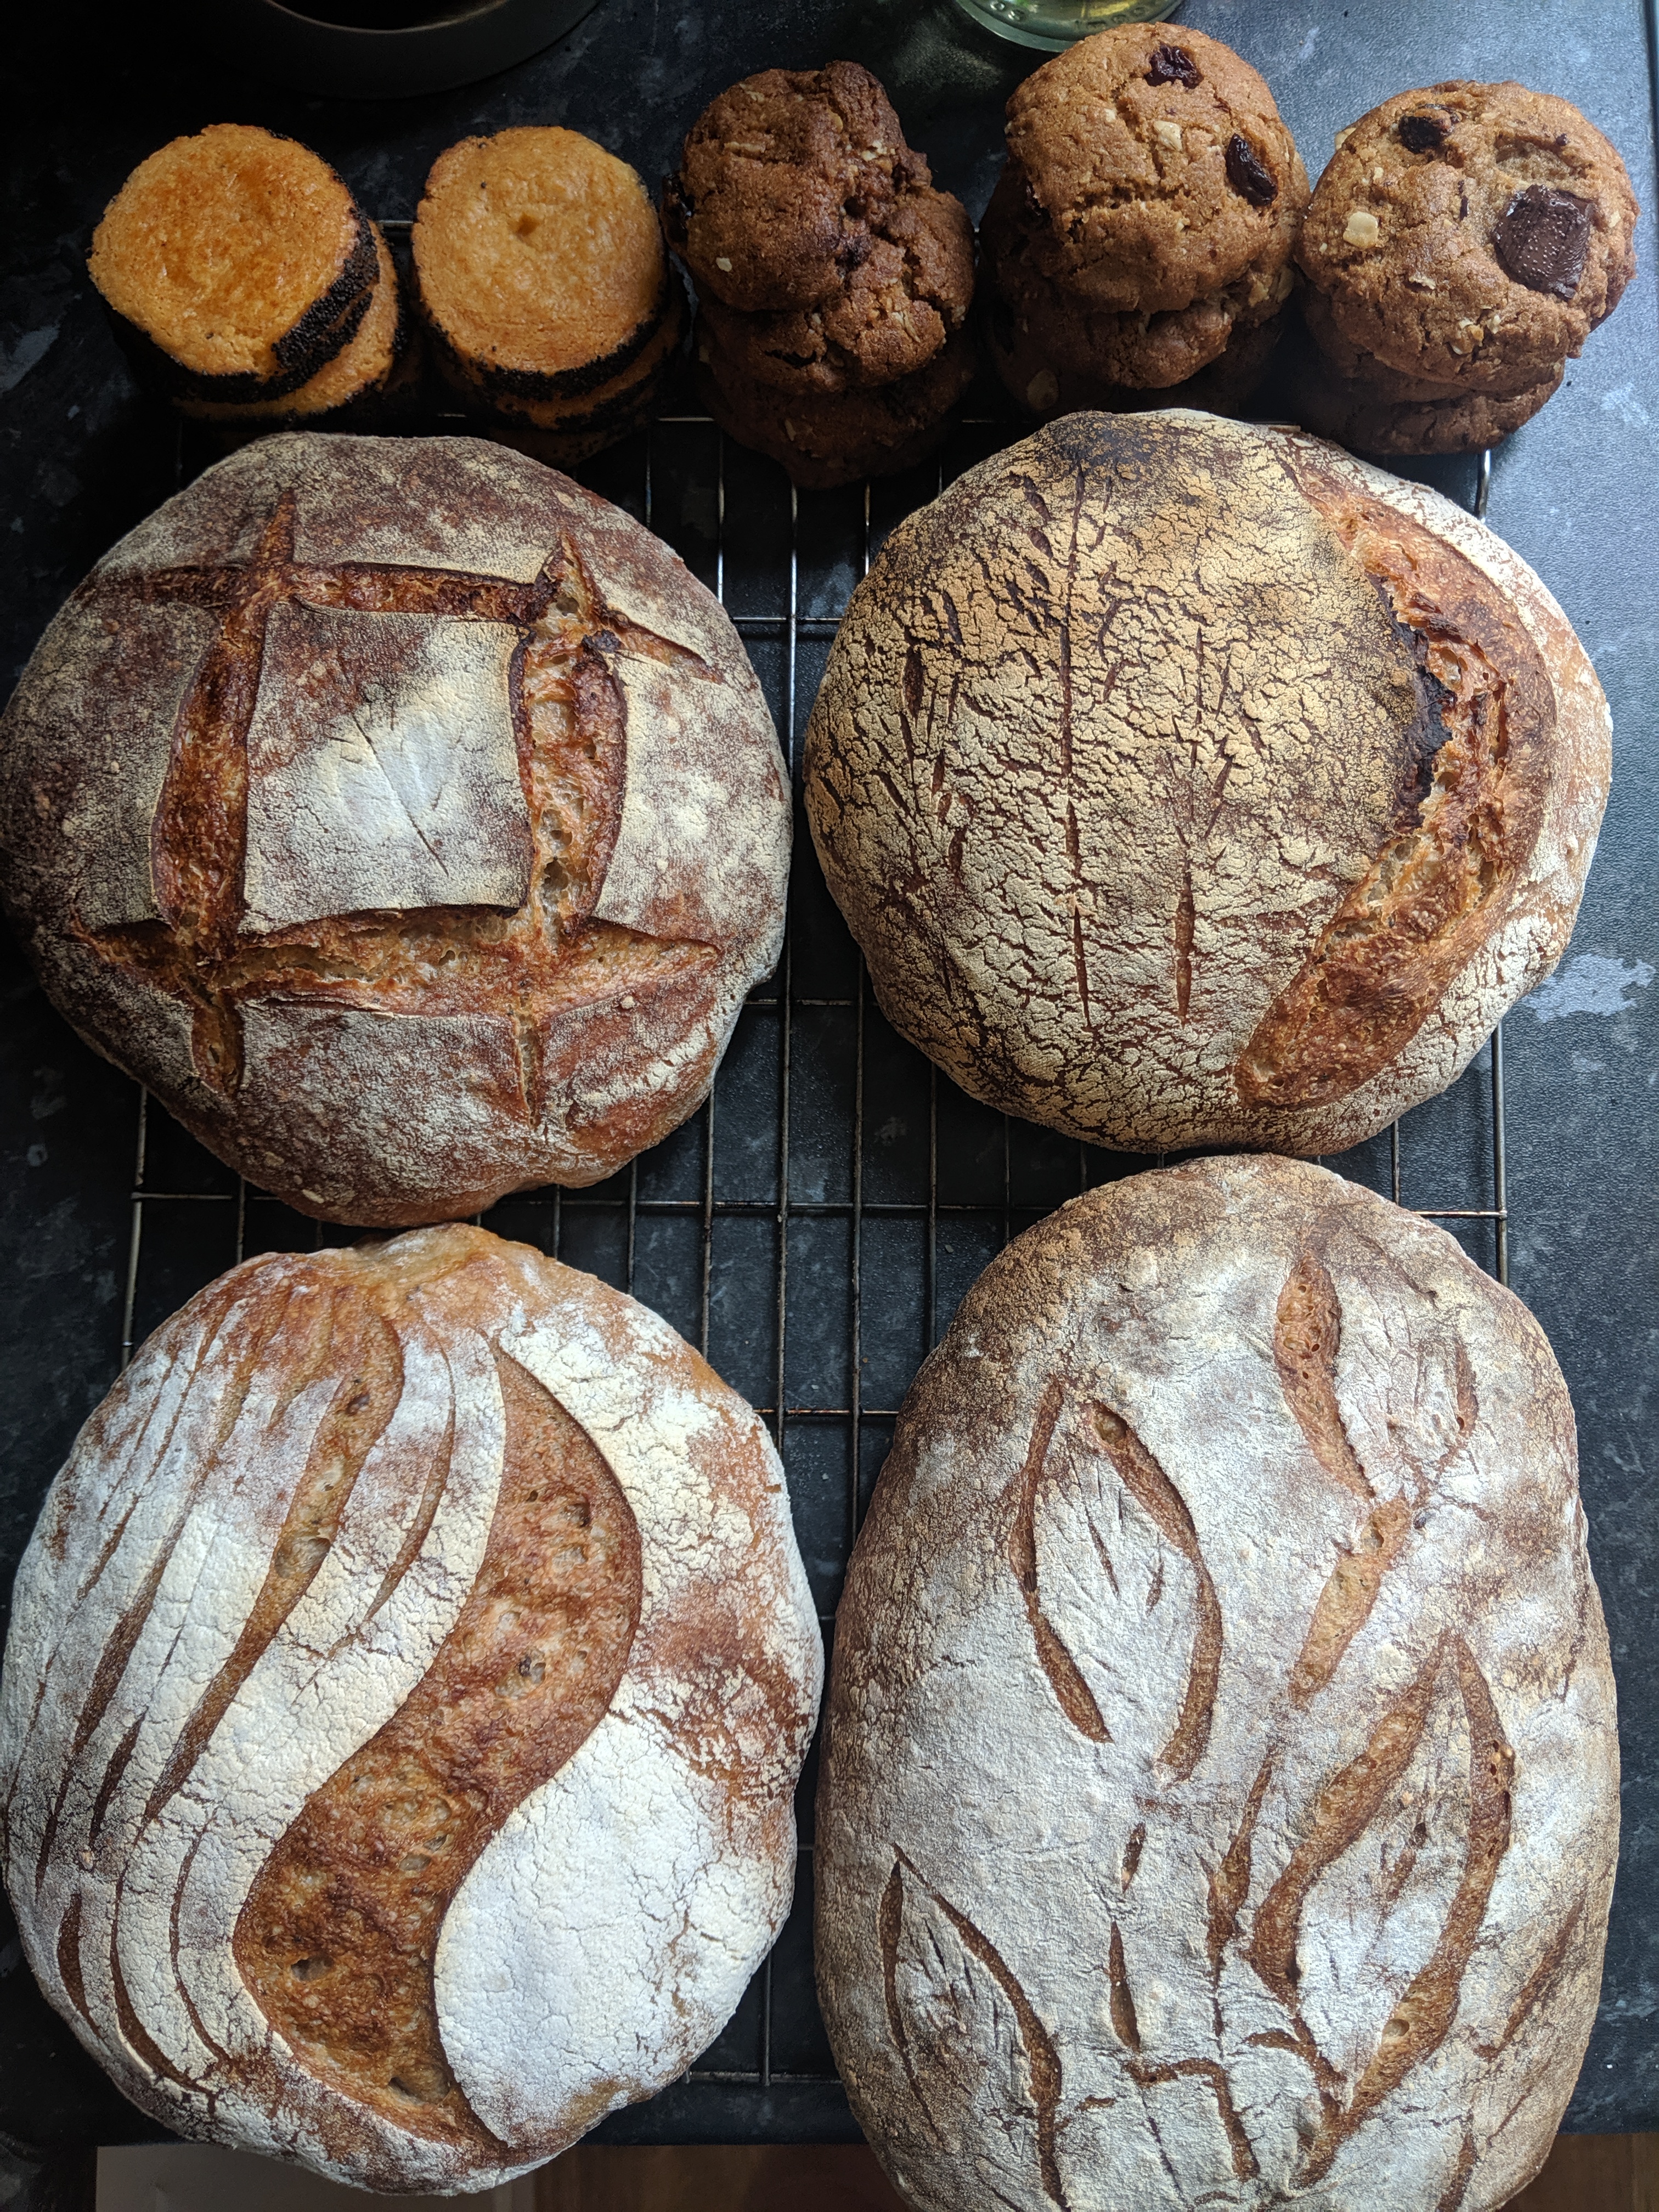
At some point your starter is going to get quite large given all the flour we keep feeding it unless we do something to make it smaller! The main way of making sure it doesn’t overflow the jar is by using it to bake with, but you can also discard starter and store it for other things. Literally just scoop some starter out before you feed it next so it’s a reasonable size. You can also throw this discard away, but that feels wasteful and there are so many things you can make from it! I’ve made delicious pancakes, crumpets and cakes with discard.
I prefer to keep a smaller starter than the one this guide makes – probably less than 200g total. I don’t need to feed it as much flour, and it’s much more active when I do feed it (less starter being fed new flour means more food for each yeast!). It’s important to use a little more flour to make the starter so that there’s enough yeast to begin with, but after it’s up and running do consider making it just big enough.
Some sourdough myths:
Feed your starter EVERY day, and the EXACT same time, or your starter will be TERRIBLE
A lot of guides go on about how you MUST feed your starter daily, and at exactly the same time each day, but I’m here to tell you that you don’t have to! Firstly, keeping a starter in the fridge means that it is less active and needs to be fed less often anyway, but also these guides say this because they are baking bread extremely frequently and need their starters to be reliable. True, if you are baking many loaves per day or week, feeding daily or even more regularly makes sense. Feeding on a schedule means that the yeast follow a good pattern of activity, which lends itself to uniform outcomes on bakes. For me, there is no way I could eat that amount of bread or afford that much flour to feed and discard so much. I am happy keeping my starter in the fridge, feeding when it looks like it needs it, using a recipe that has a levain (more on this later – it means I can be sure the yeast is active enough), and accepting that I might have more variation in my loaves than a professional bakery.
Feed your starter regularly or it will DIEEEEEE
A starter can take a surprising amount of neglect. I am regularly away for 2 weeks or more at a time, and I’ve never had a problem with my starter dying. I feed him just before I leave, and when I get back sometimes I give him a little bit more TLC to get him back to full strength – a day or two of room temp and feeding daily is more than enough.
You have to be really precise. About EVERYTHING
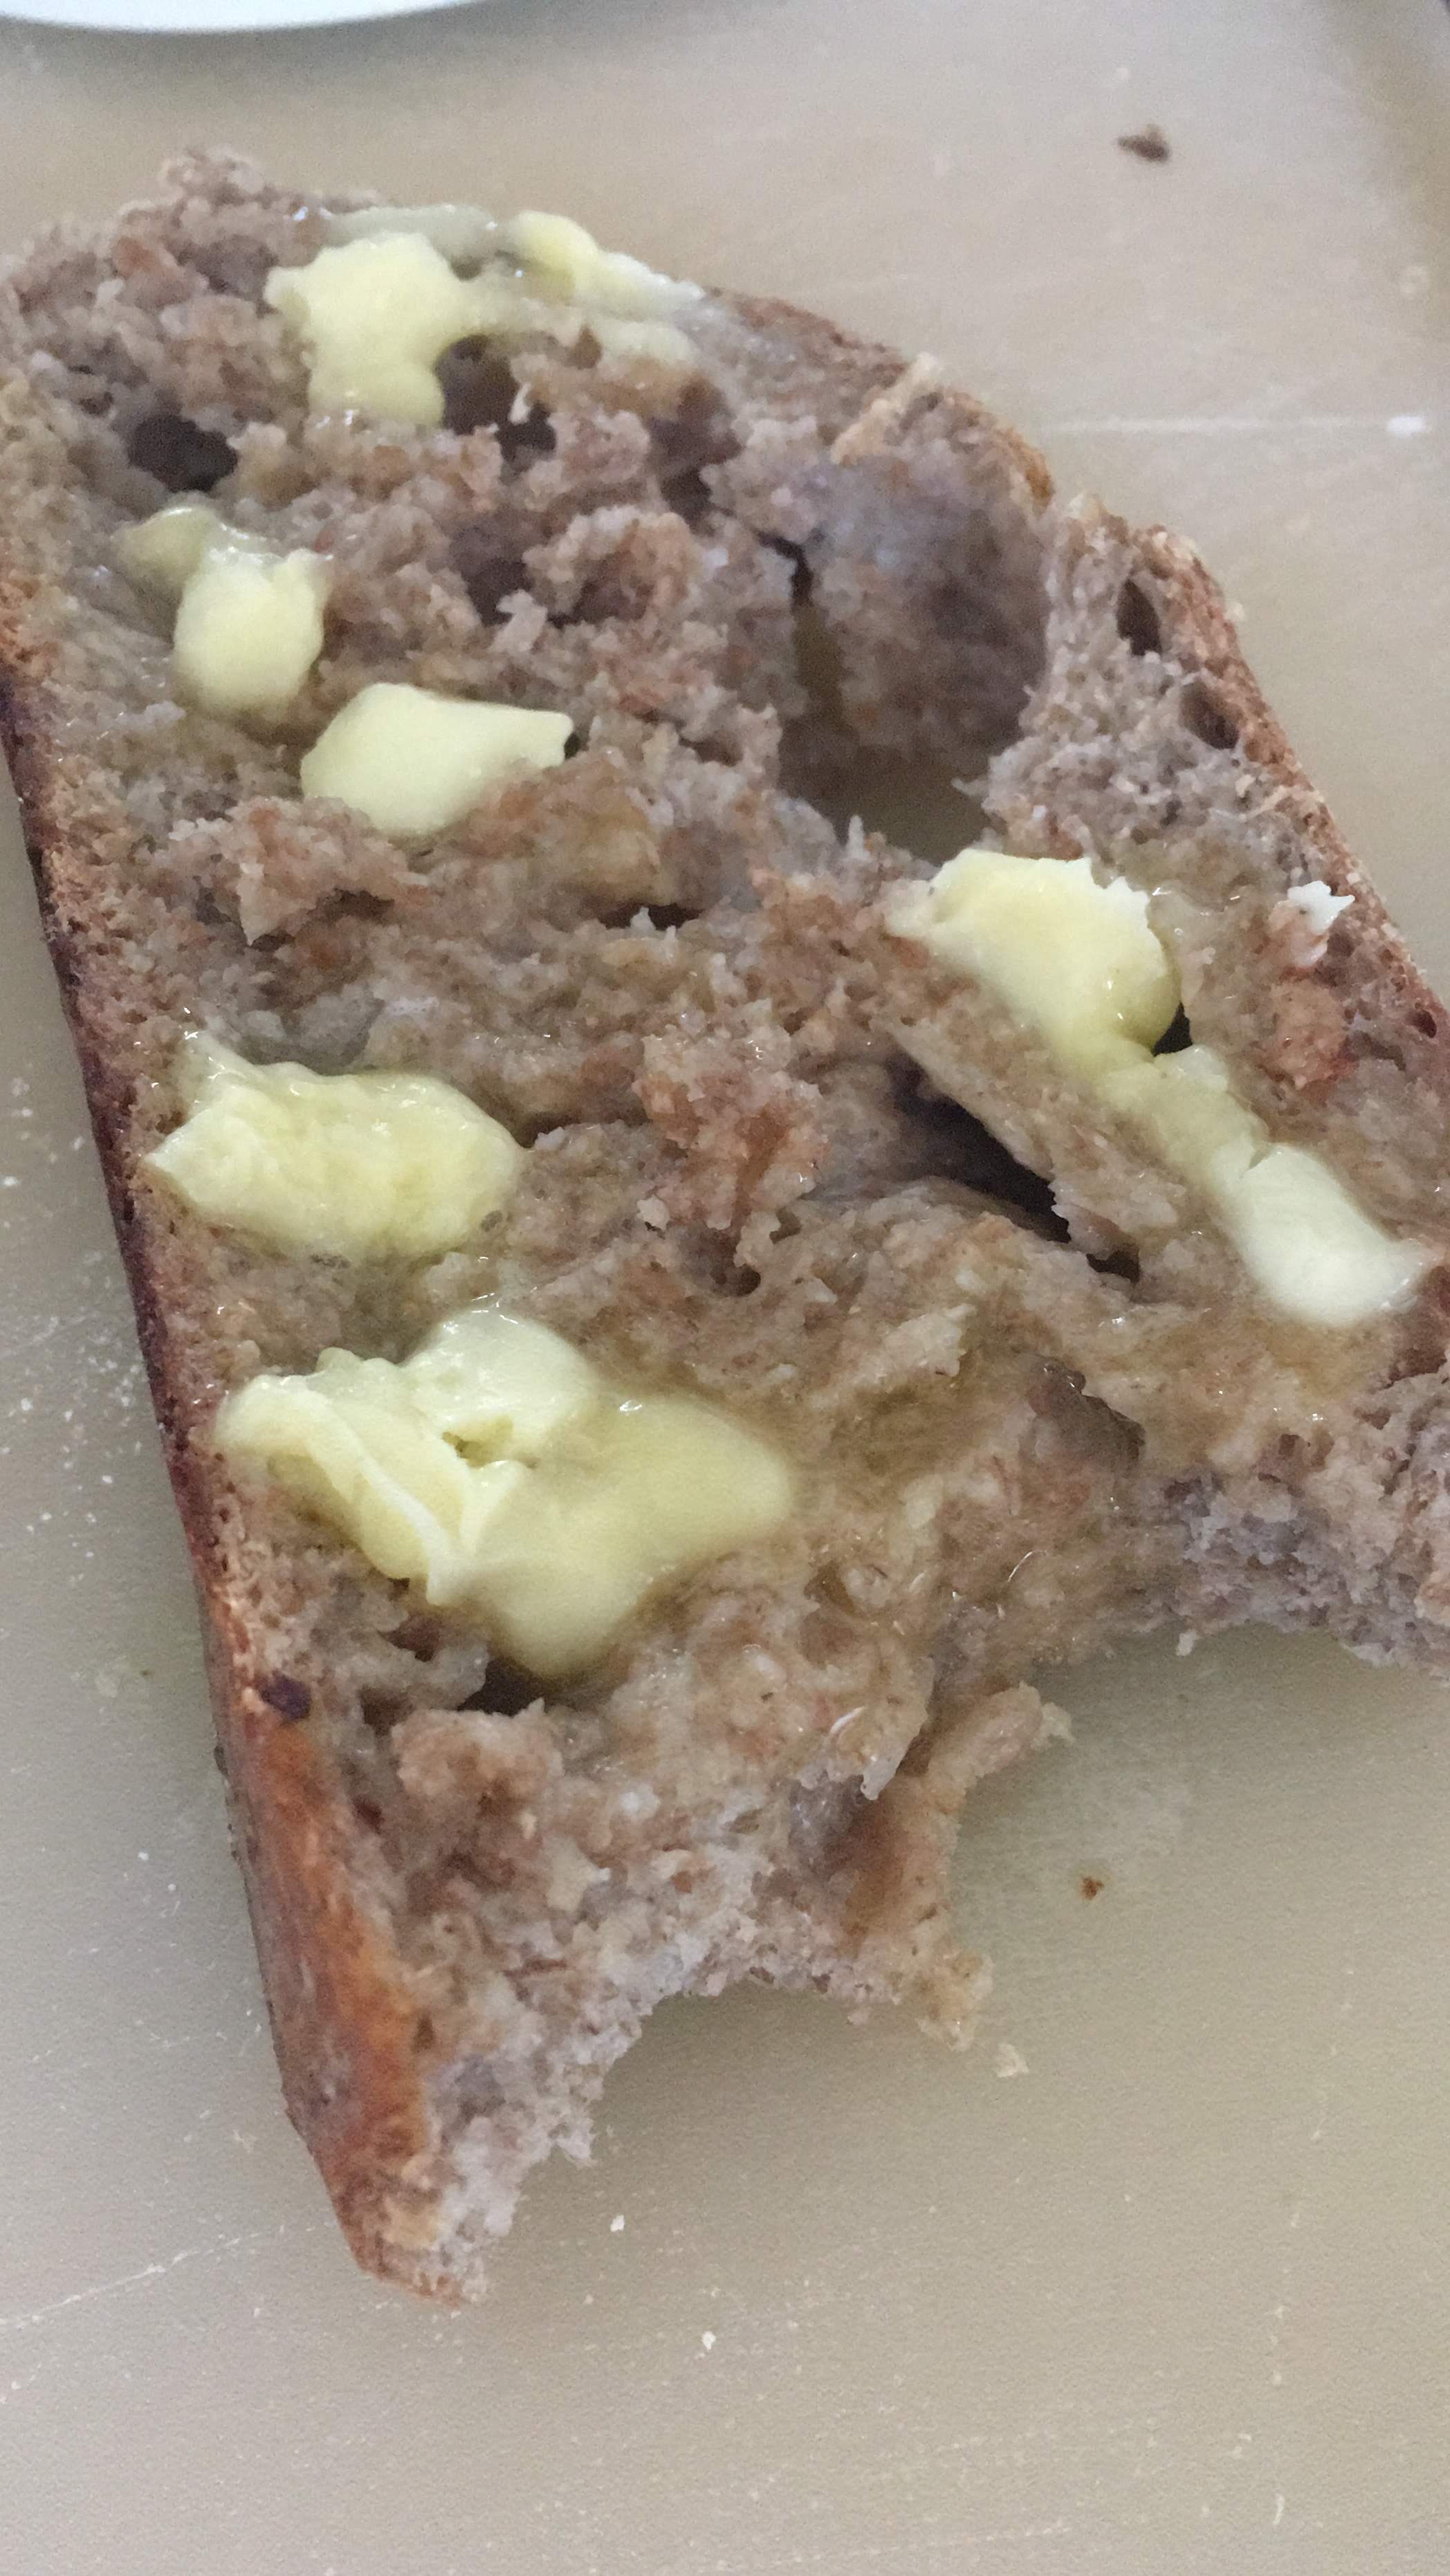
Nope! Whether that applies to feeding your starter or making your bread, it’s ok if you’re a little out. Sure, it changes how the starter or dough handles a bit, but it’s not a disaster. In fact, doing this is one of the best ways of learning. Accidentally add too much flour. See what happens. Maybe your starter is too stiff, or the dough hard to knead. Now you know for next time, and you’ll have a better idea of what it should be like. The bread you make will still be edible either way!

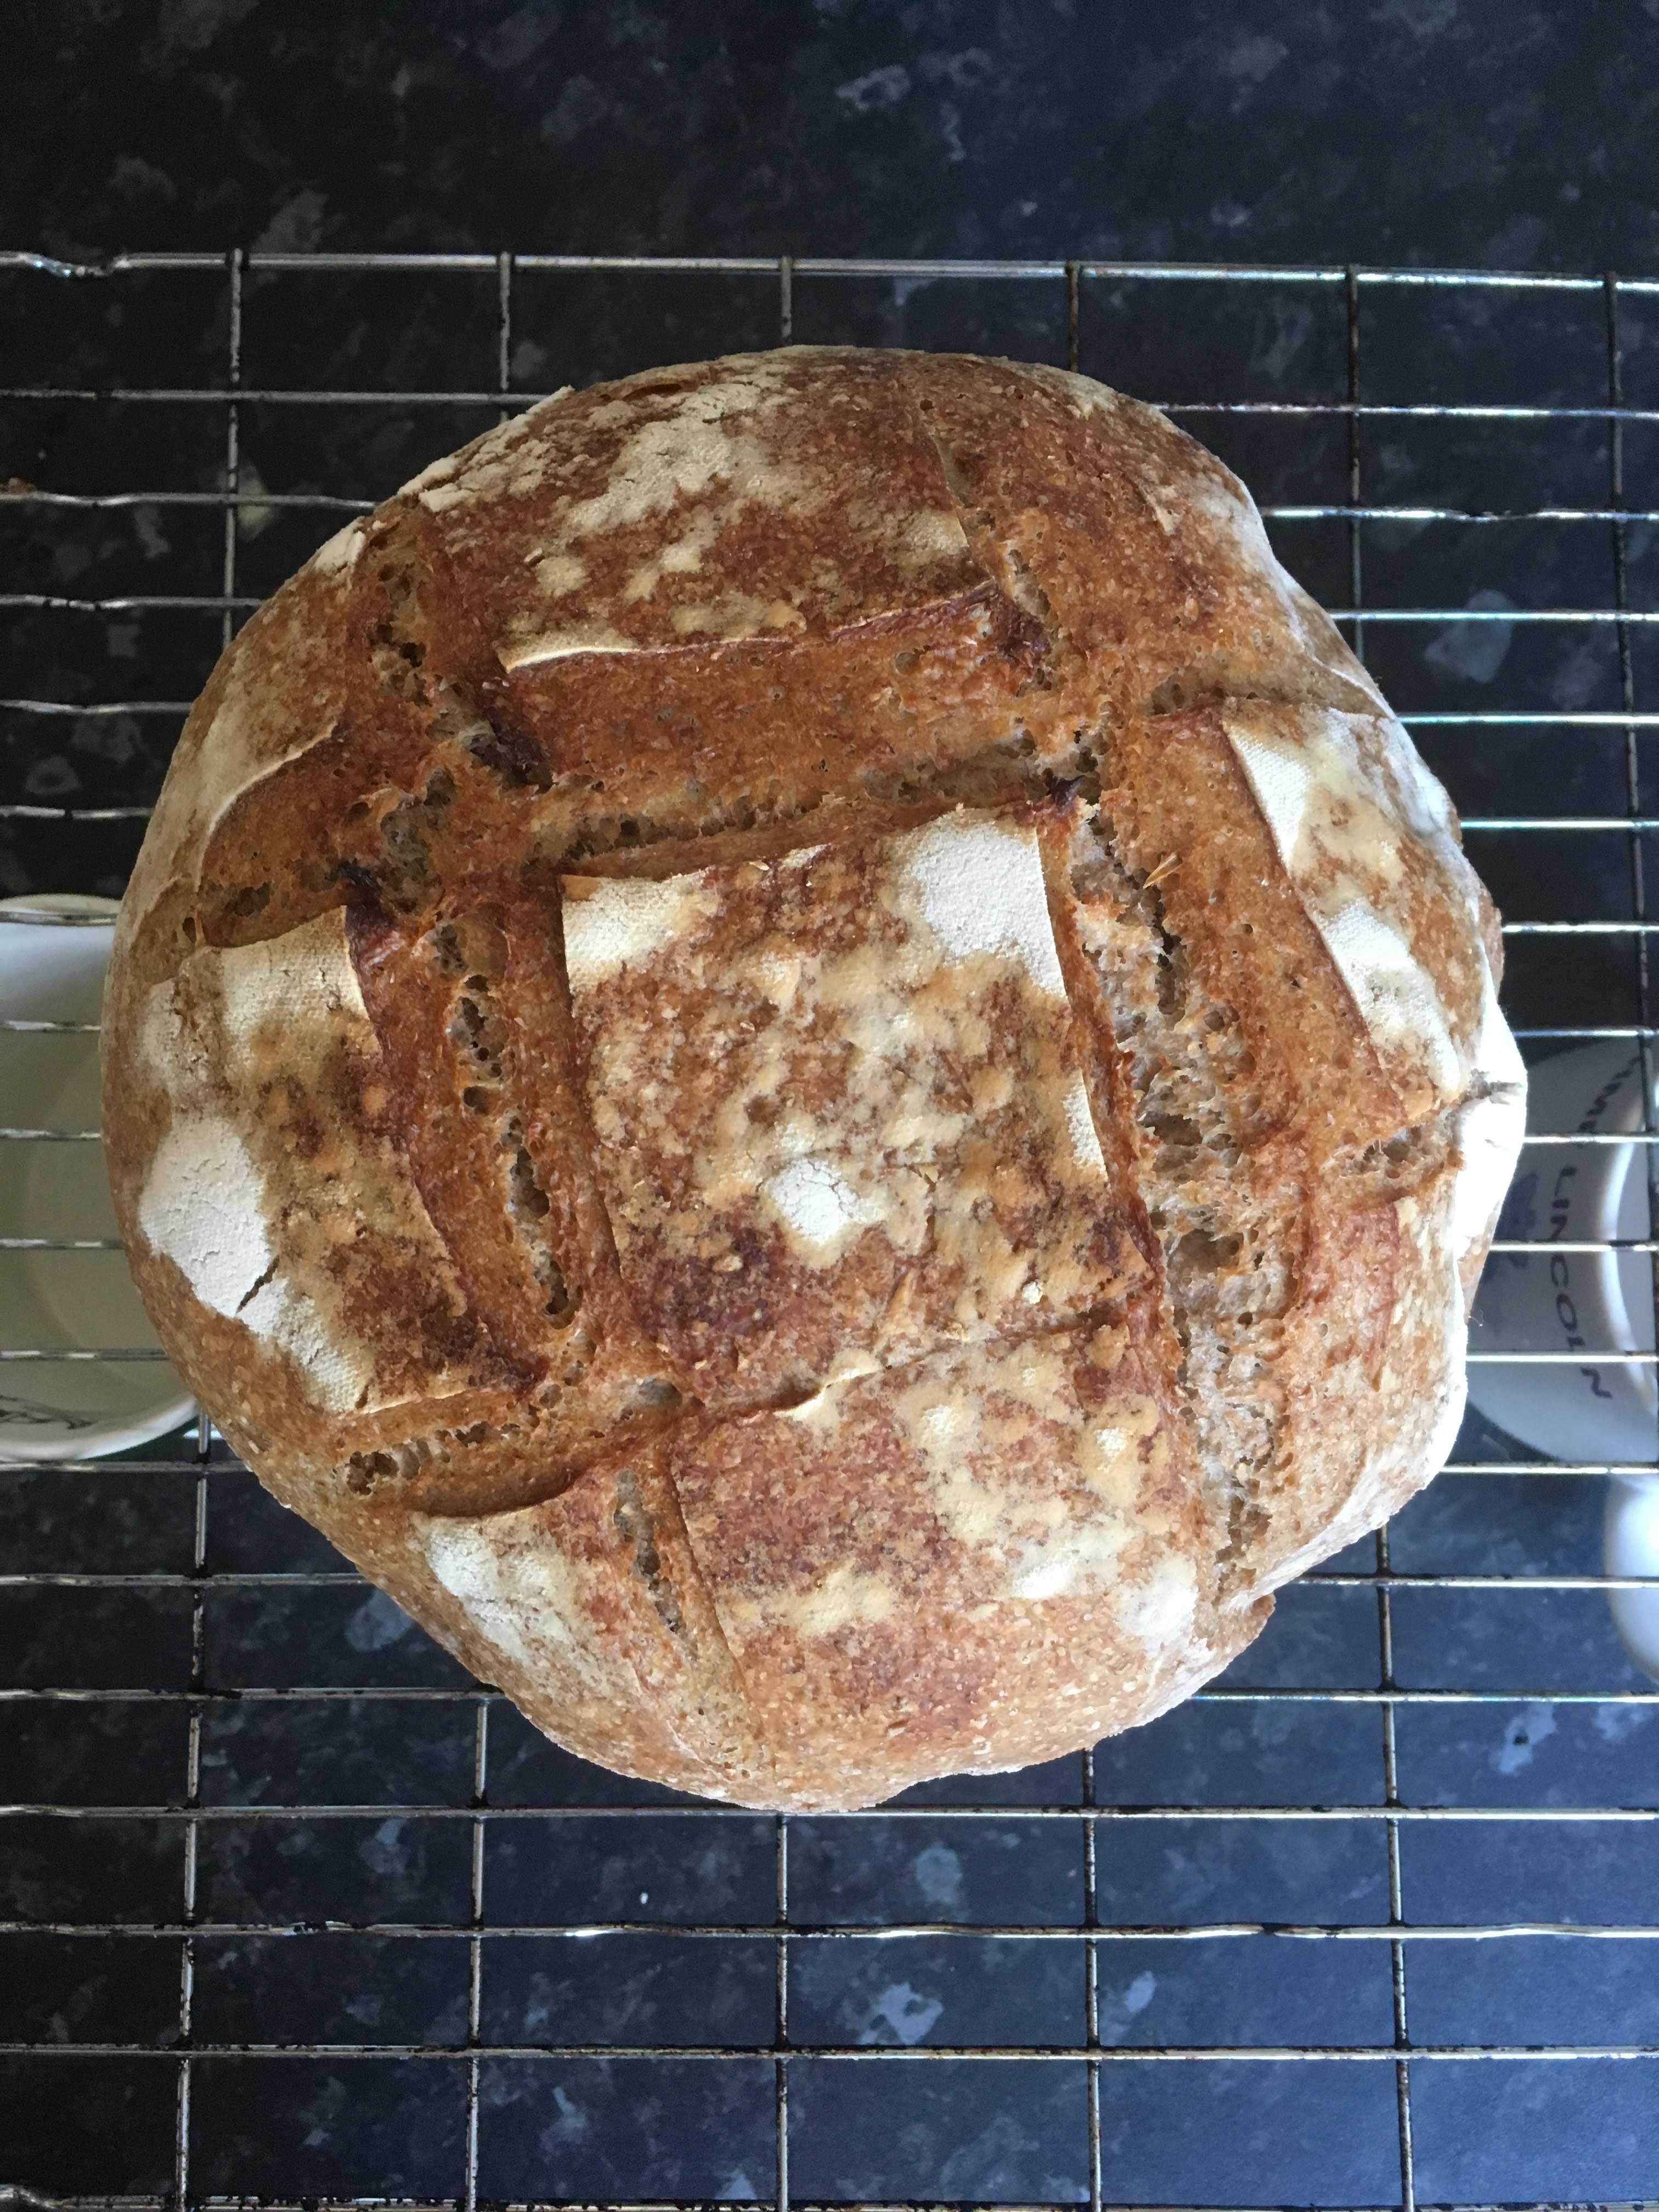
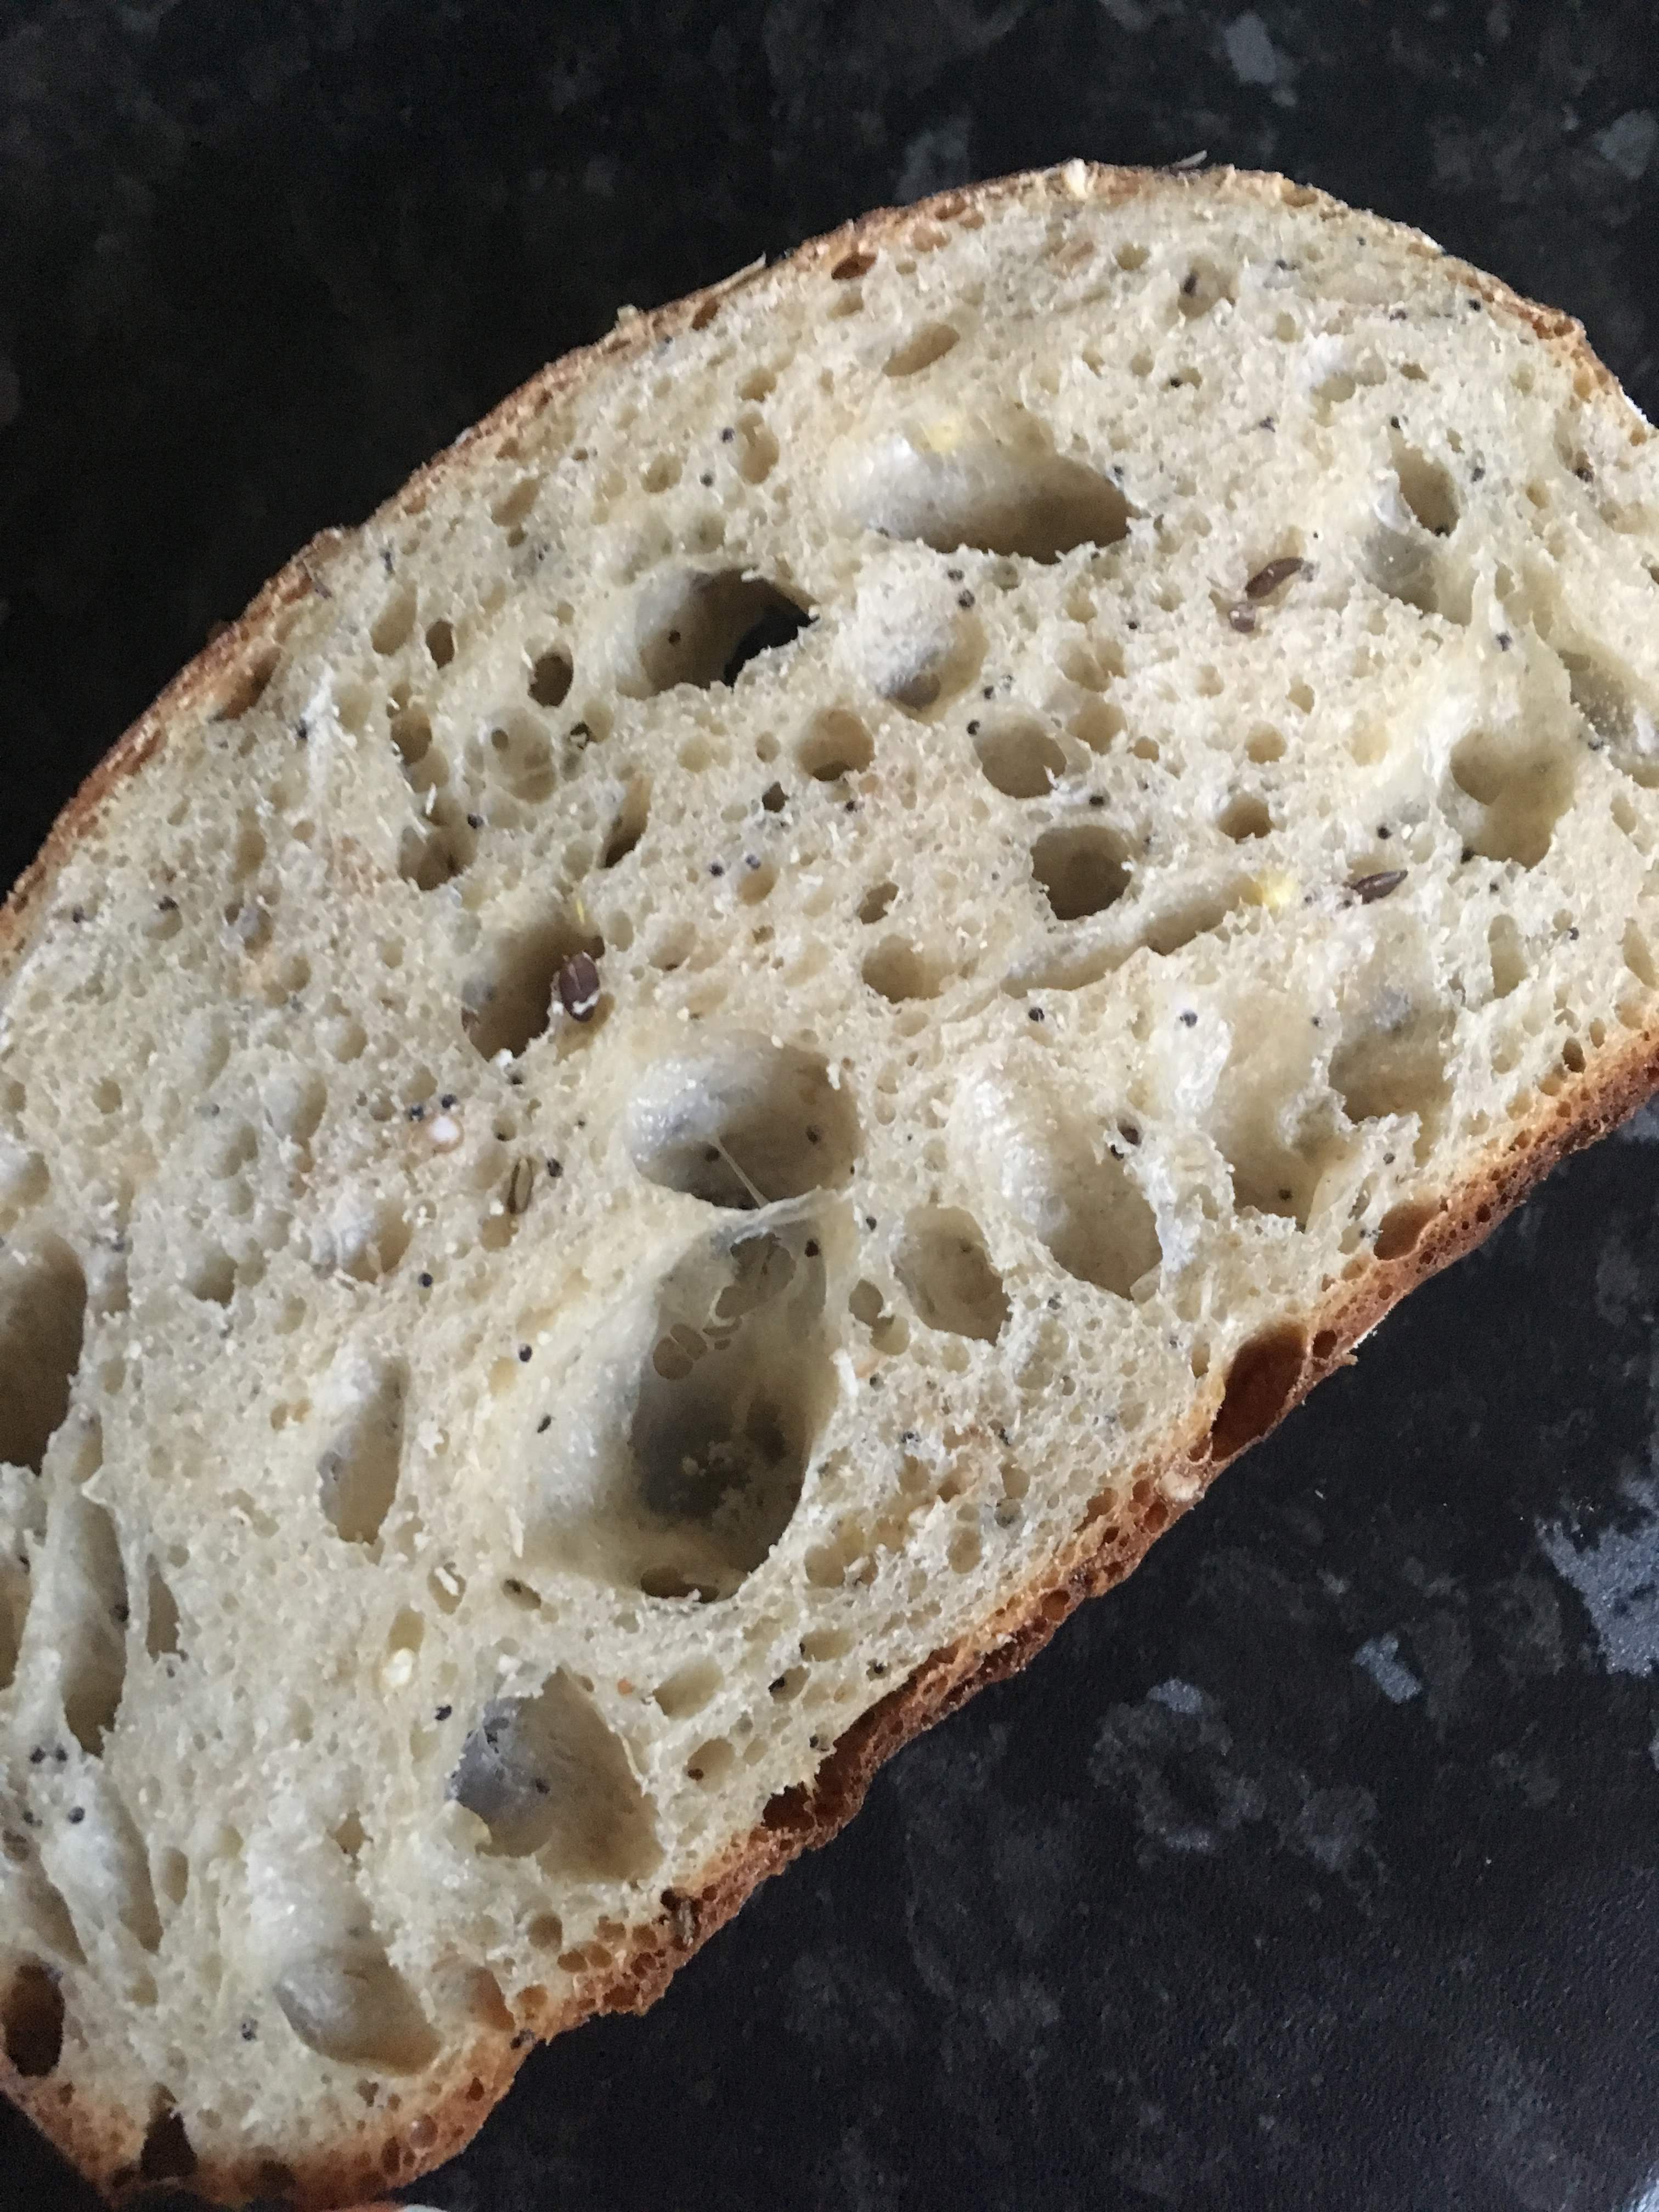
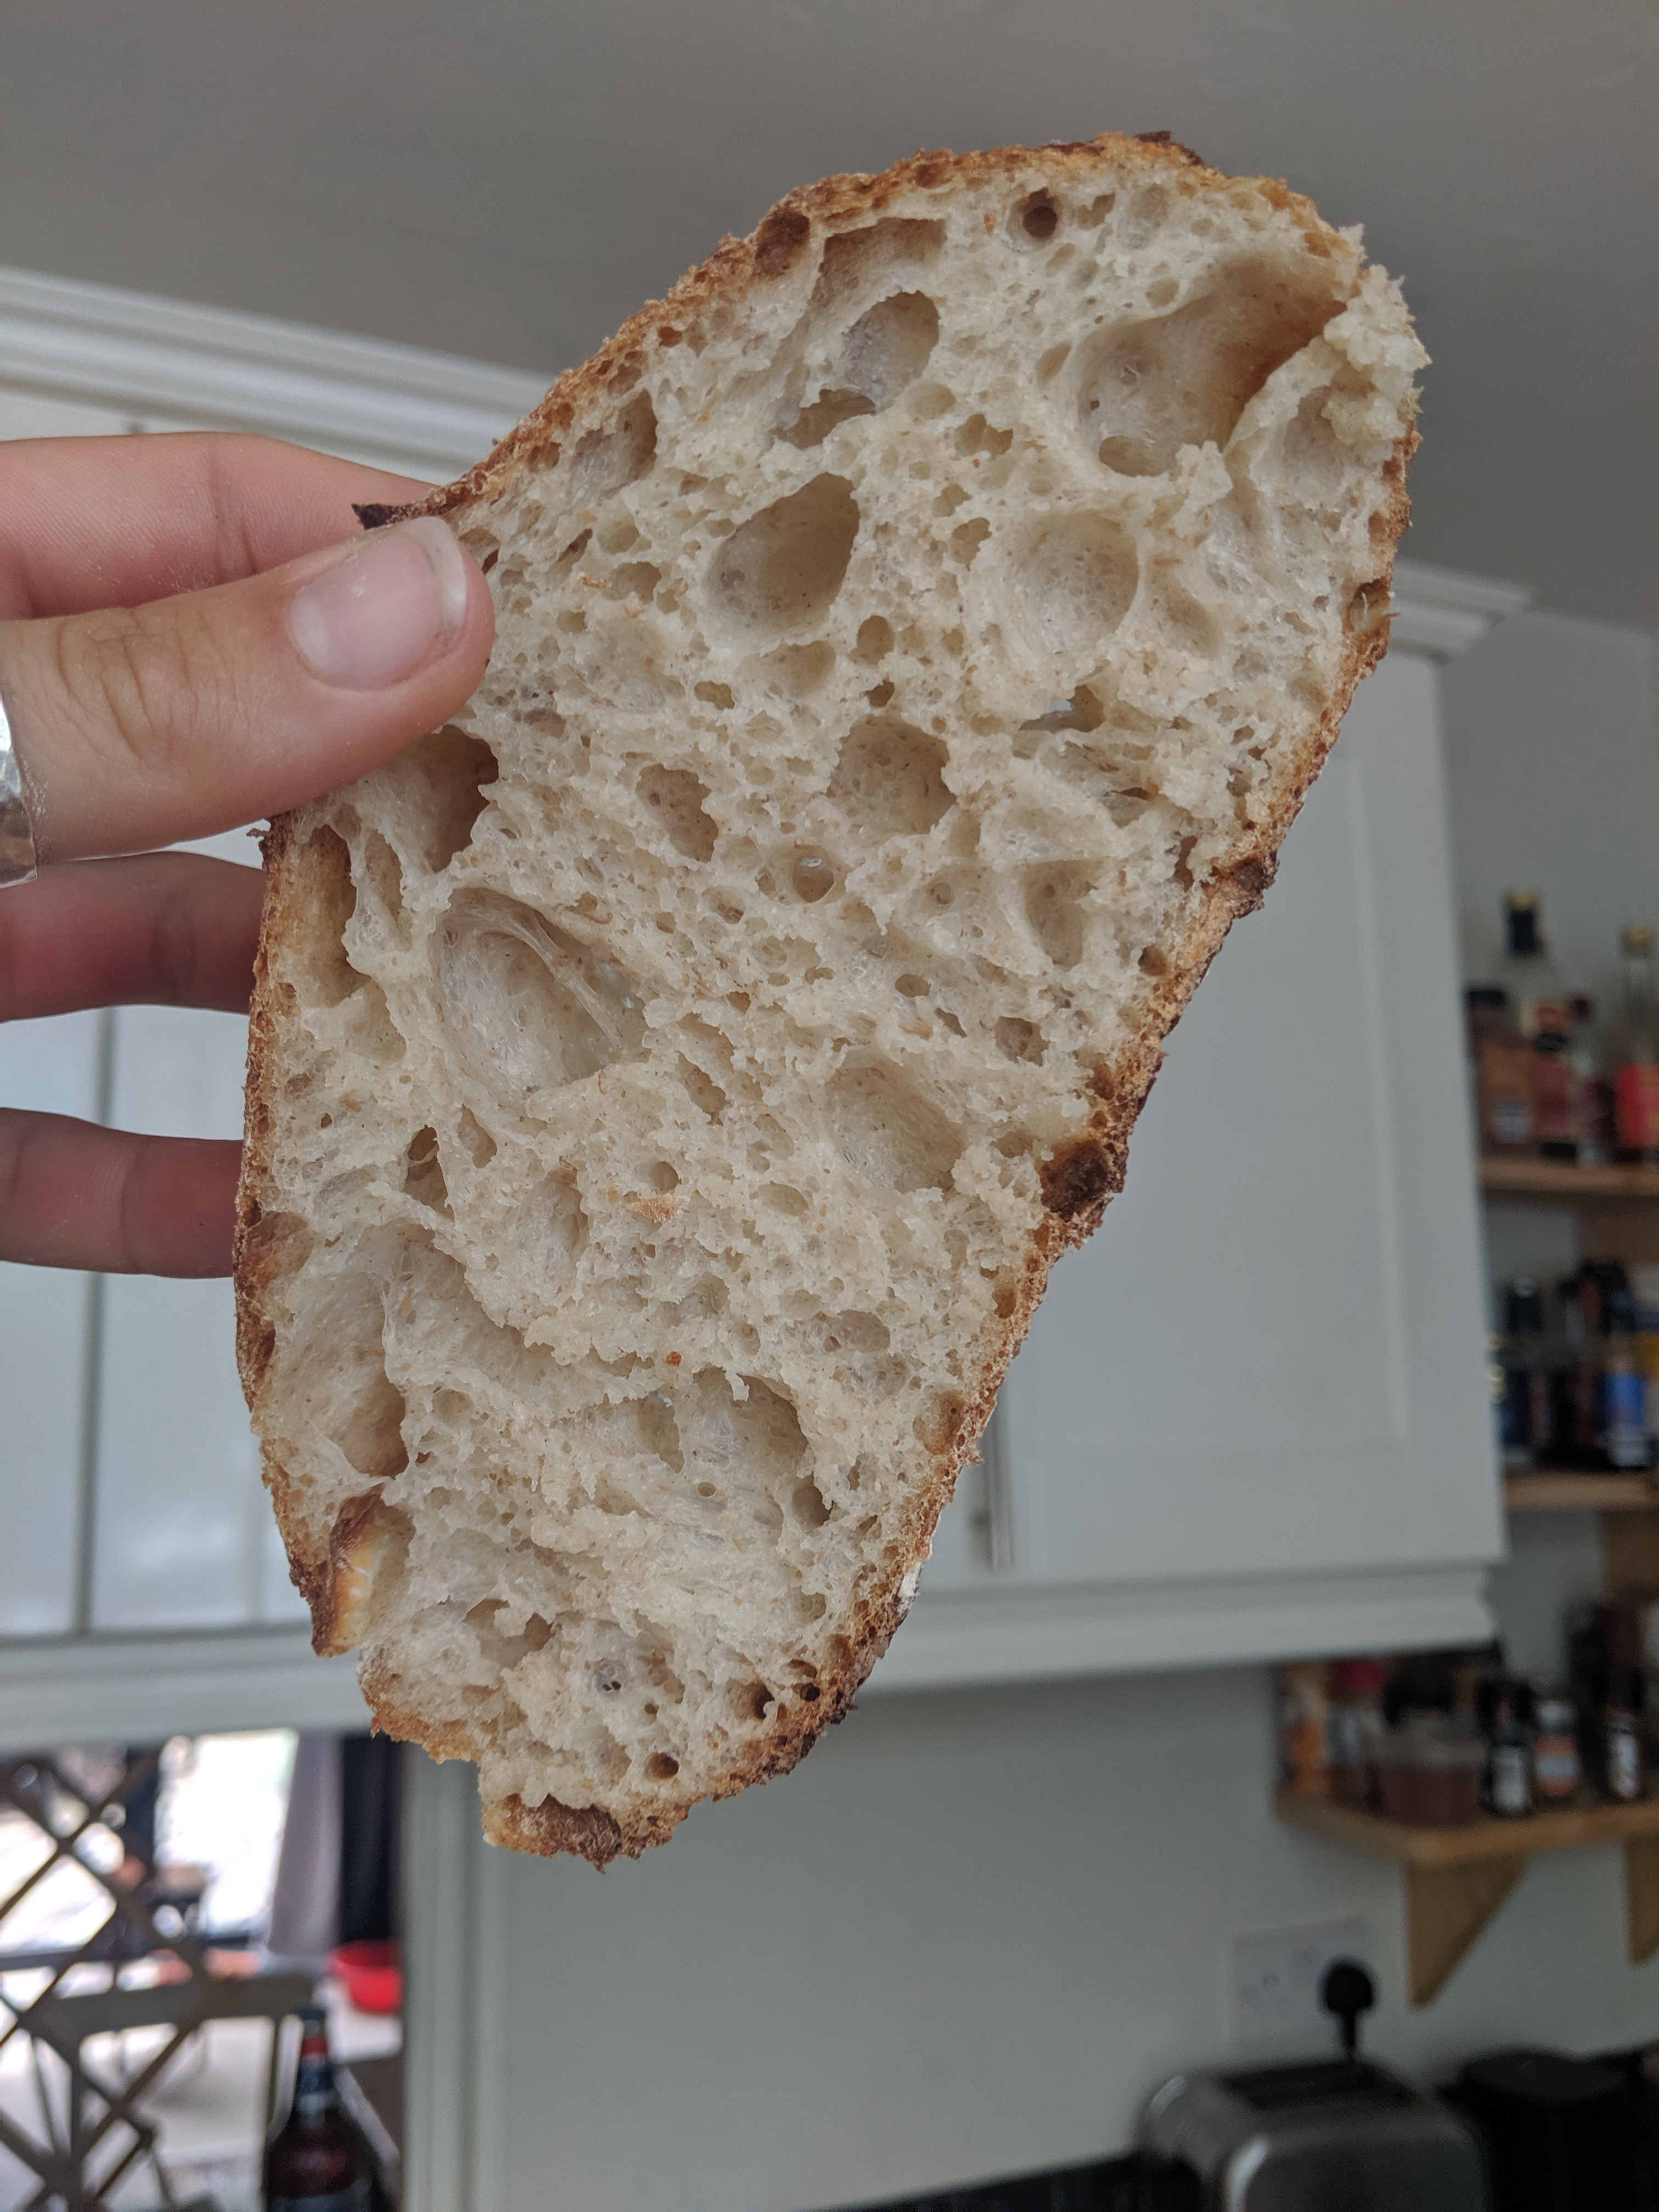
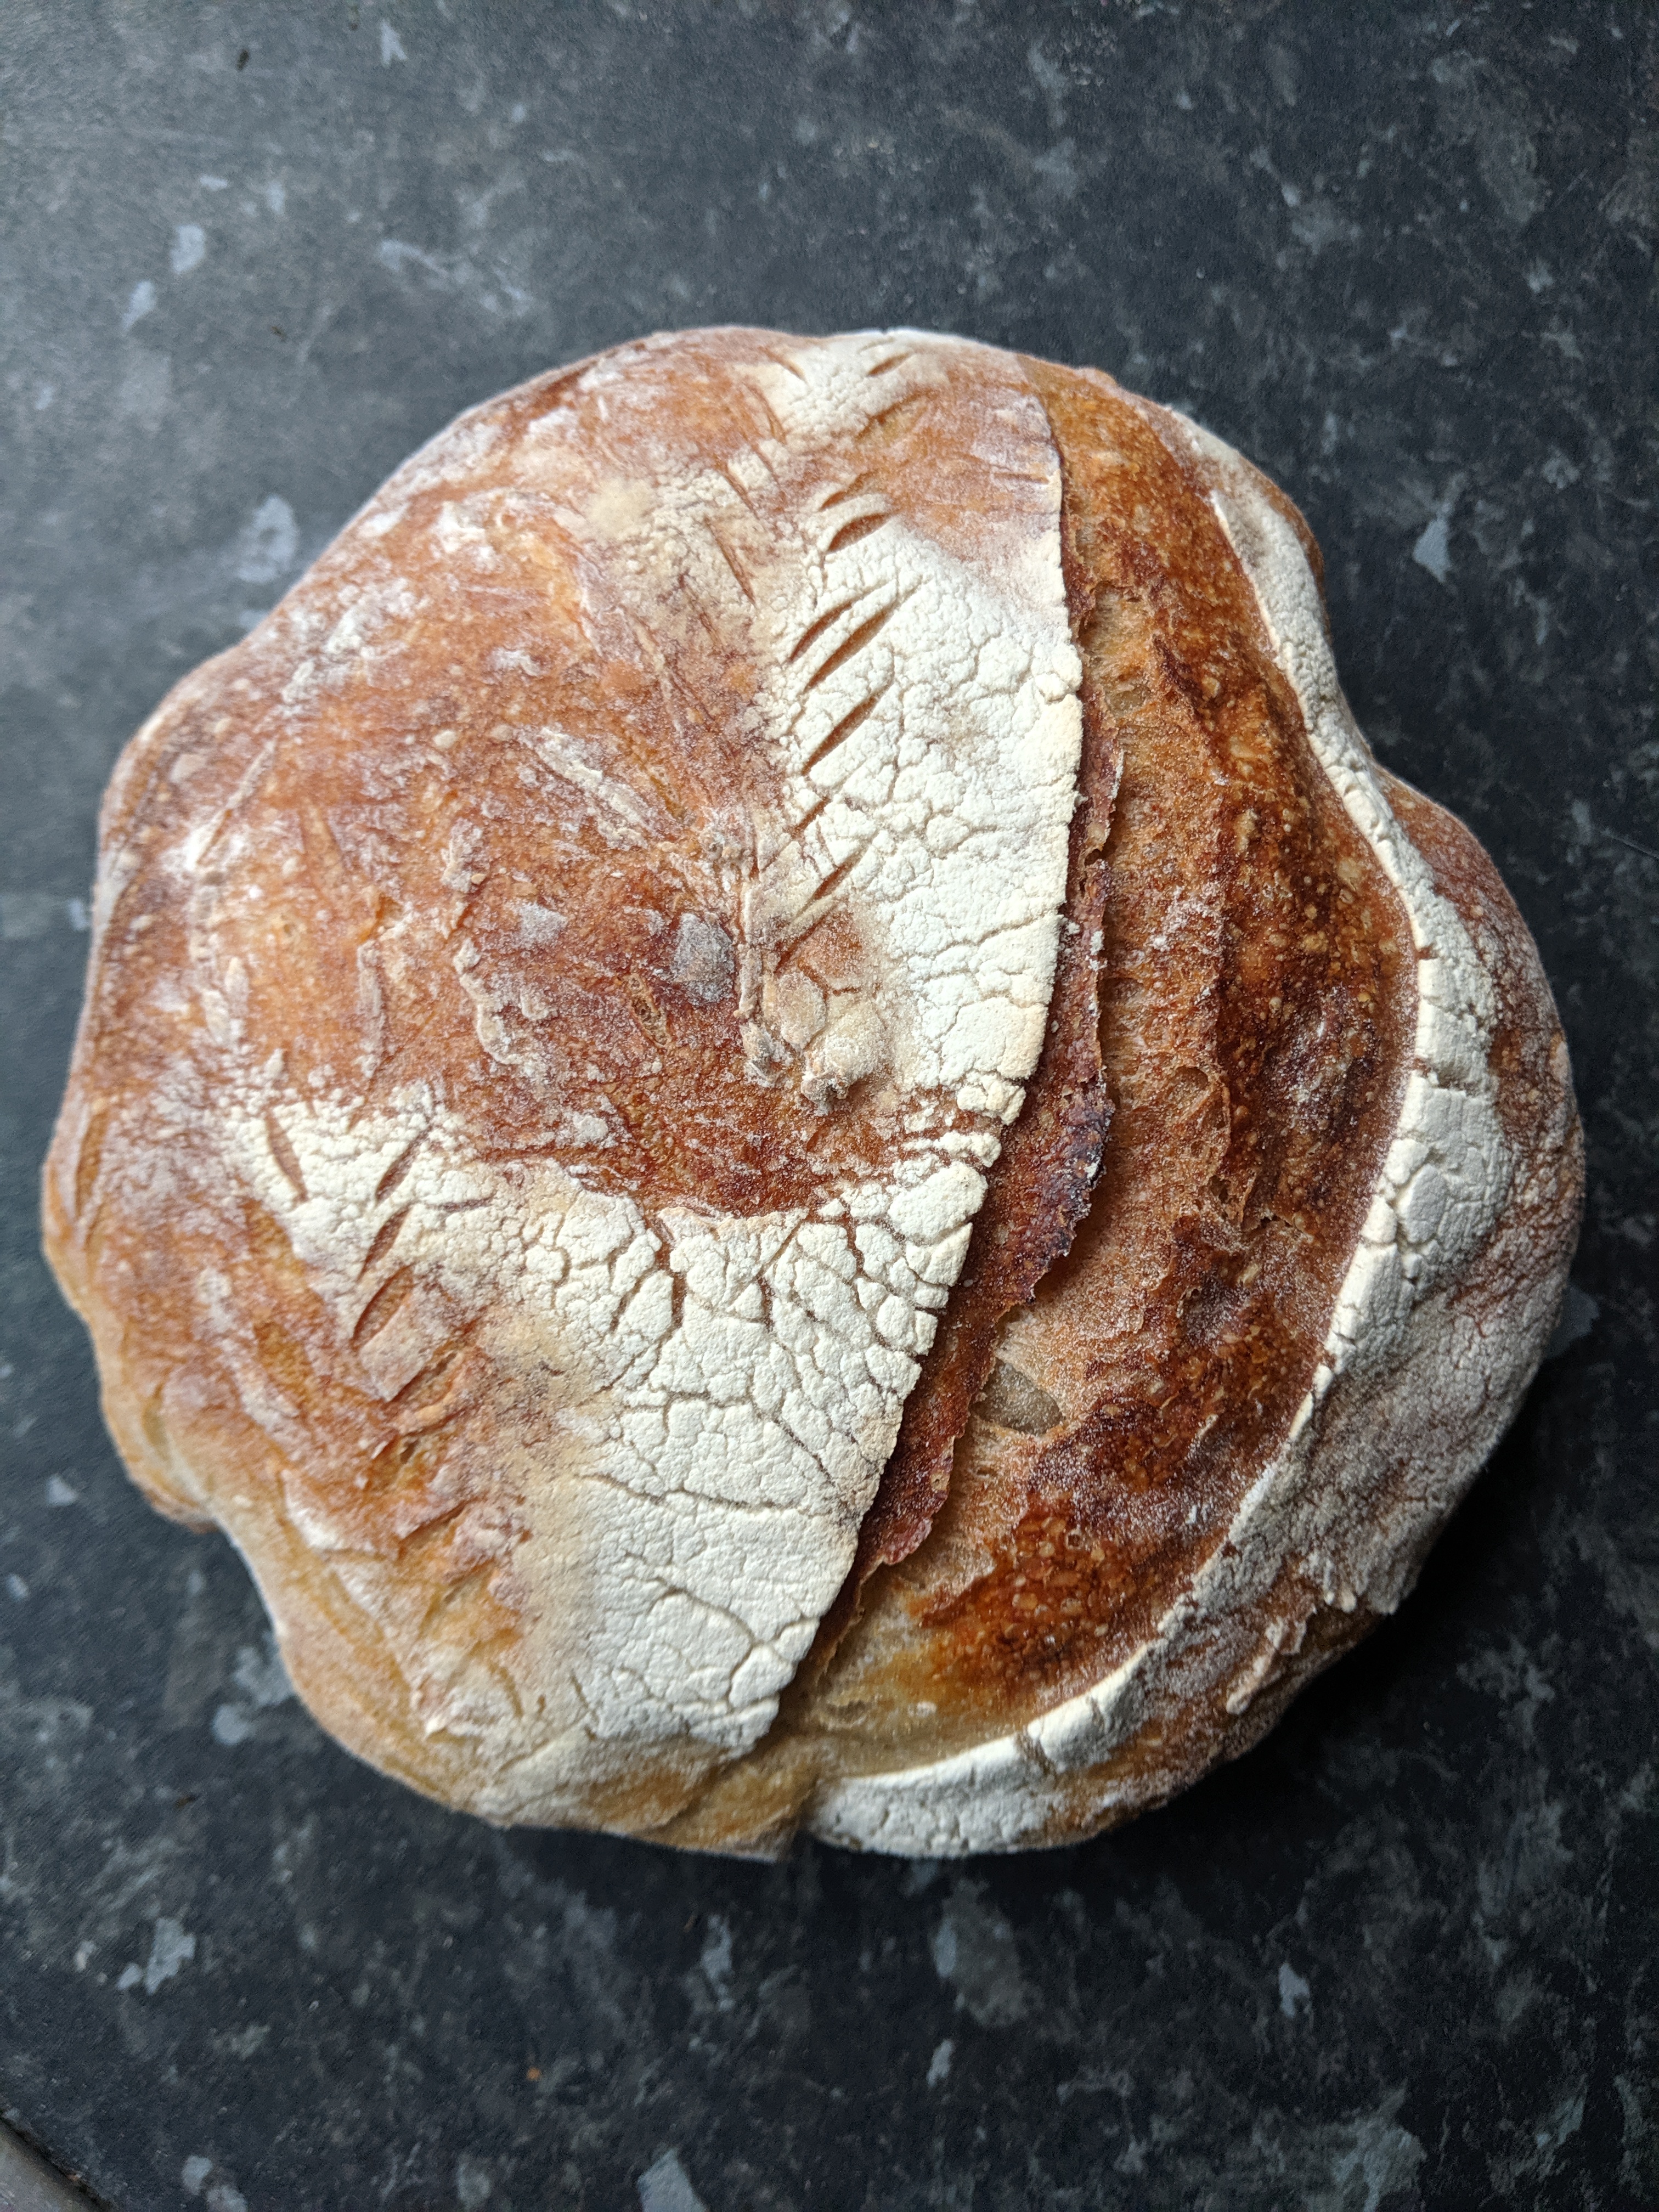
If you now have a starter and would like to bake some bread, I would recommend halving this recipe be Joshua Weissman ( https://www.youtube.com/watch?v=eod5cUxAHRM&t=587s ) and giving it a go. Tweak it, use different flours, different proving times, see what happens, learn along the way and let me know how you get on!