Bake Off Technical No. 3: Floury Baps

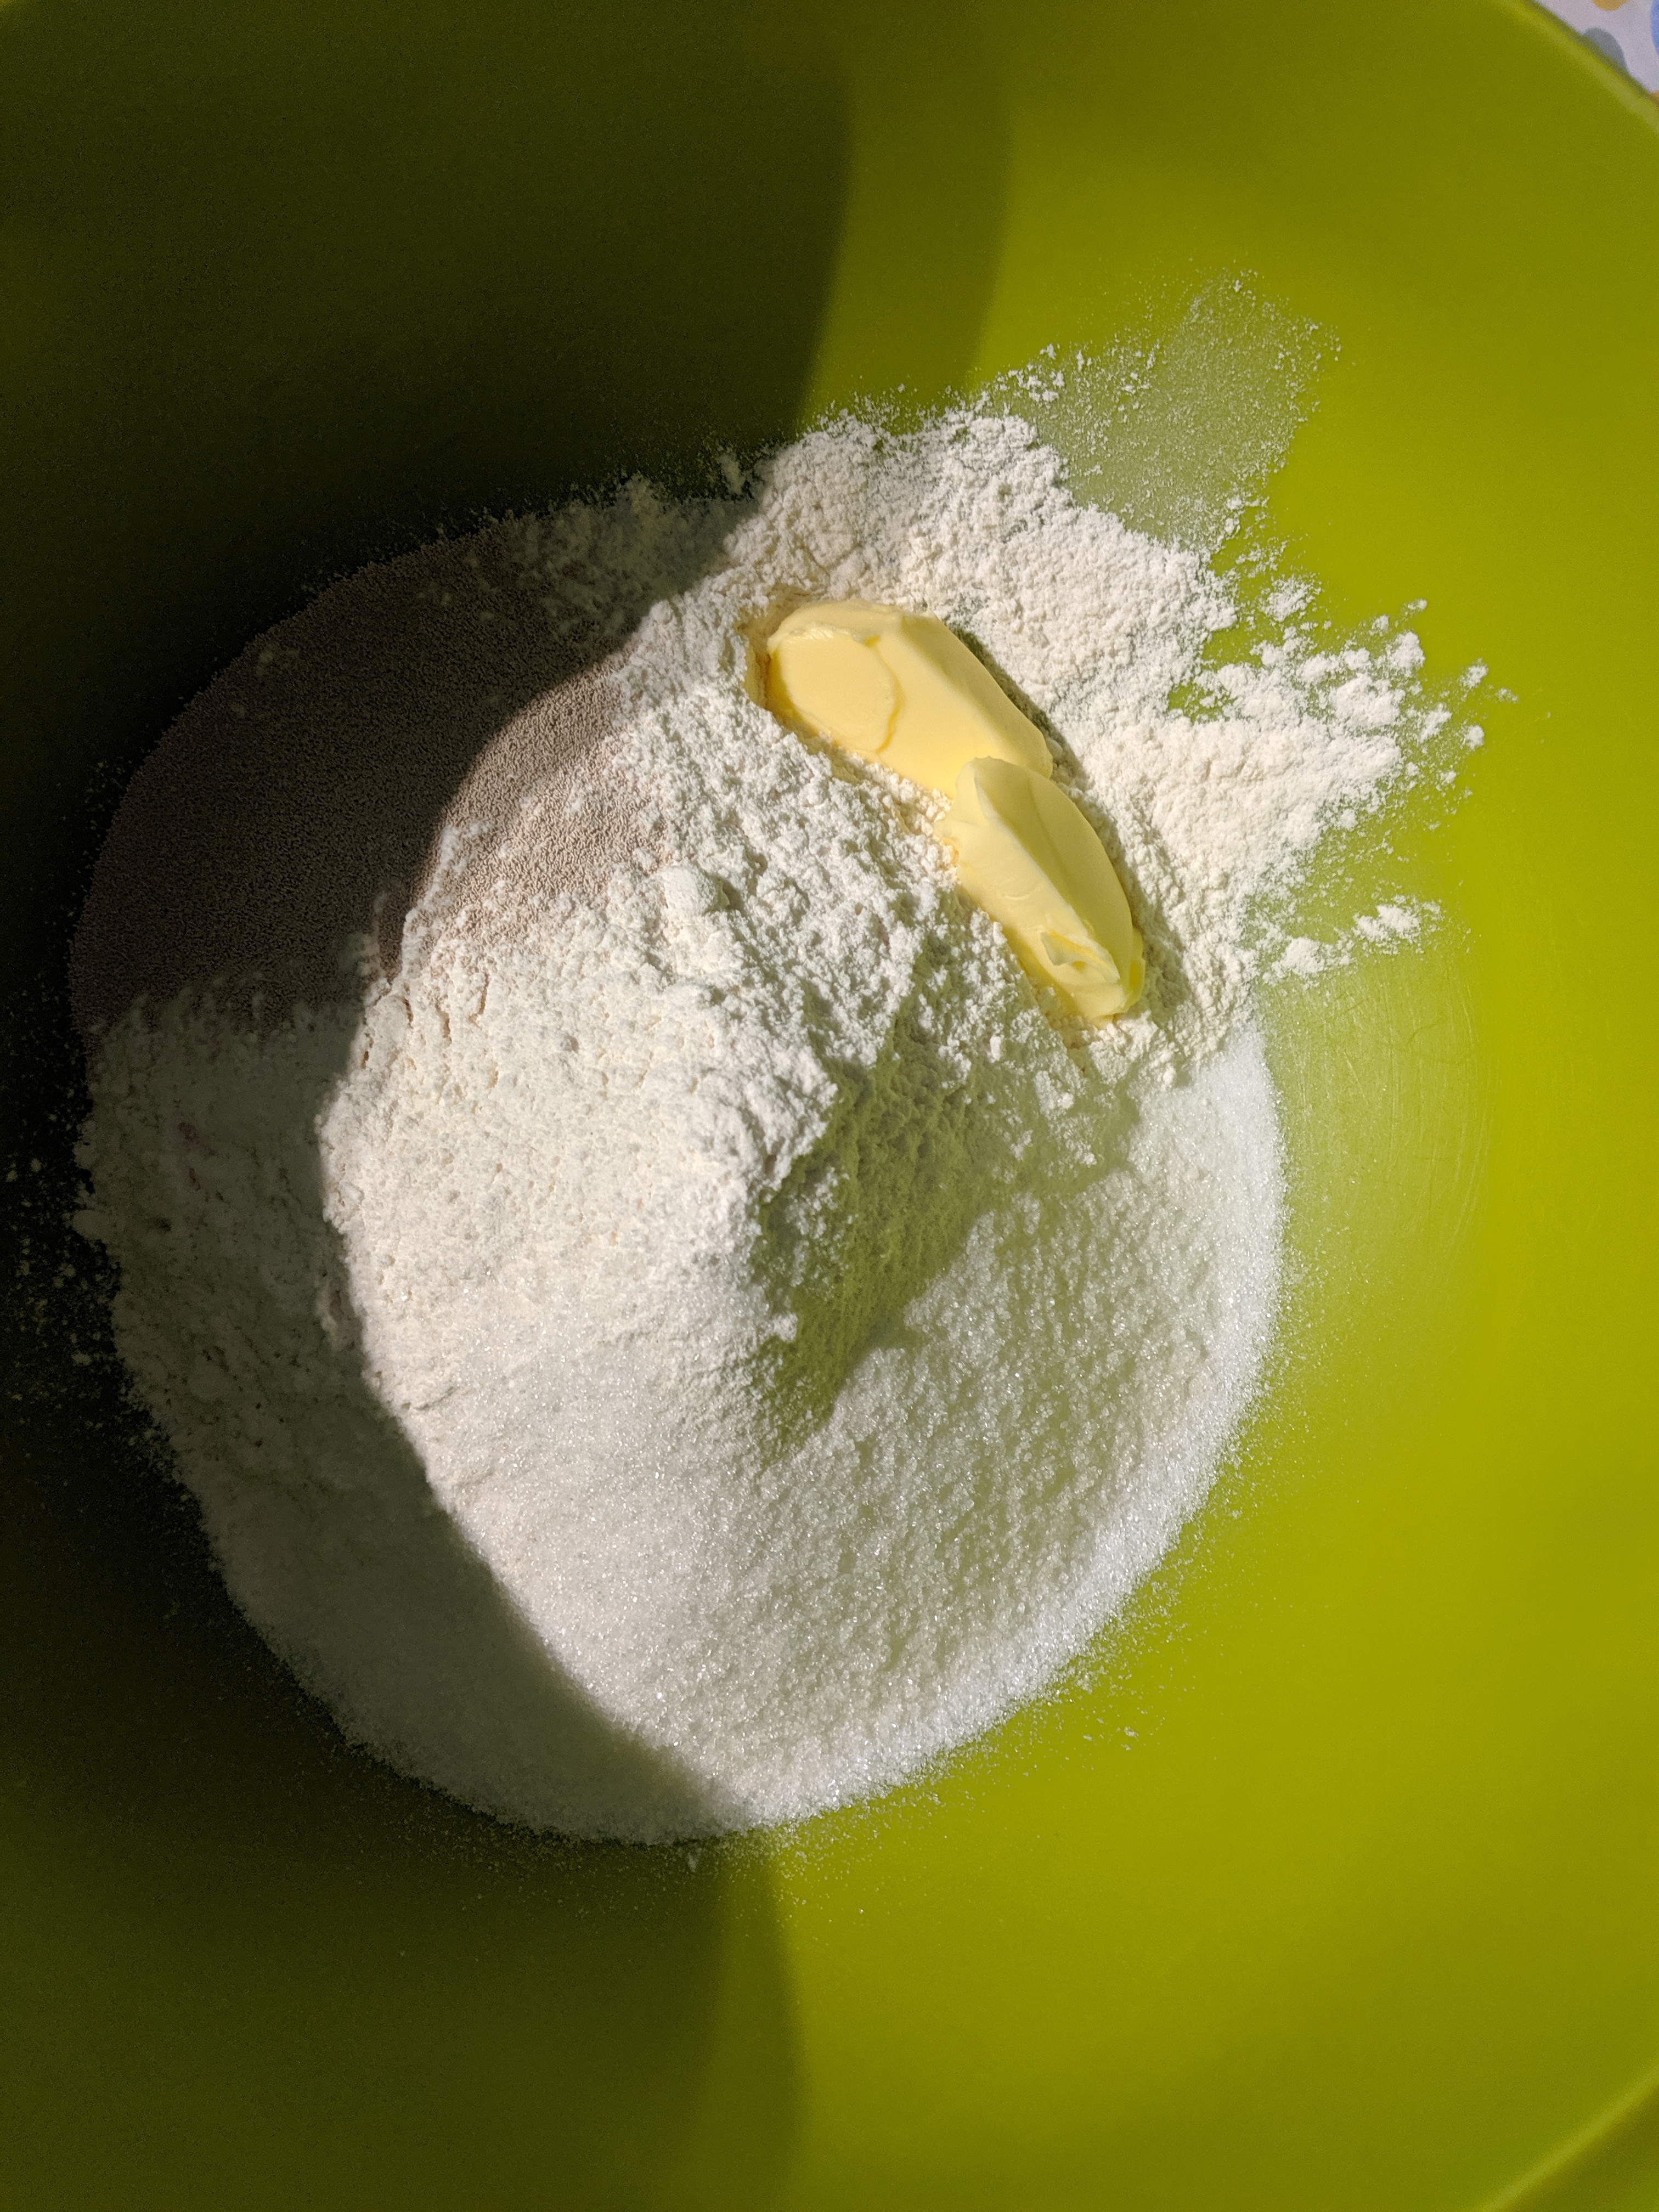
As you may already know, I like bread, and I like baking bread. So this was a challenge that I was pretty confident I would nail. I am also vegetarian, so have made many veggie burgers in my time. This technical was to create 8 floury baps, alongside making some yummy veggie burgers. I’ll admit, I didn’t follow quite so closely to the recipe this time as I knew what I am doing with regards to each component. This began at step one, where I substituted the vegetable shortening for 50:50 of butter and oil. What even is vegetable shortening? I don’t think it affected the outcome, its purpose is just to add fat to the dough to enrich it.

‘Baps’ is such a funny word, isn’t it. This is what Paul’s looked like. In my opinion, I don’t like the look of that burger and cheese – it looks rather dry!

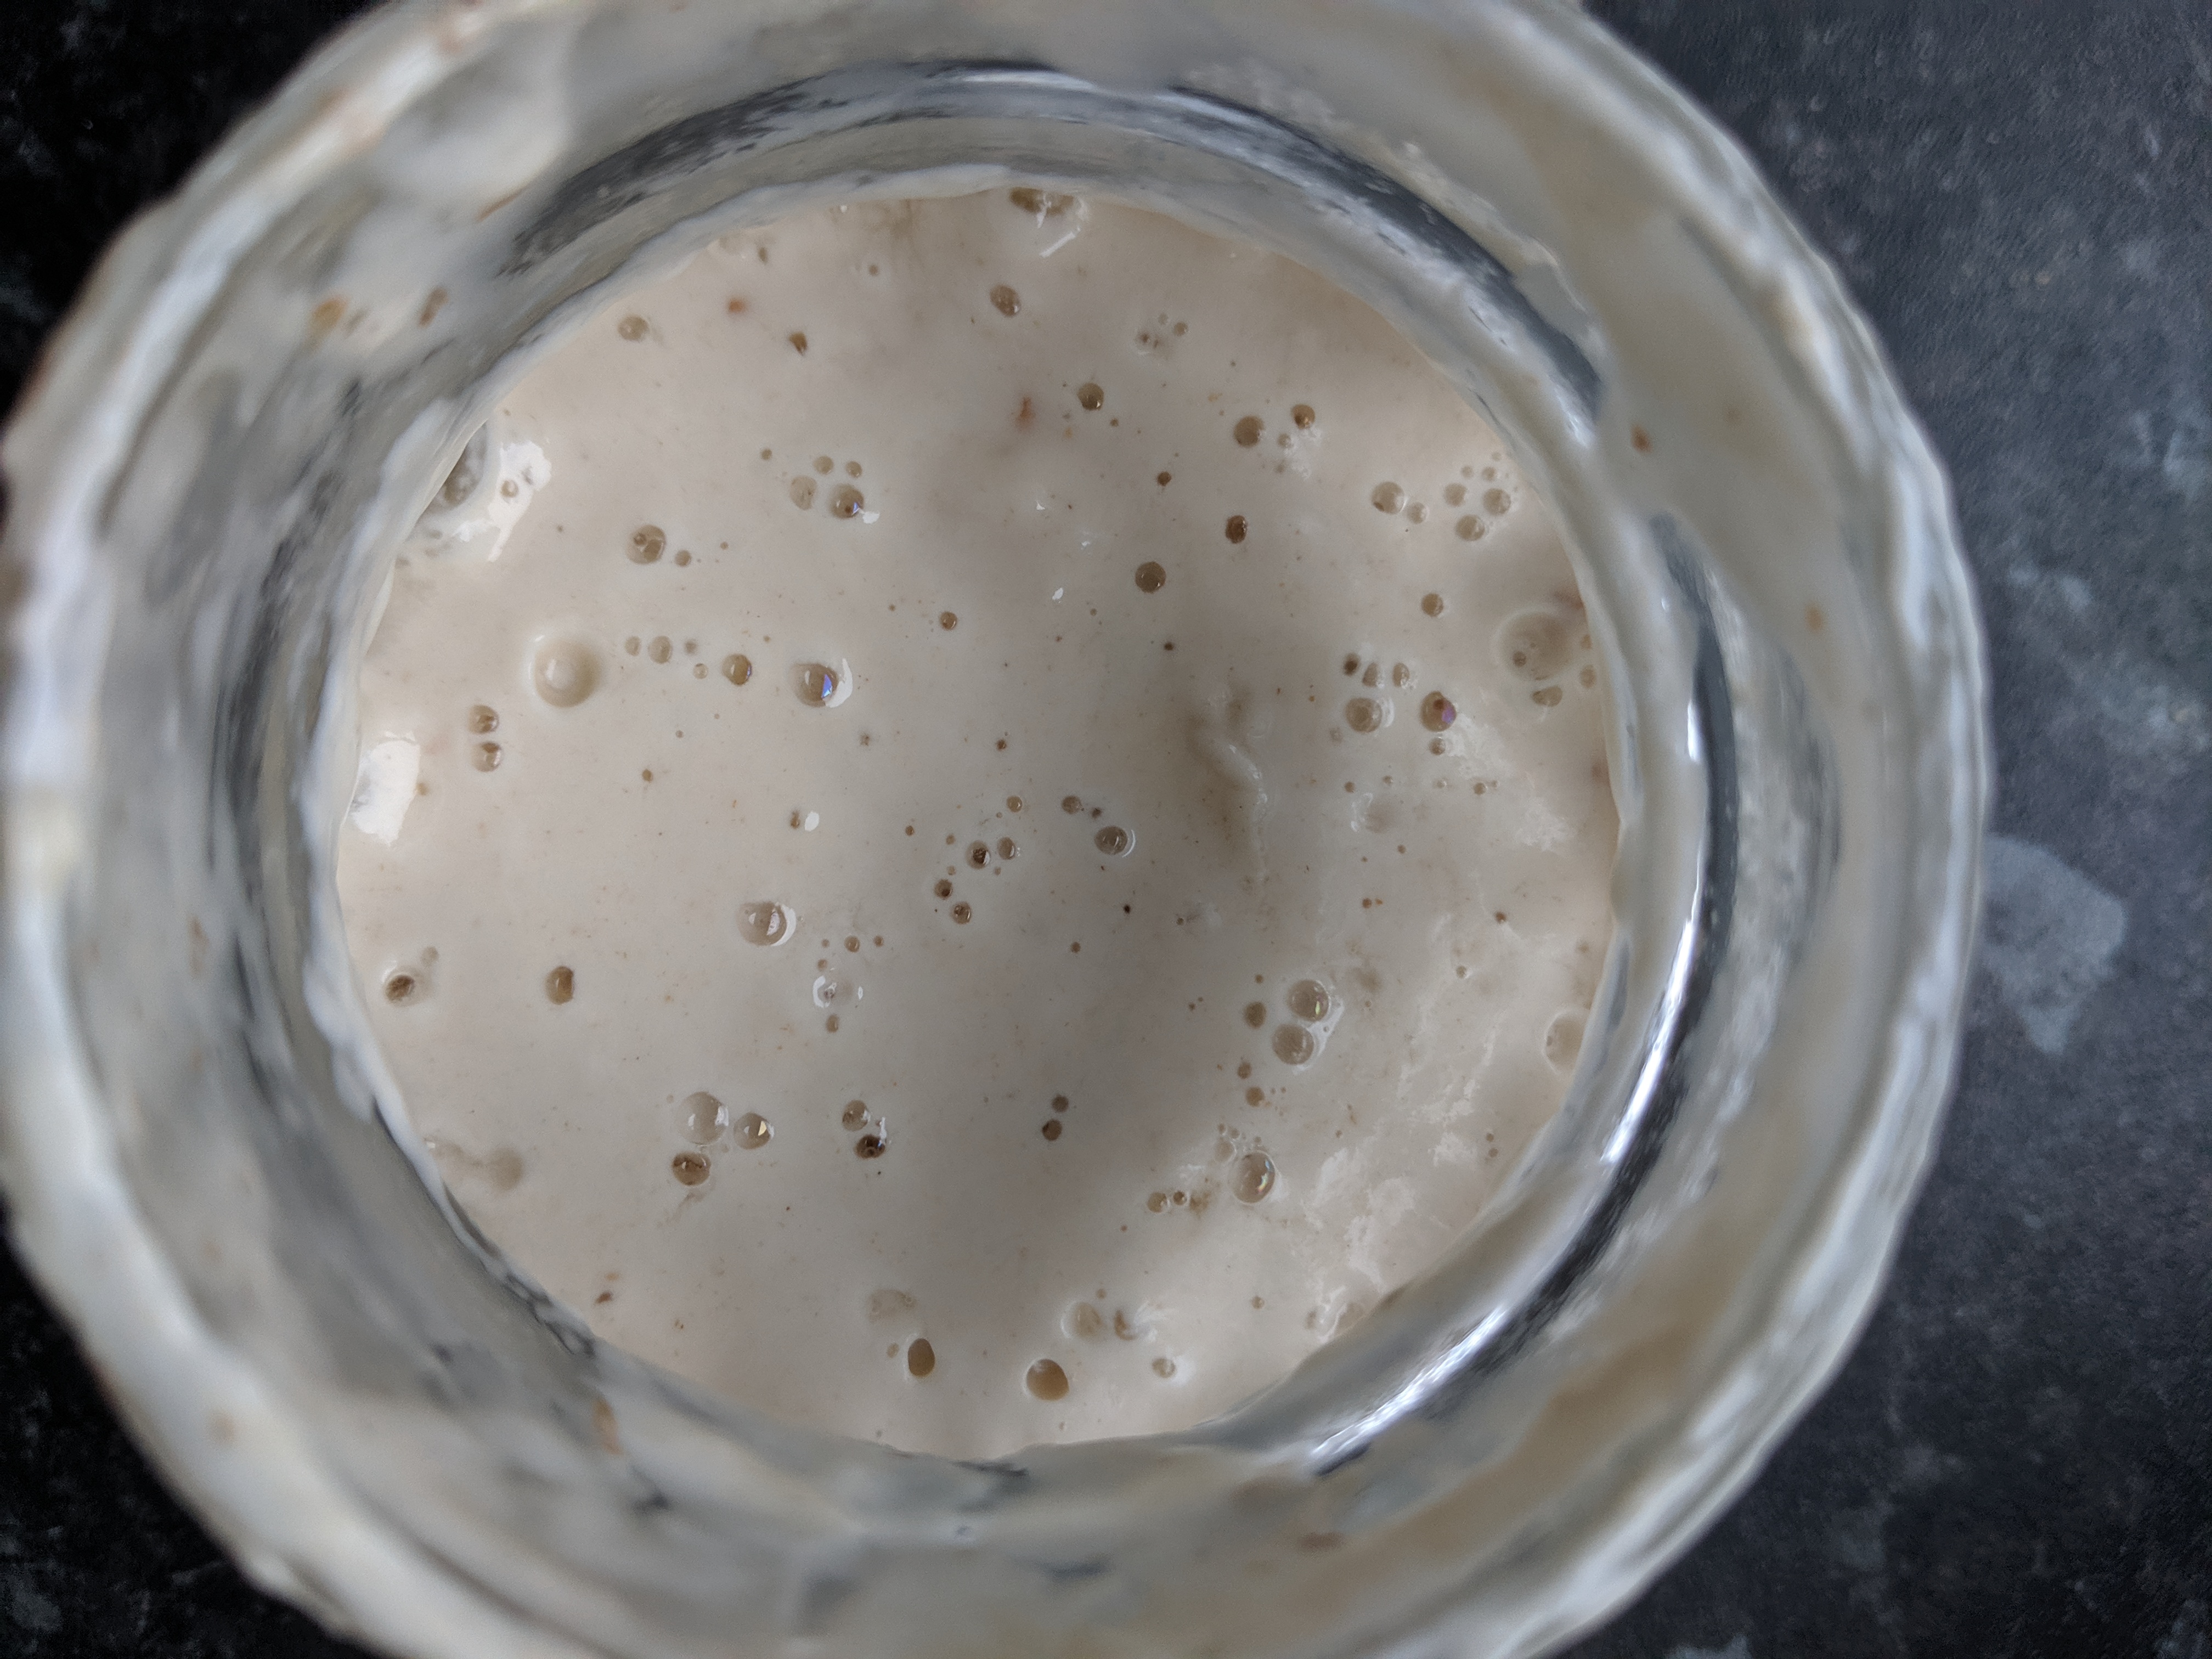
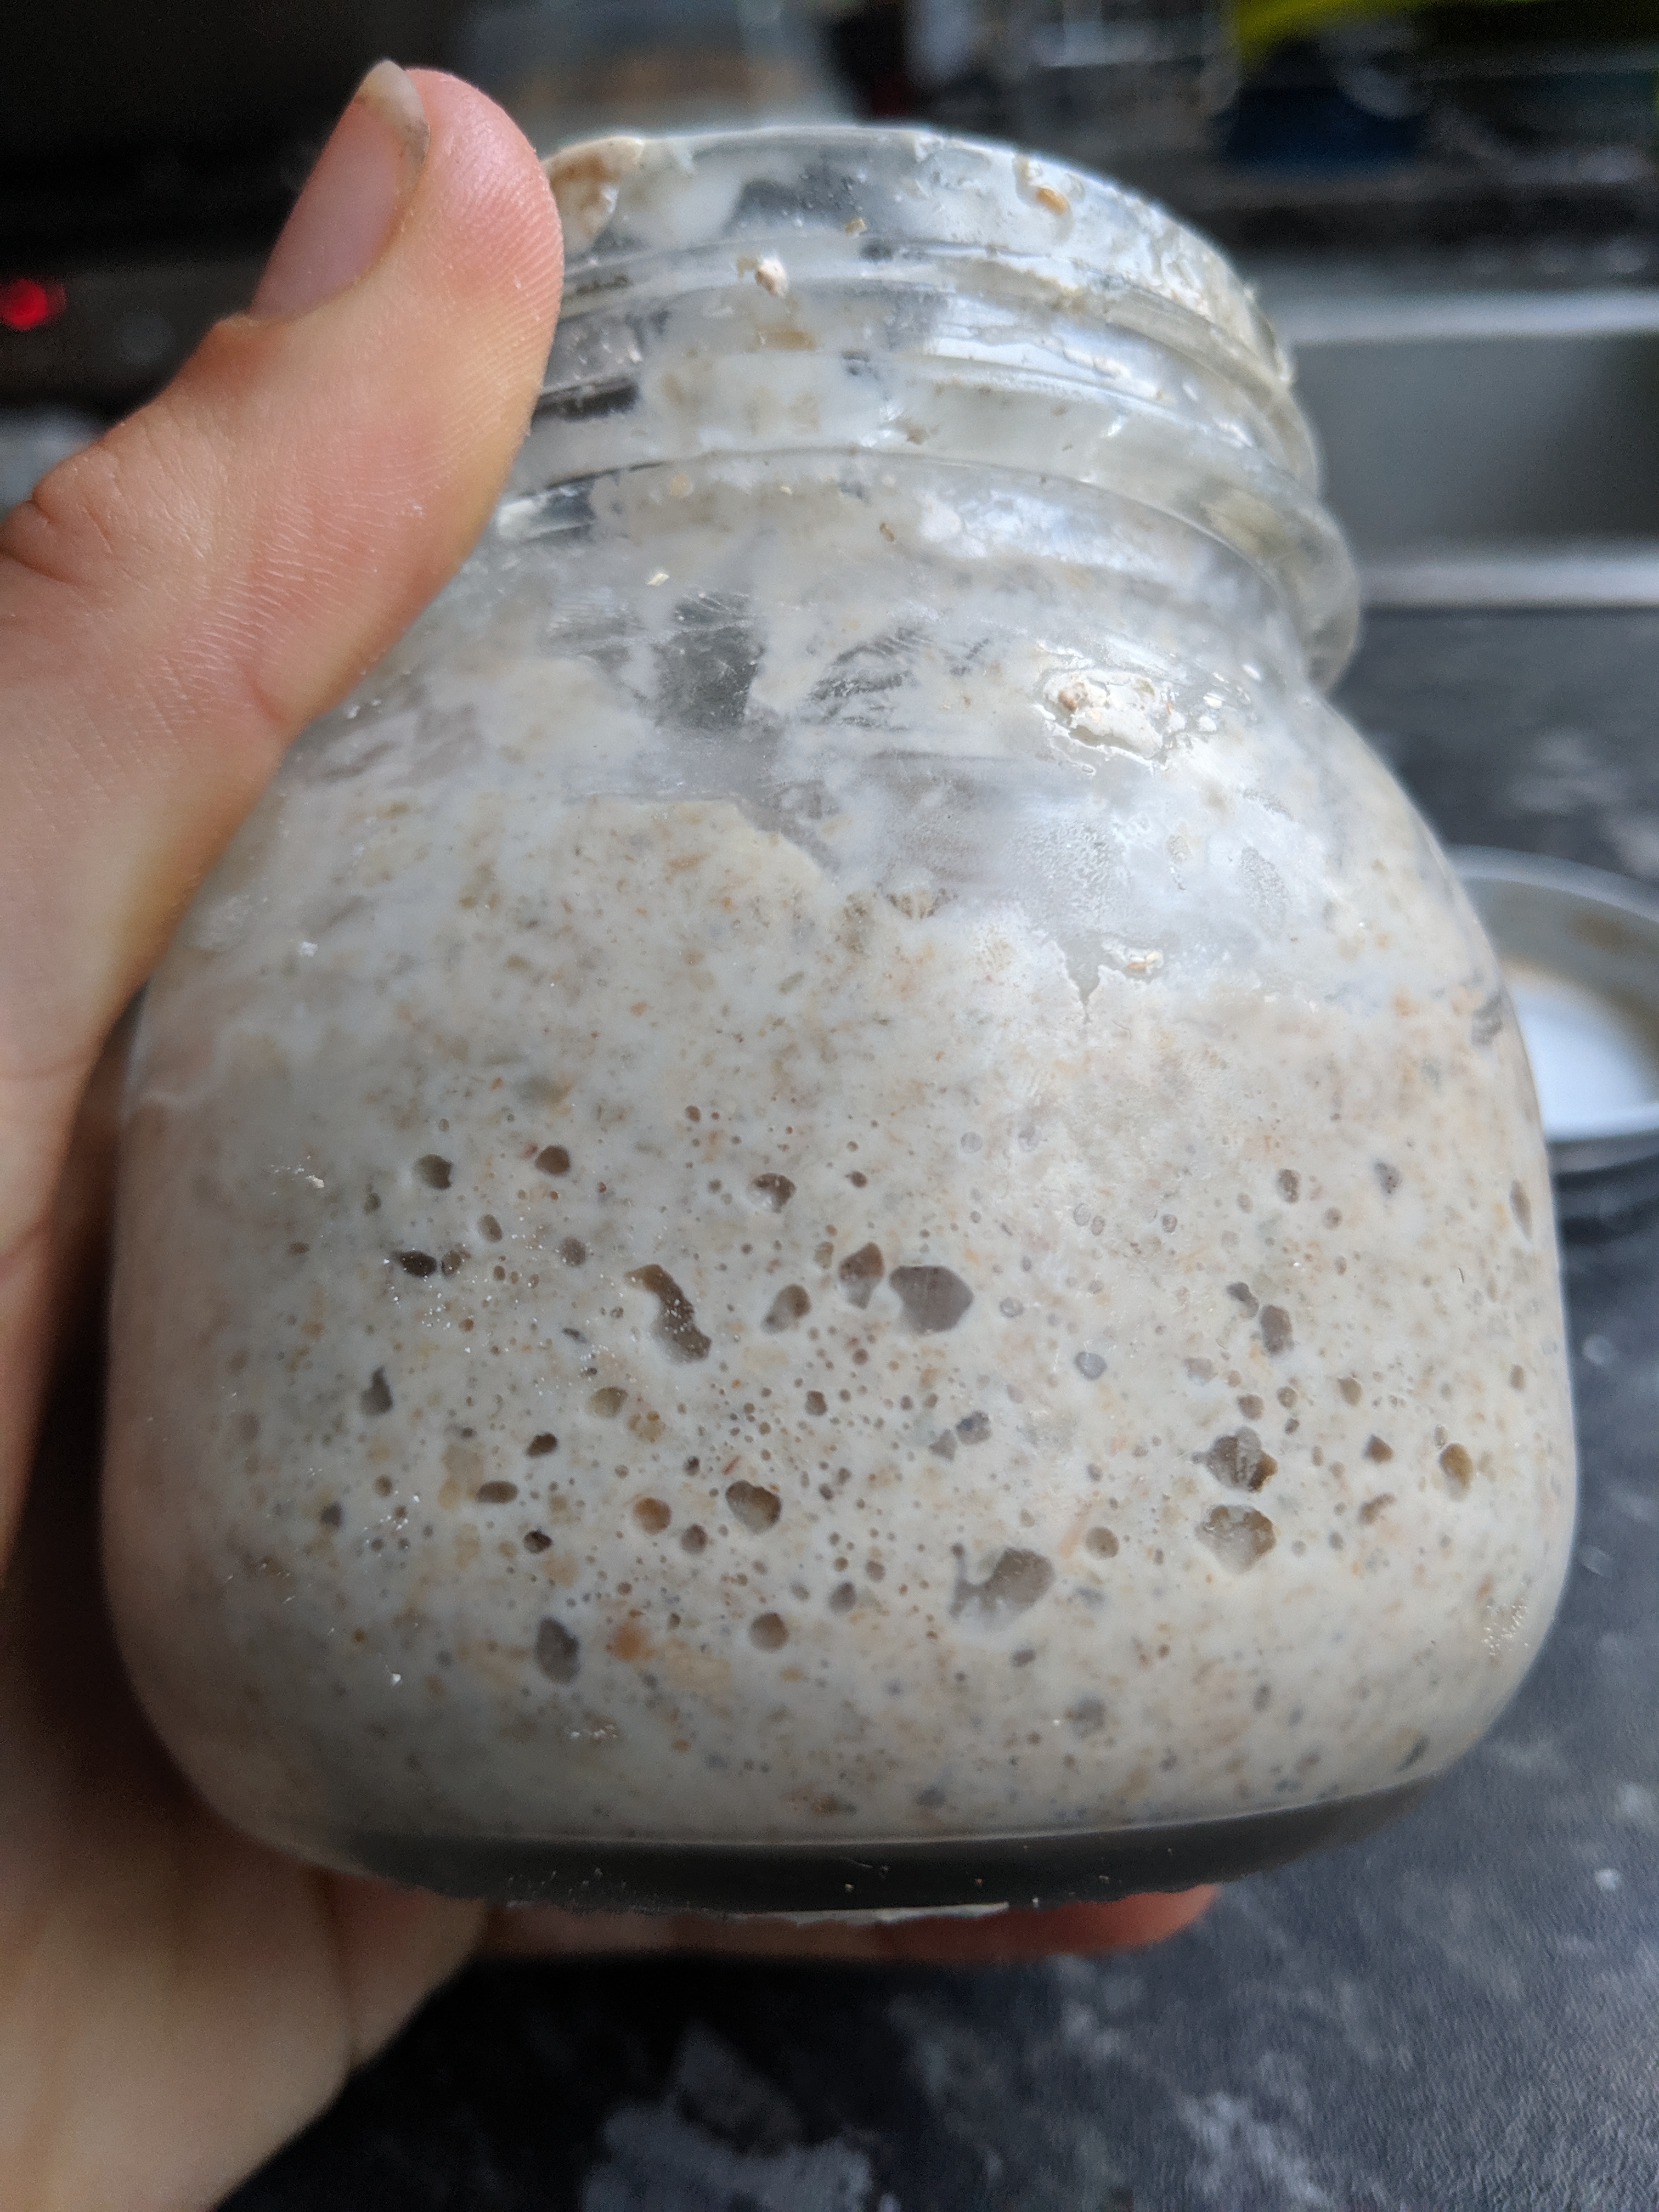
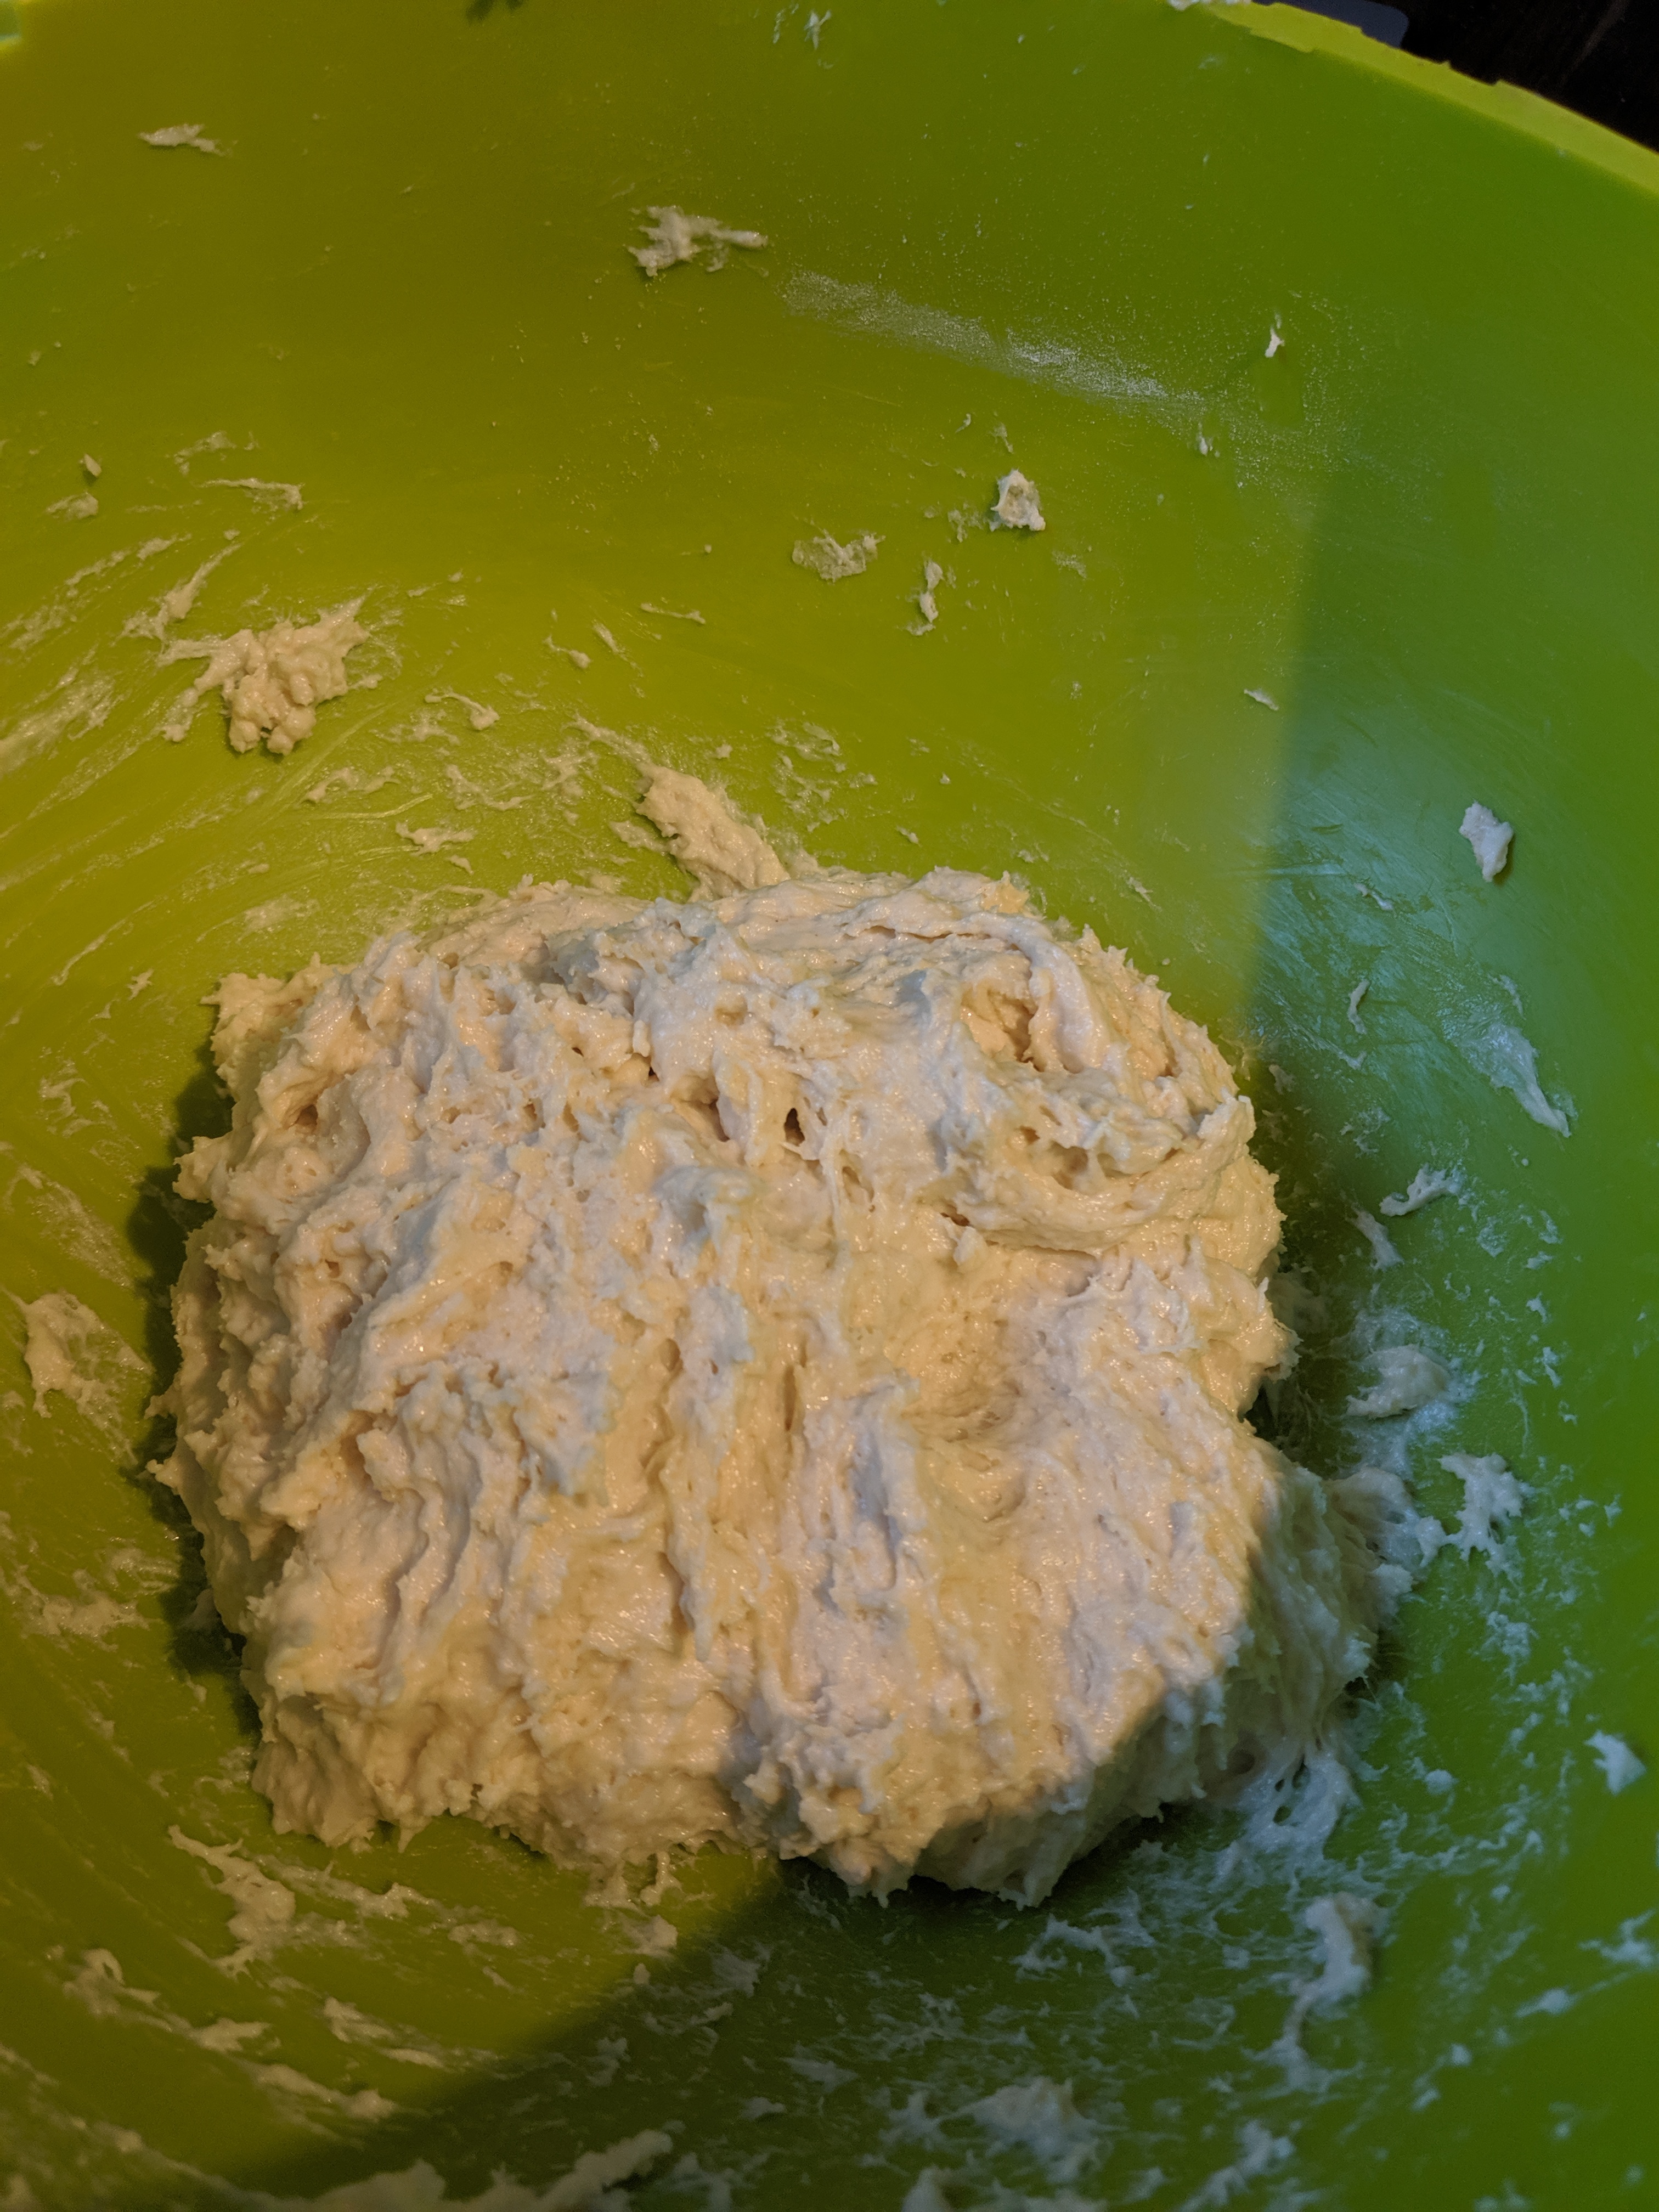
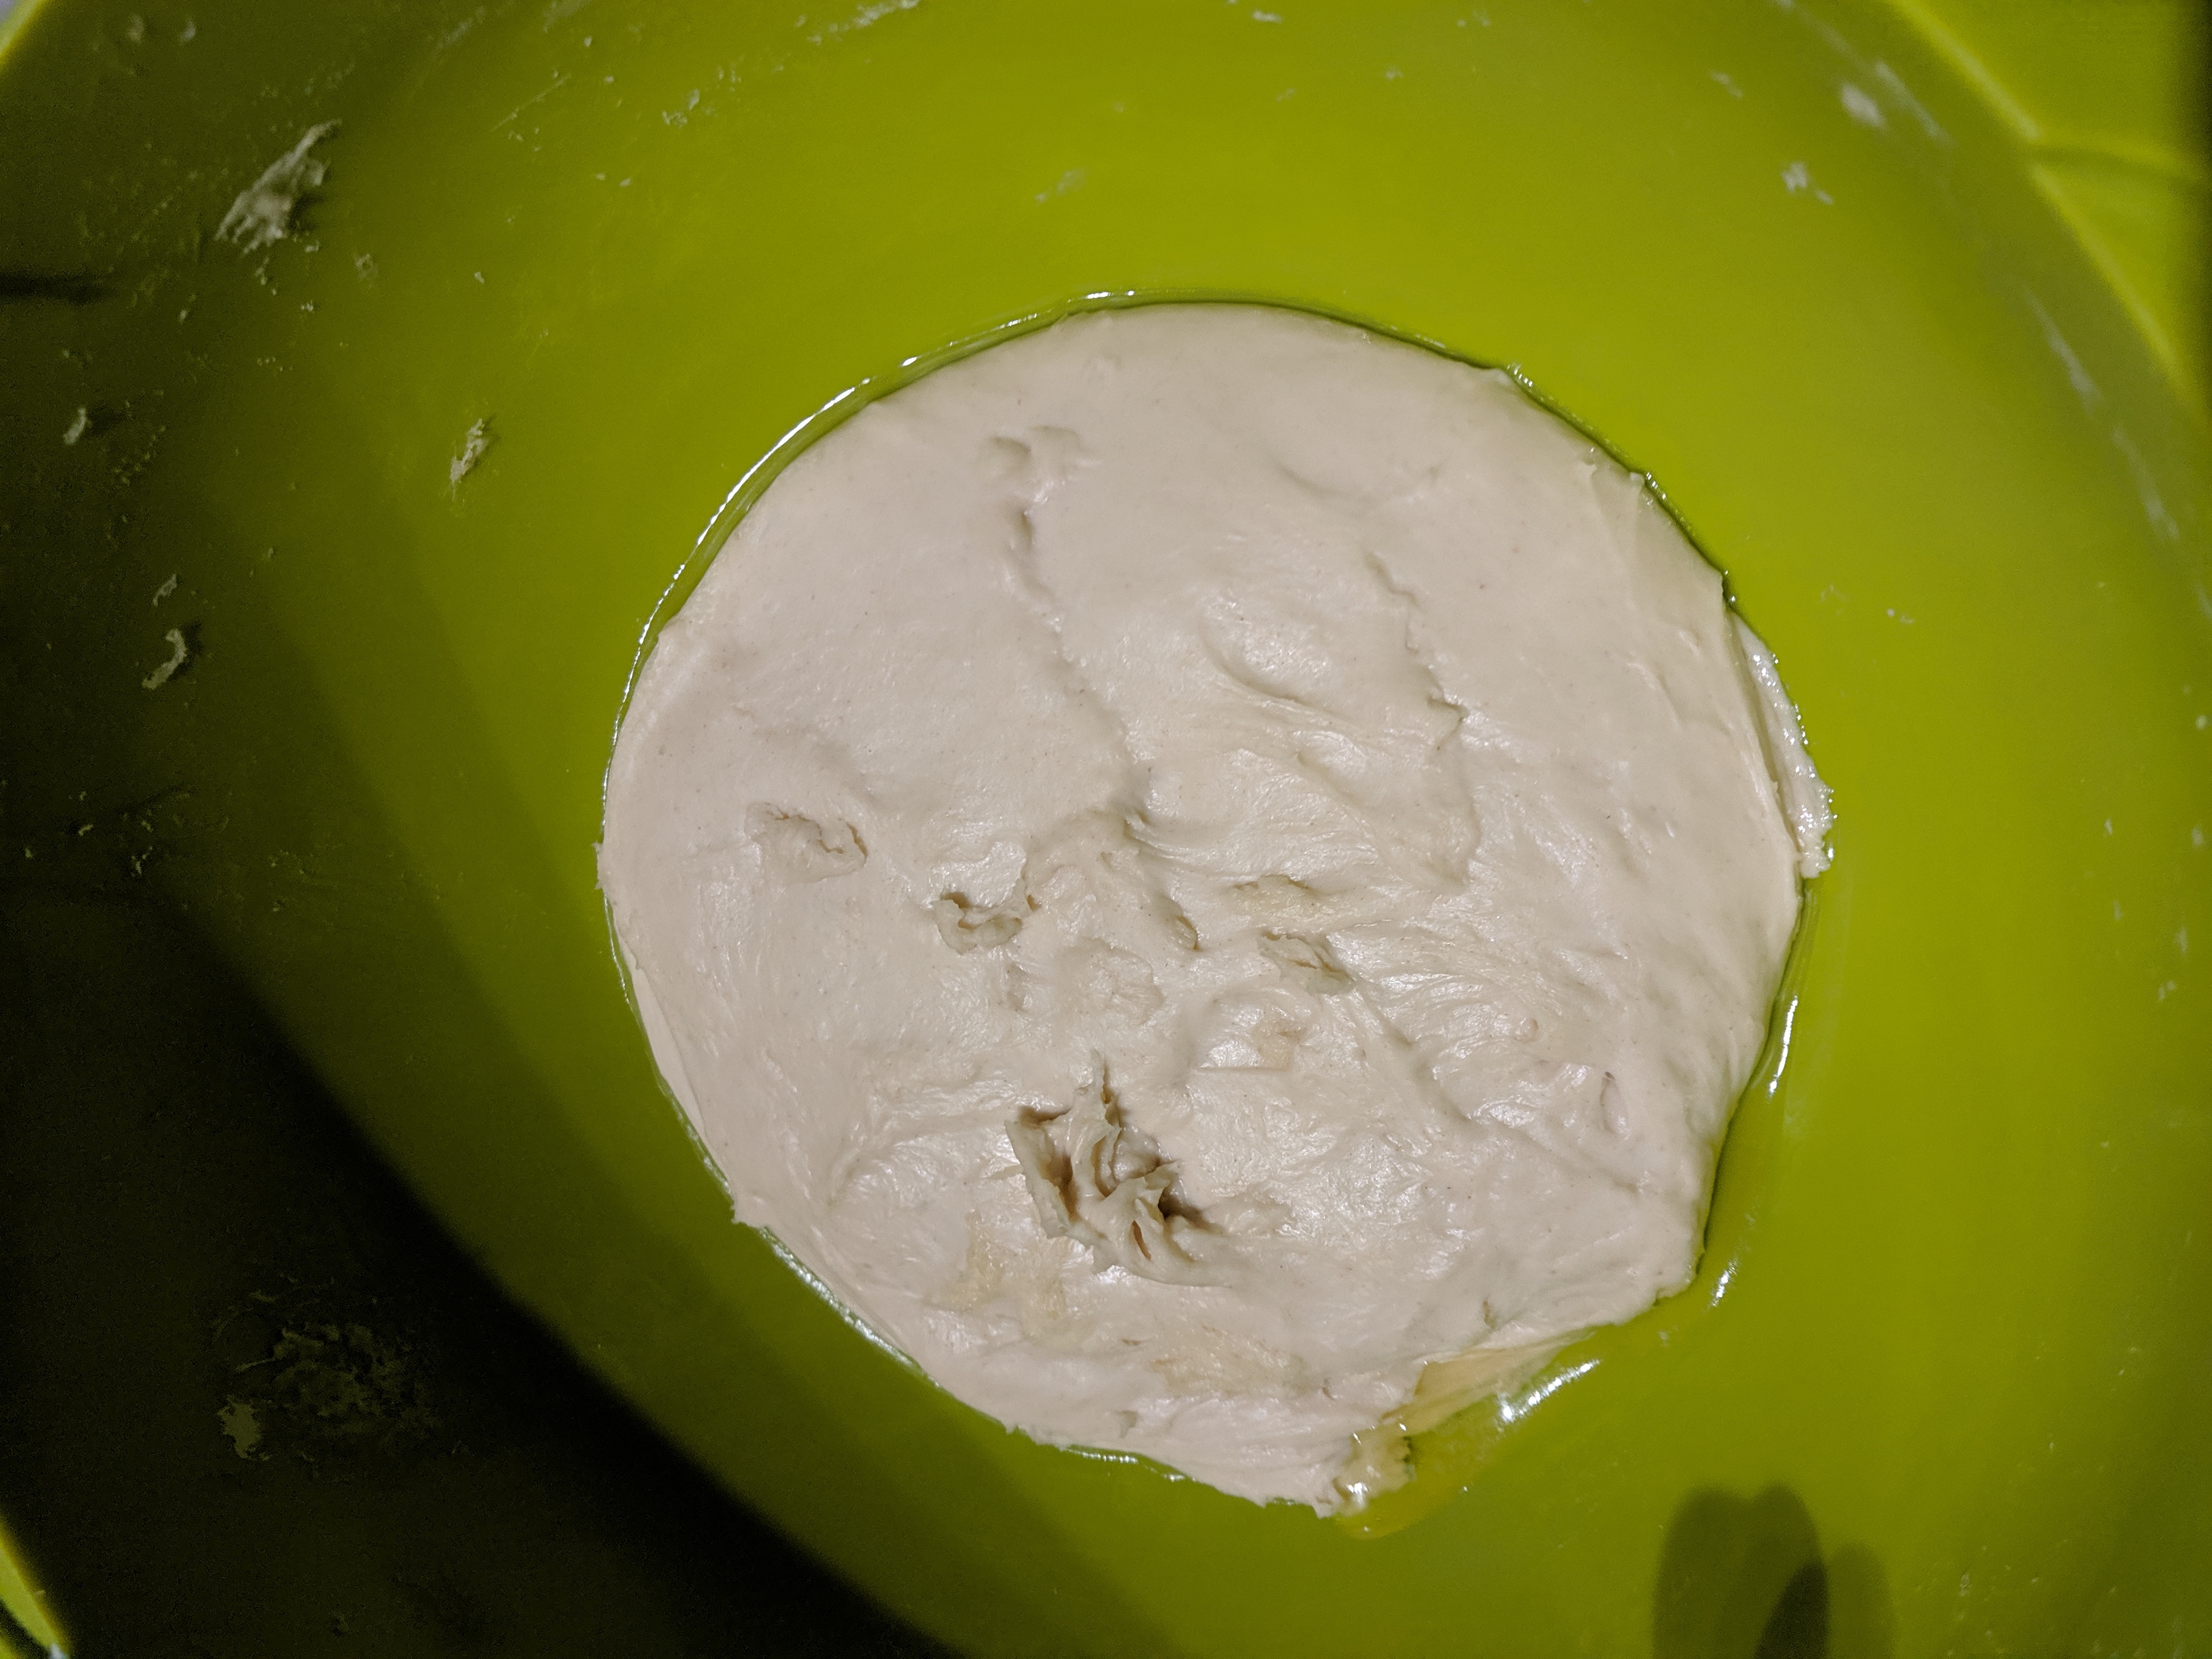
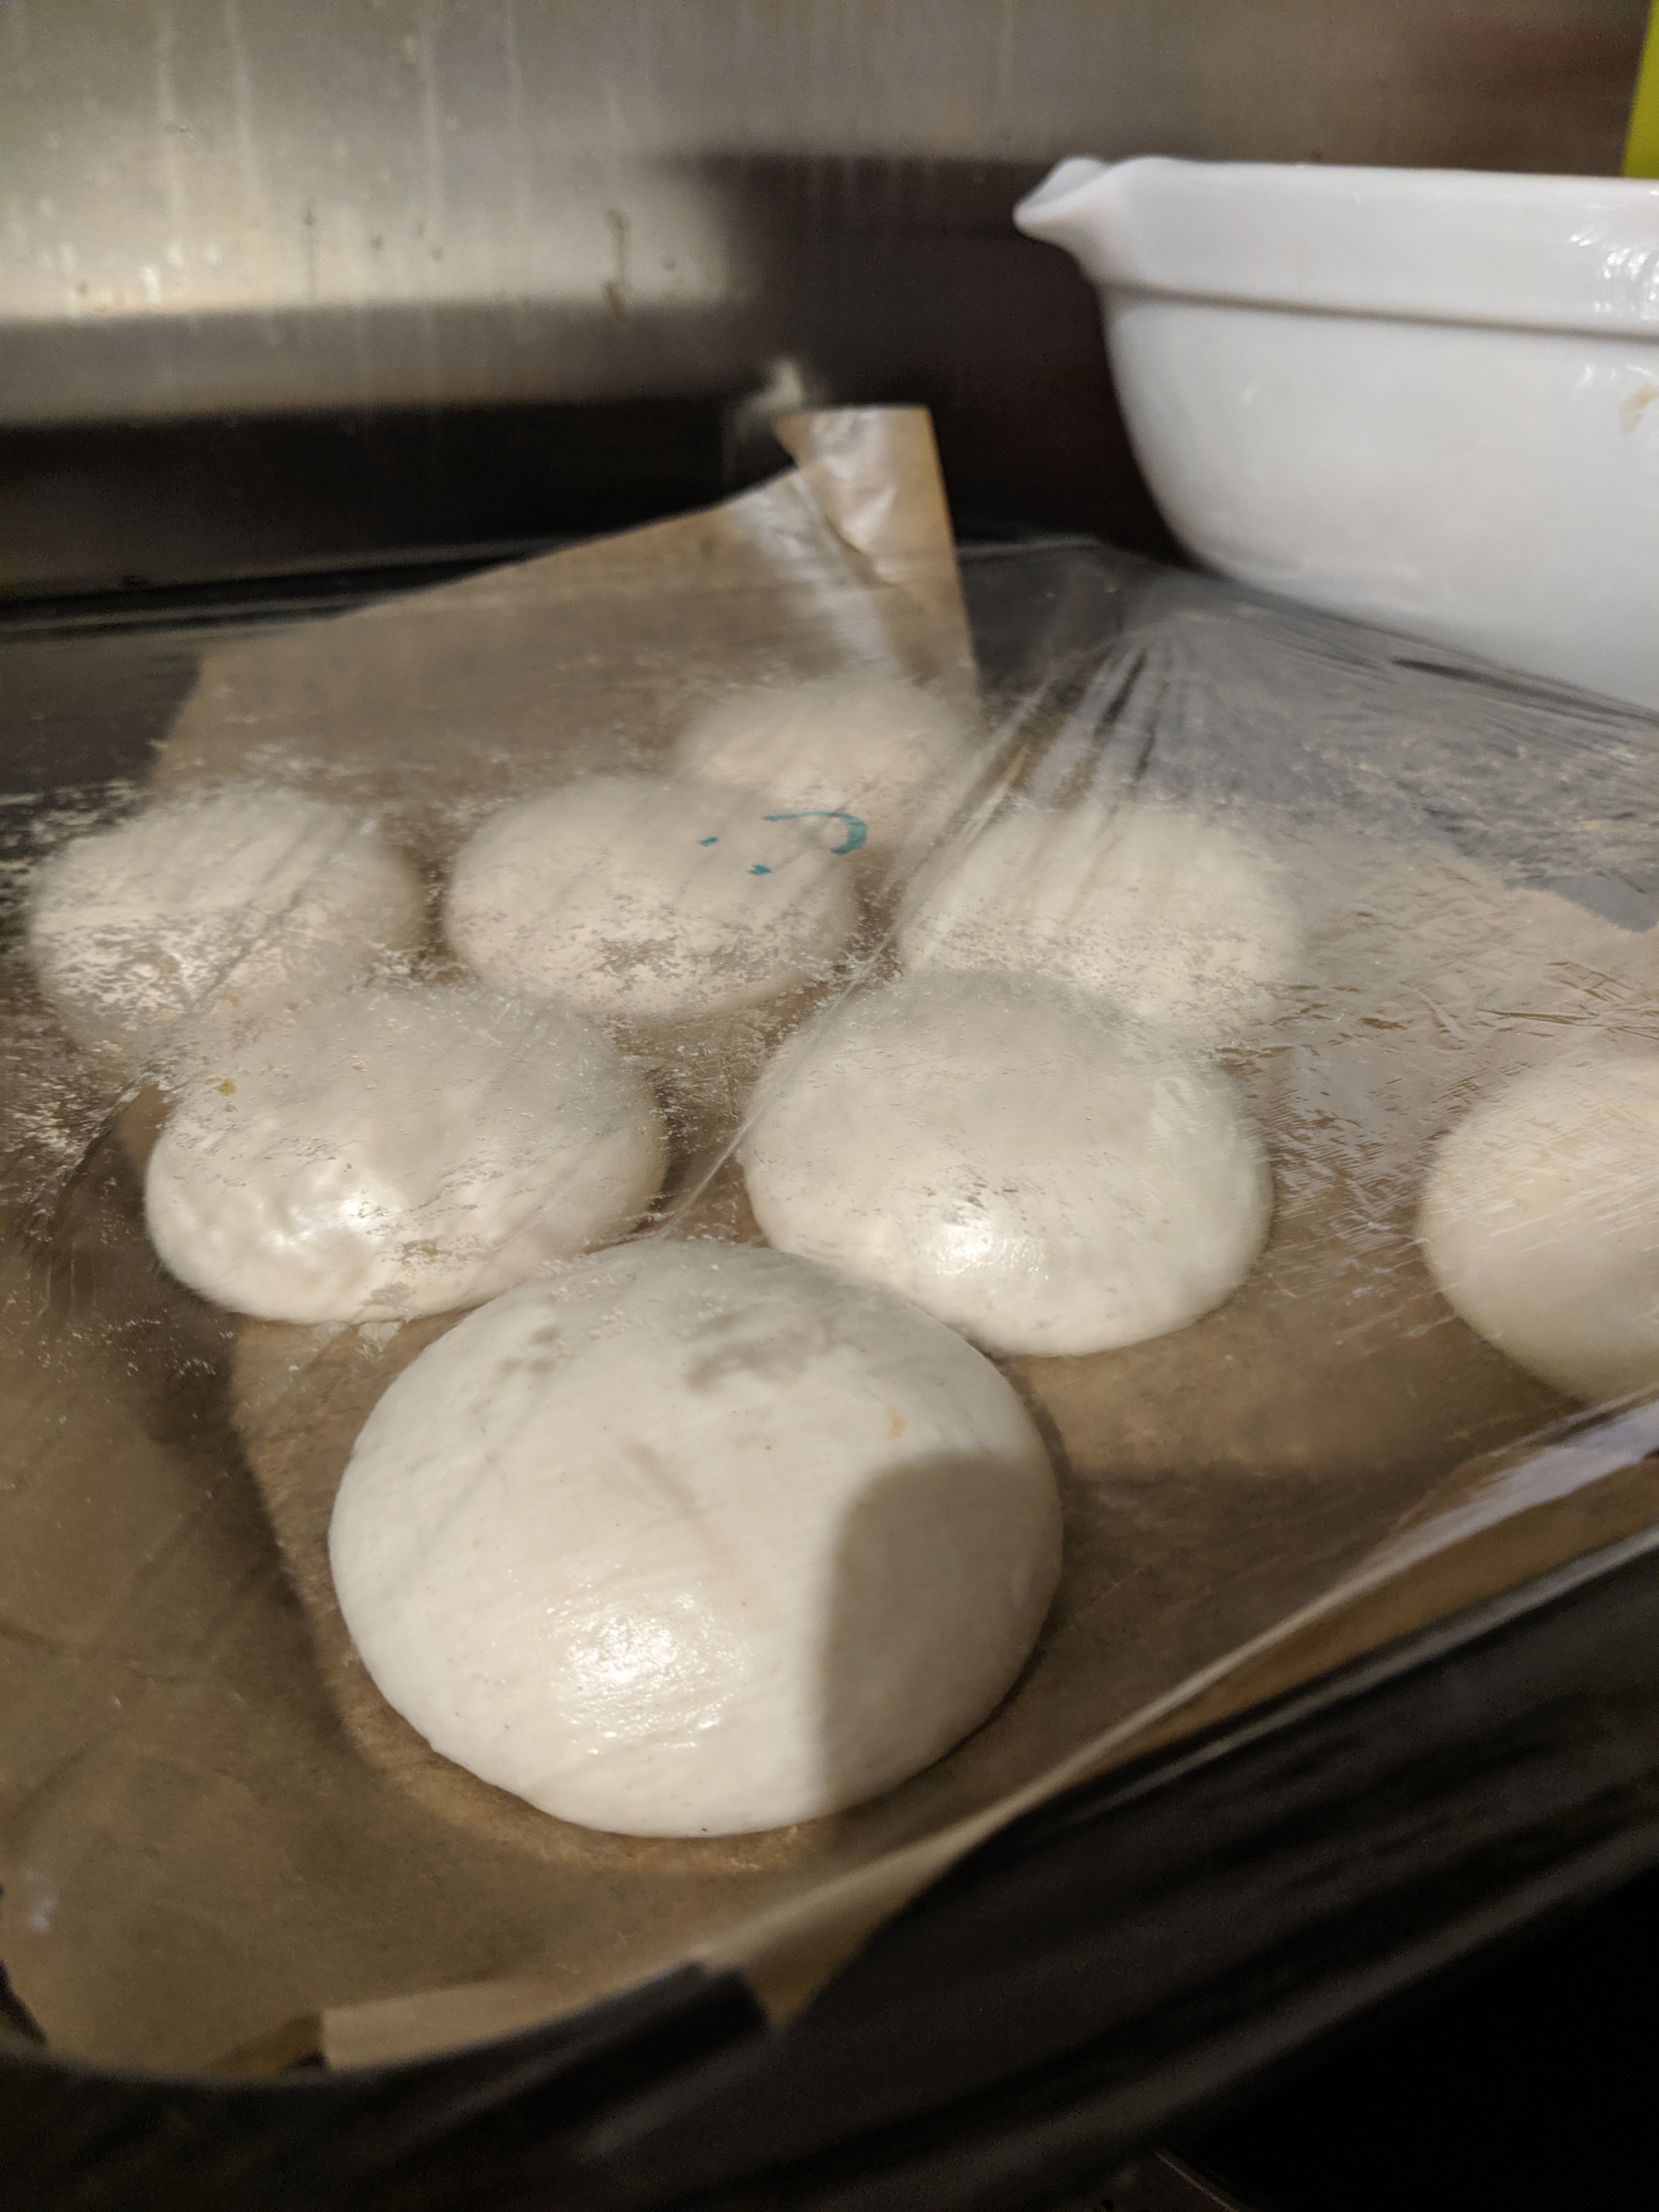
Below is a short visual montage of all the steps for the dough. Yeast, flour, butter, oil, salt and sugar went into this one. Look at how its texture changed from shaggy before it was kneaded to smooth after it was proved (pictures 2 and 3). I was making these baps for dinner for my housemates, and I hadn’t left myself quite enough time for the second prove so rather than the 45 minutes they were meant to have, I gave them 20 (strike two for deviating from instructions, we were hungry ok!). Nevertheless, the dough looked lively and I could see the yeast being active.

While the dough was proving both the first and second times, I set about making the veggie burger. This is where I went completely off piste. In my opinion, this technical is about the bread – it’s a Bake Off, not a Cook Off, after all! Therefore, when I saw that I had absolutely no beetroot in the fridge, I decided to make up the recipe for the burgers myself.

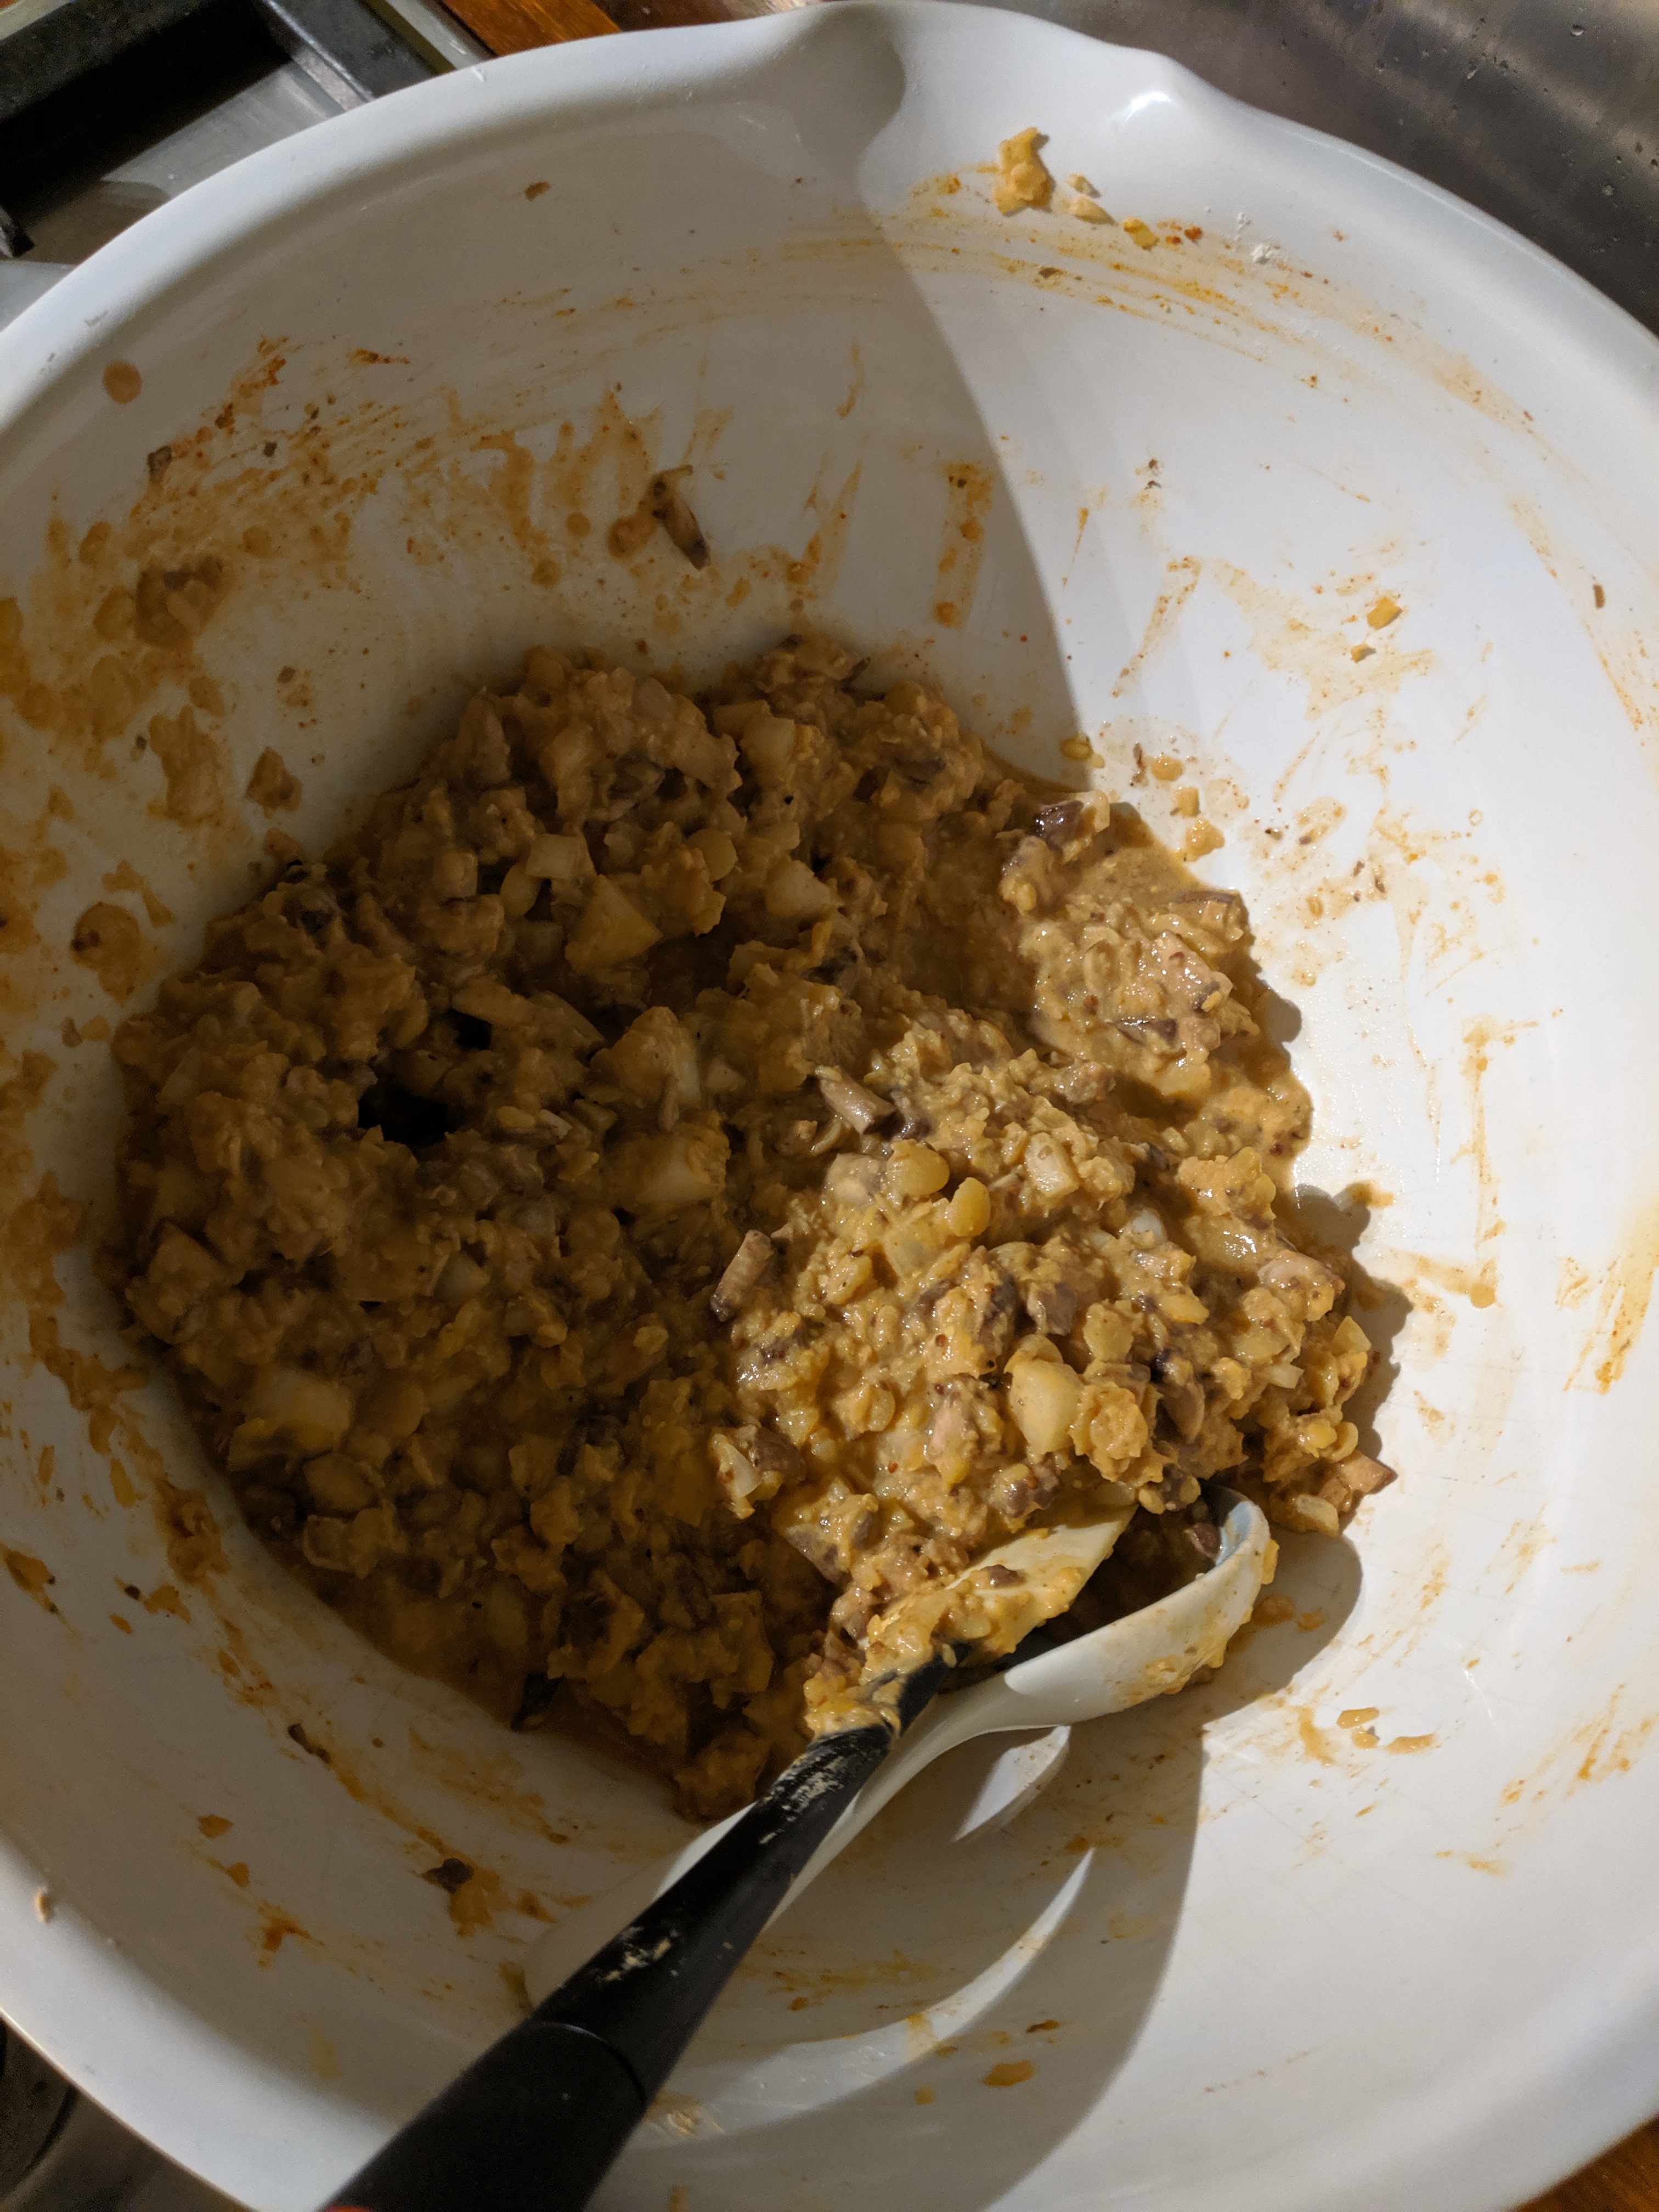
These burgers had onions, chickpeas, lentils, flour, one egg and plenty of spices mixed into them. In my opinion it’s pretty difficult to go wrong with a veggie burger as long as you have good flavours and enough flour and egg to bind it together. I cooked the lentils until they were just falling apart, then I mixed together all the vegetables I wanted starting with the onions. Then I added flour and egg, and continued adding flour until I felt that the mixture would hold together when fried. Veggie burgers aren’t particularly structurally sound, but I wouldn’t worry too much about that as they are going straight in your mouth, I promise!

Just about managed to get a picture before we tucked in!

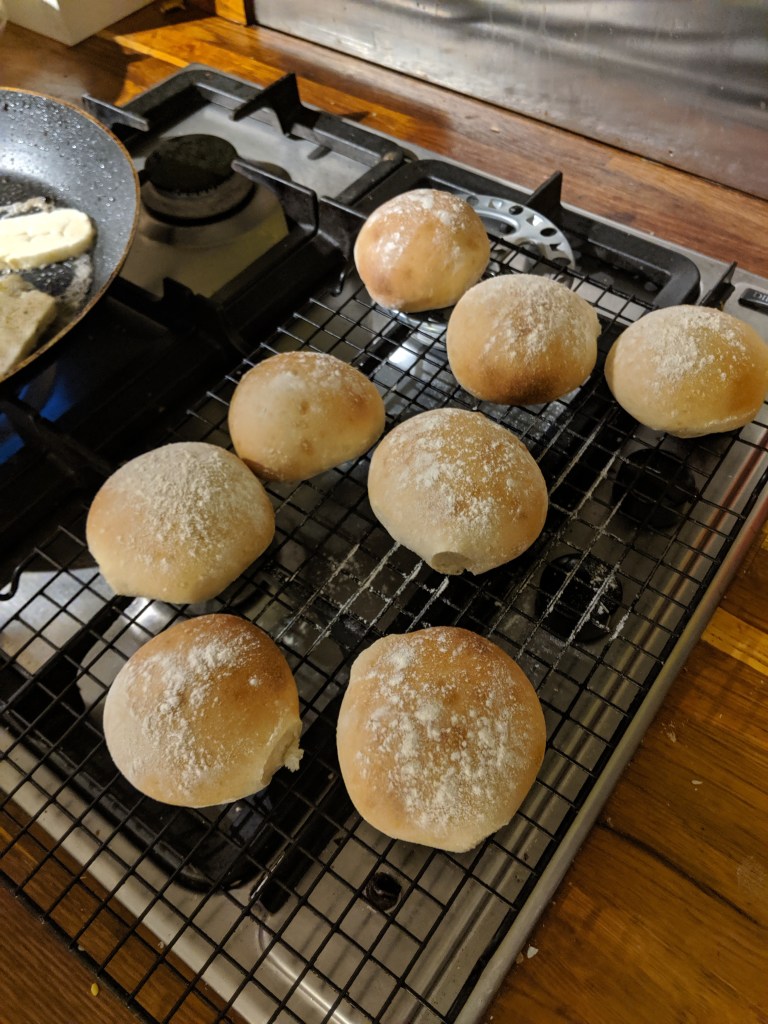
As soon as I couldn’t wait any longer for the baps to finish proving, I dusted them with flour and put them in the oven to bake. A nice thing about baking baps is that they take far less time than a loaf of bread as each of them is smaller. For the dinner, I also made some potato wedges, and while everything was baking and frying I assembled all the burger topping. The recipe for the burger sauce was really tasty, and not something I have made before. As well, it was nice to make the effort to collect the cheese, lettuce, tomatoes, gherkins, halloumi etc all for the burgers as it is the combination of all the elements that makes them truly delicious.

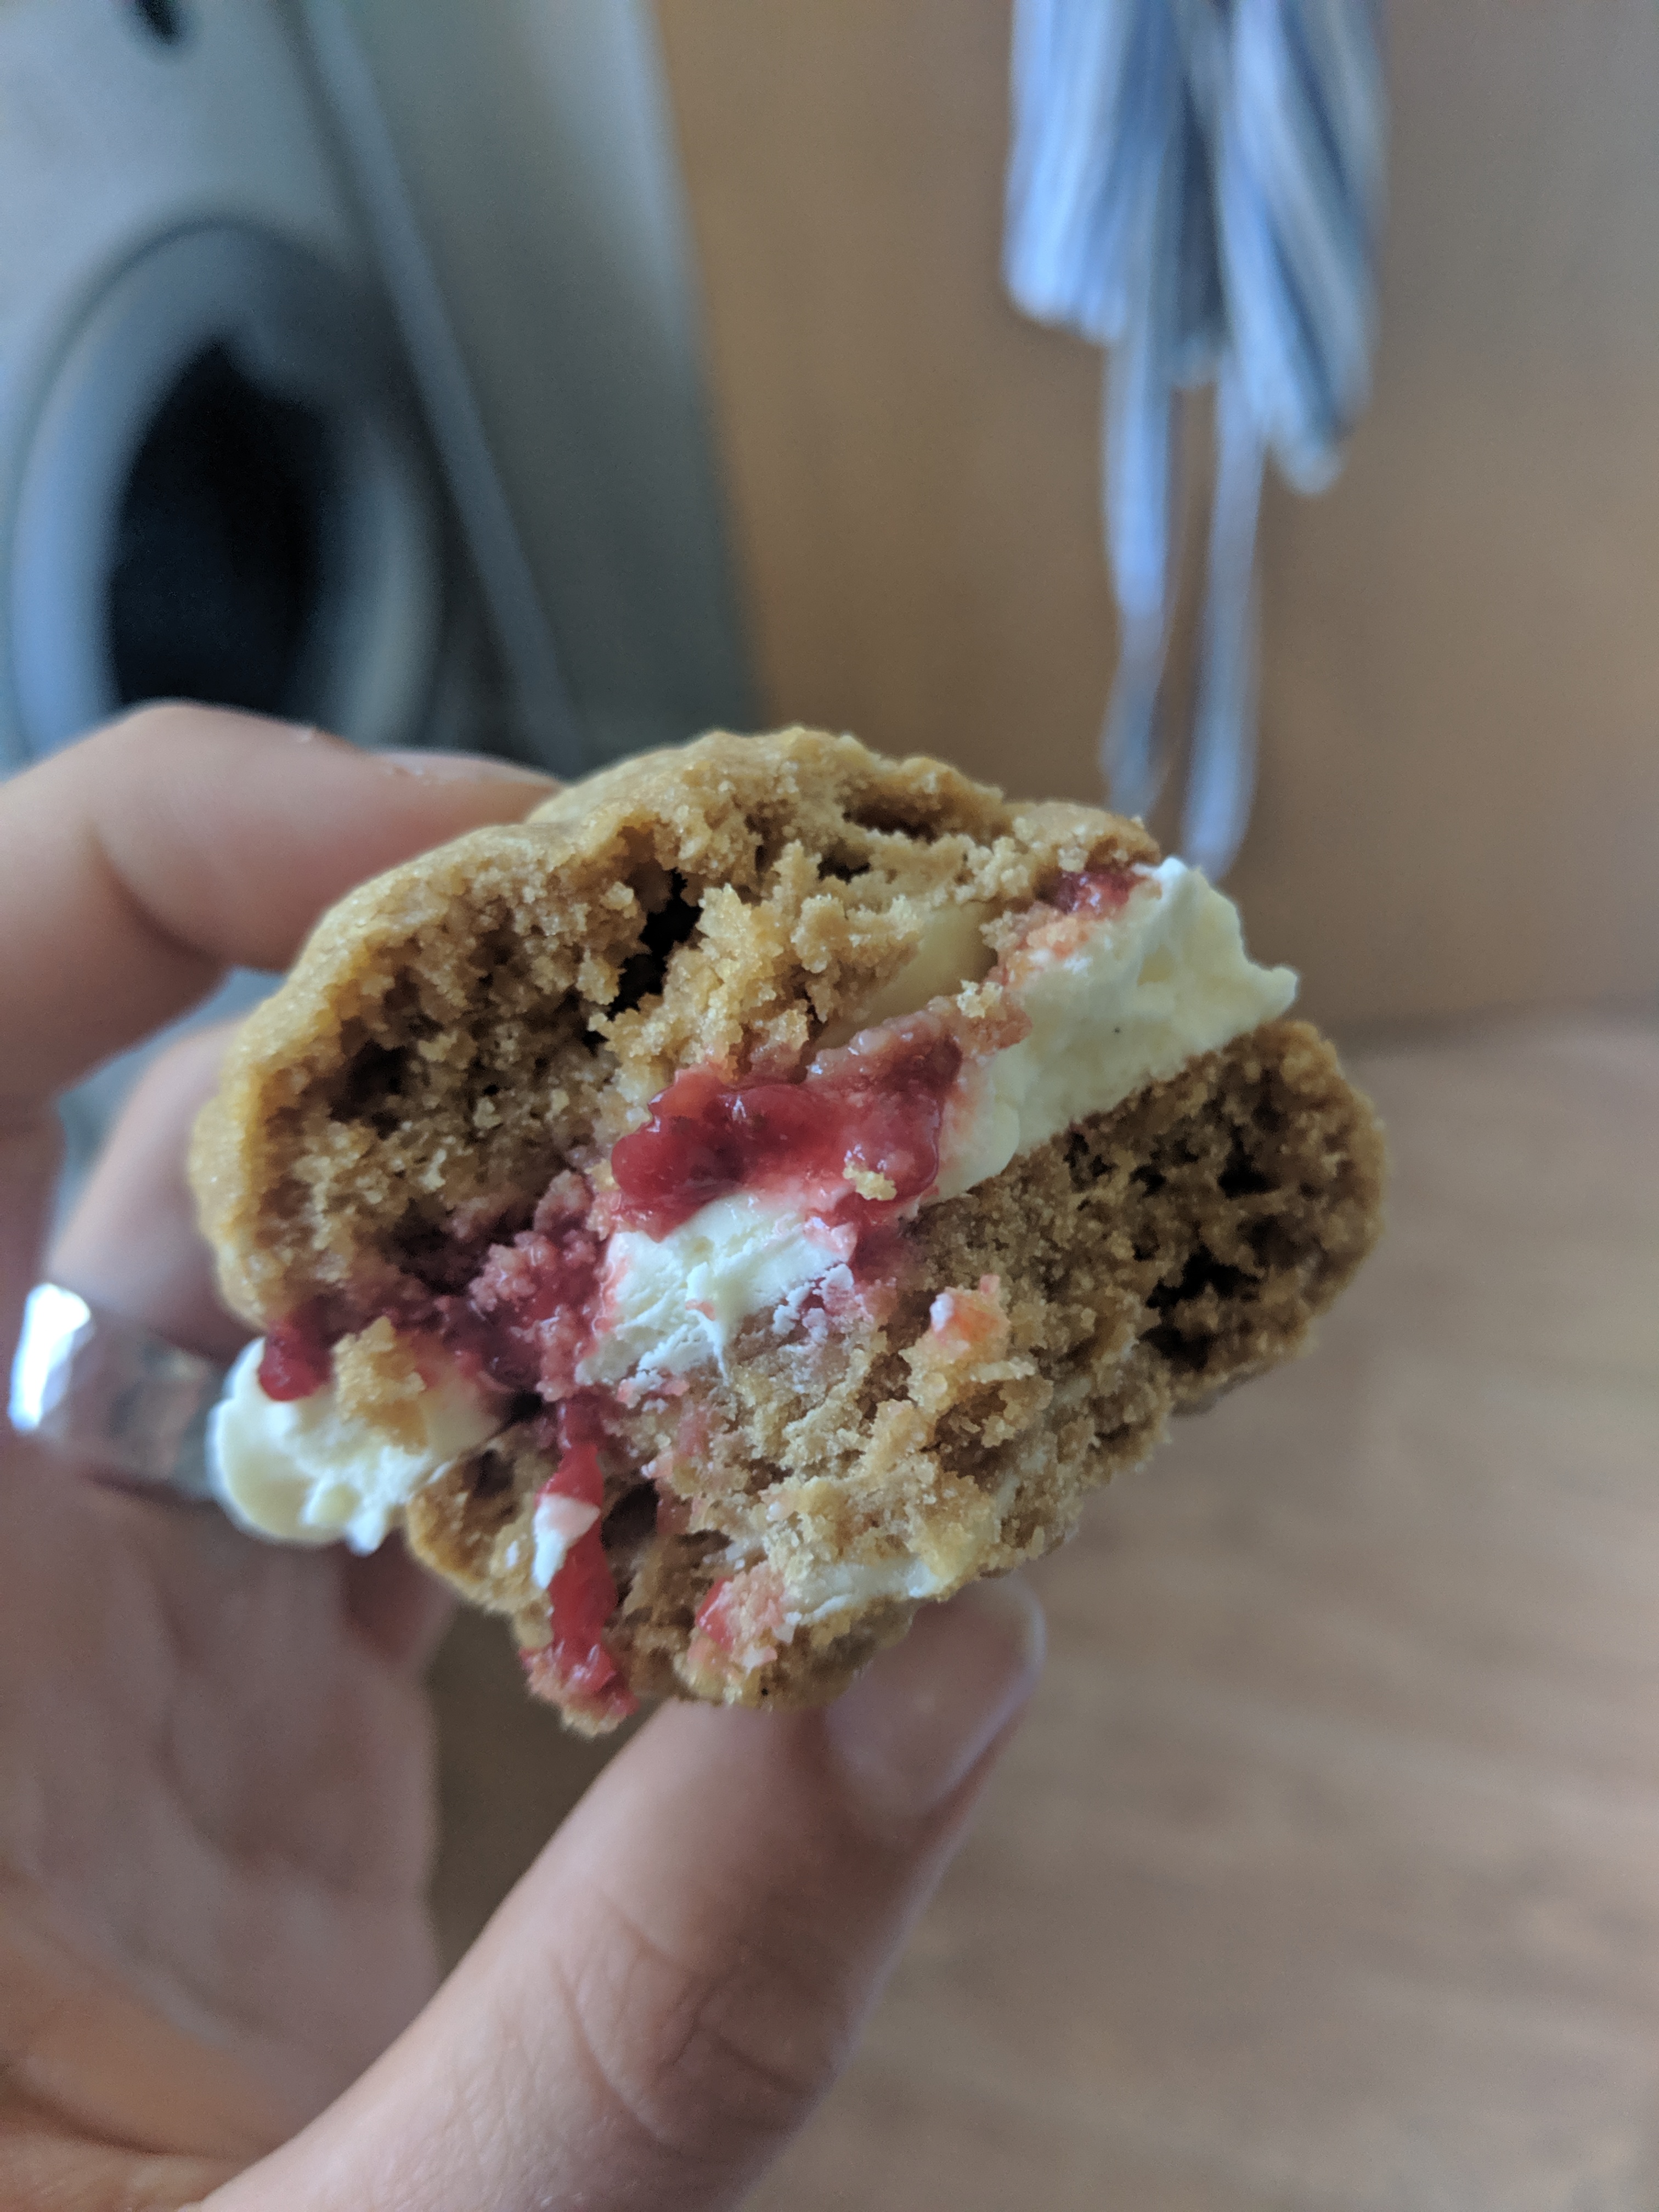
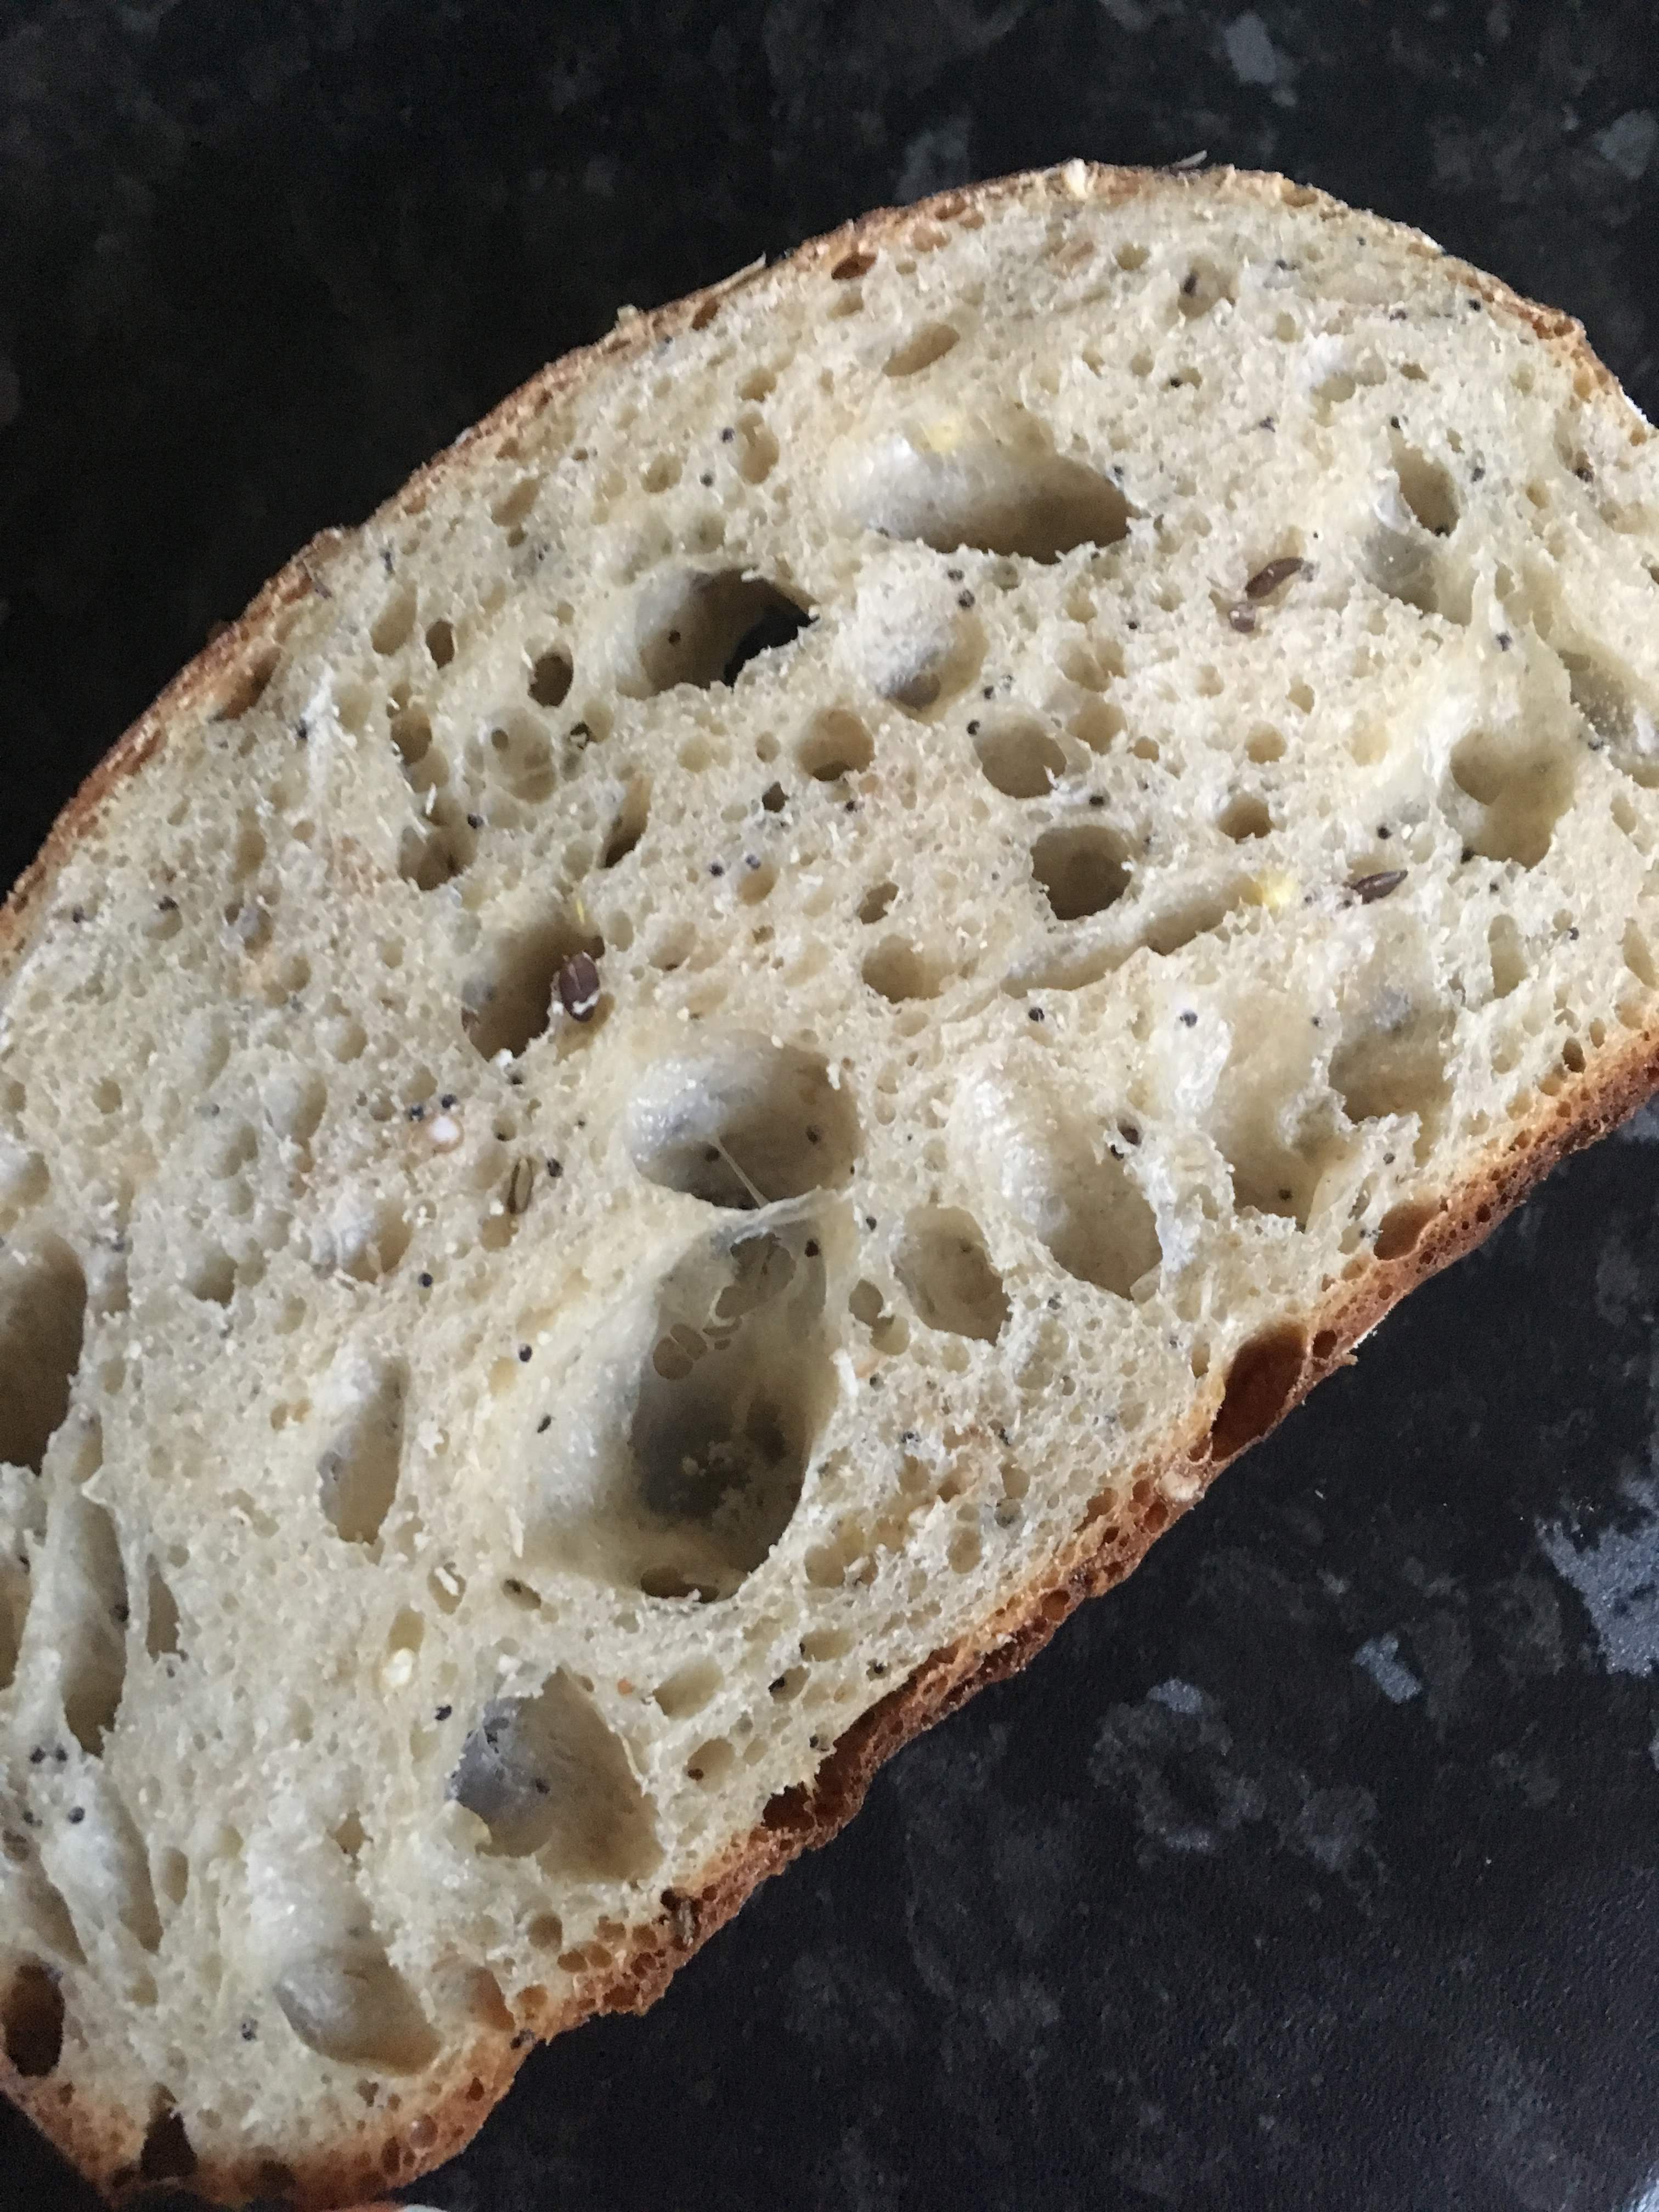
Finally, when we were all terribly hungry, the rolls were really and we ripped into them straight away. I was really pleased with them, they were a good shape and a perfect size for my burgers, and the butter in the dough led to a lovely smooth and flavourful roll. They didn’t last long for sure!

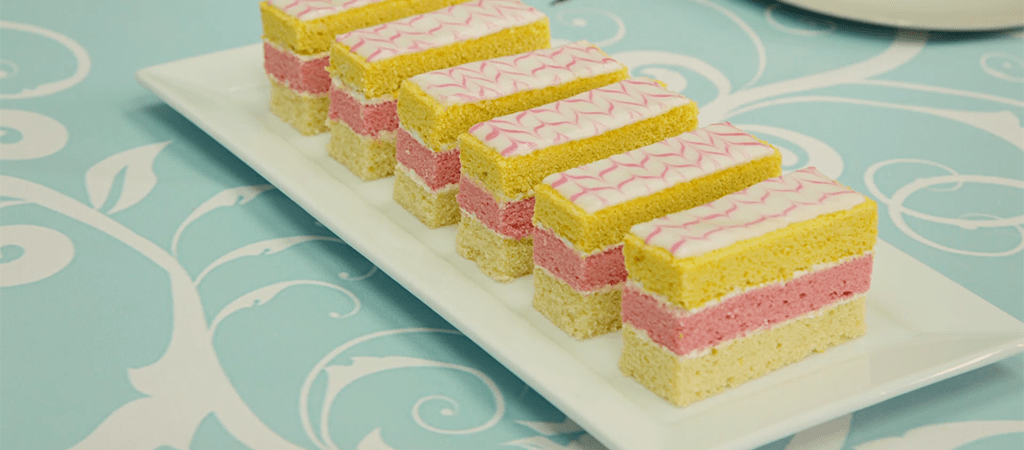
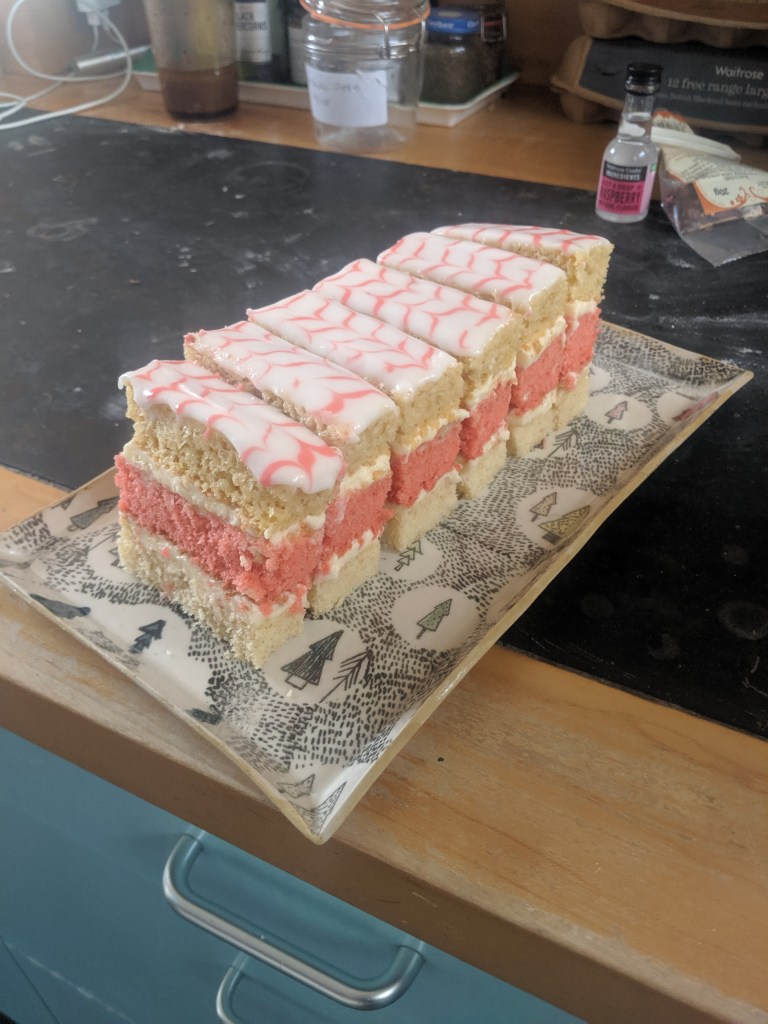
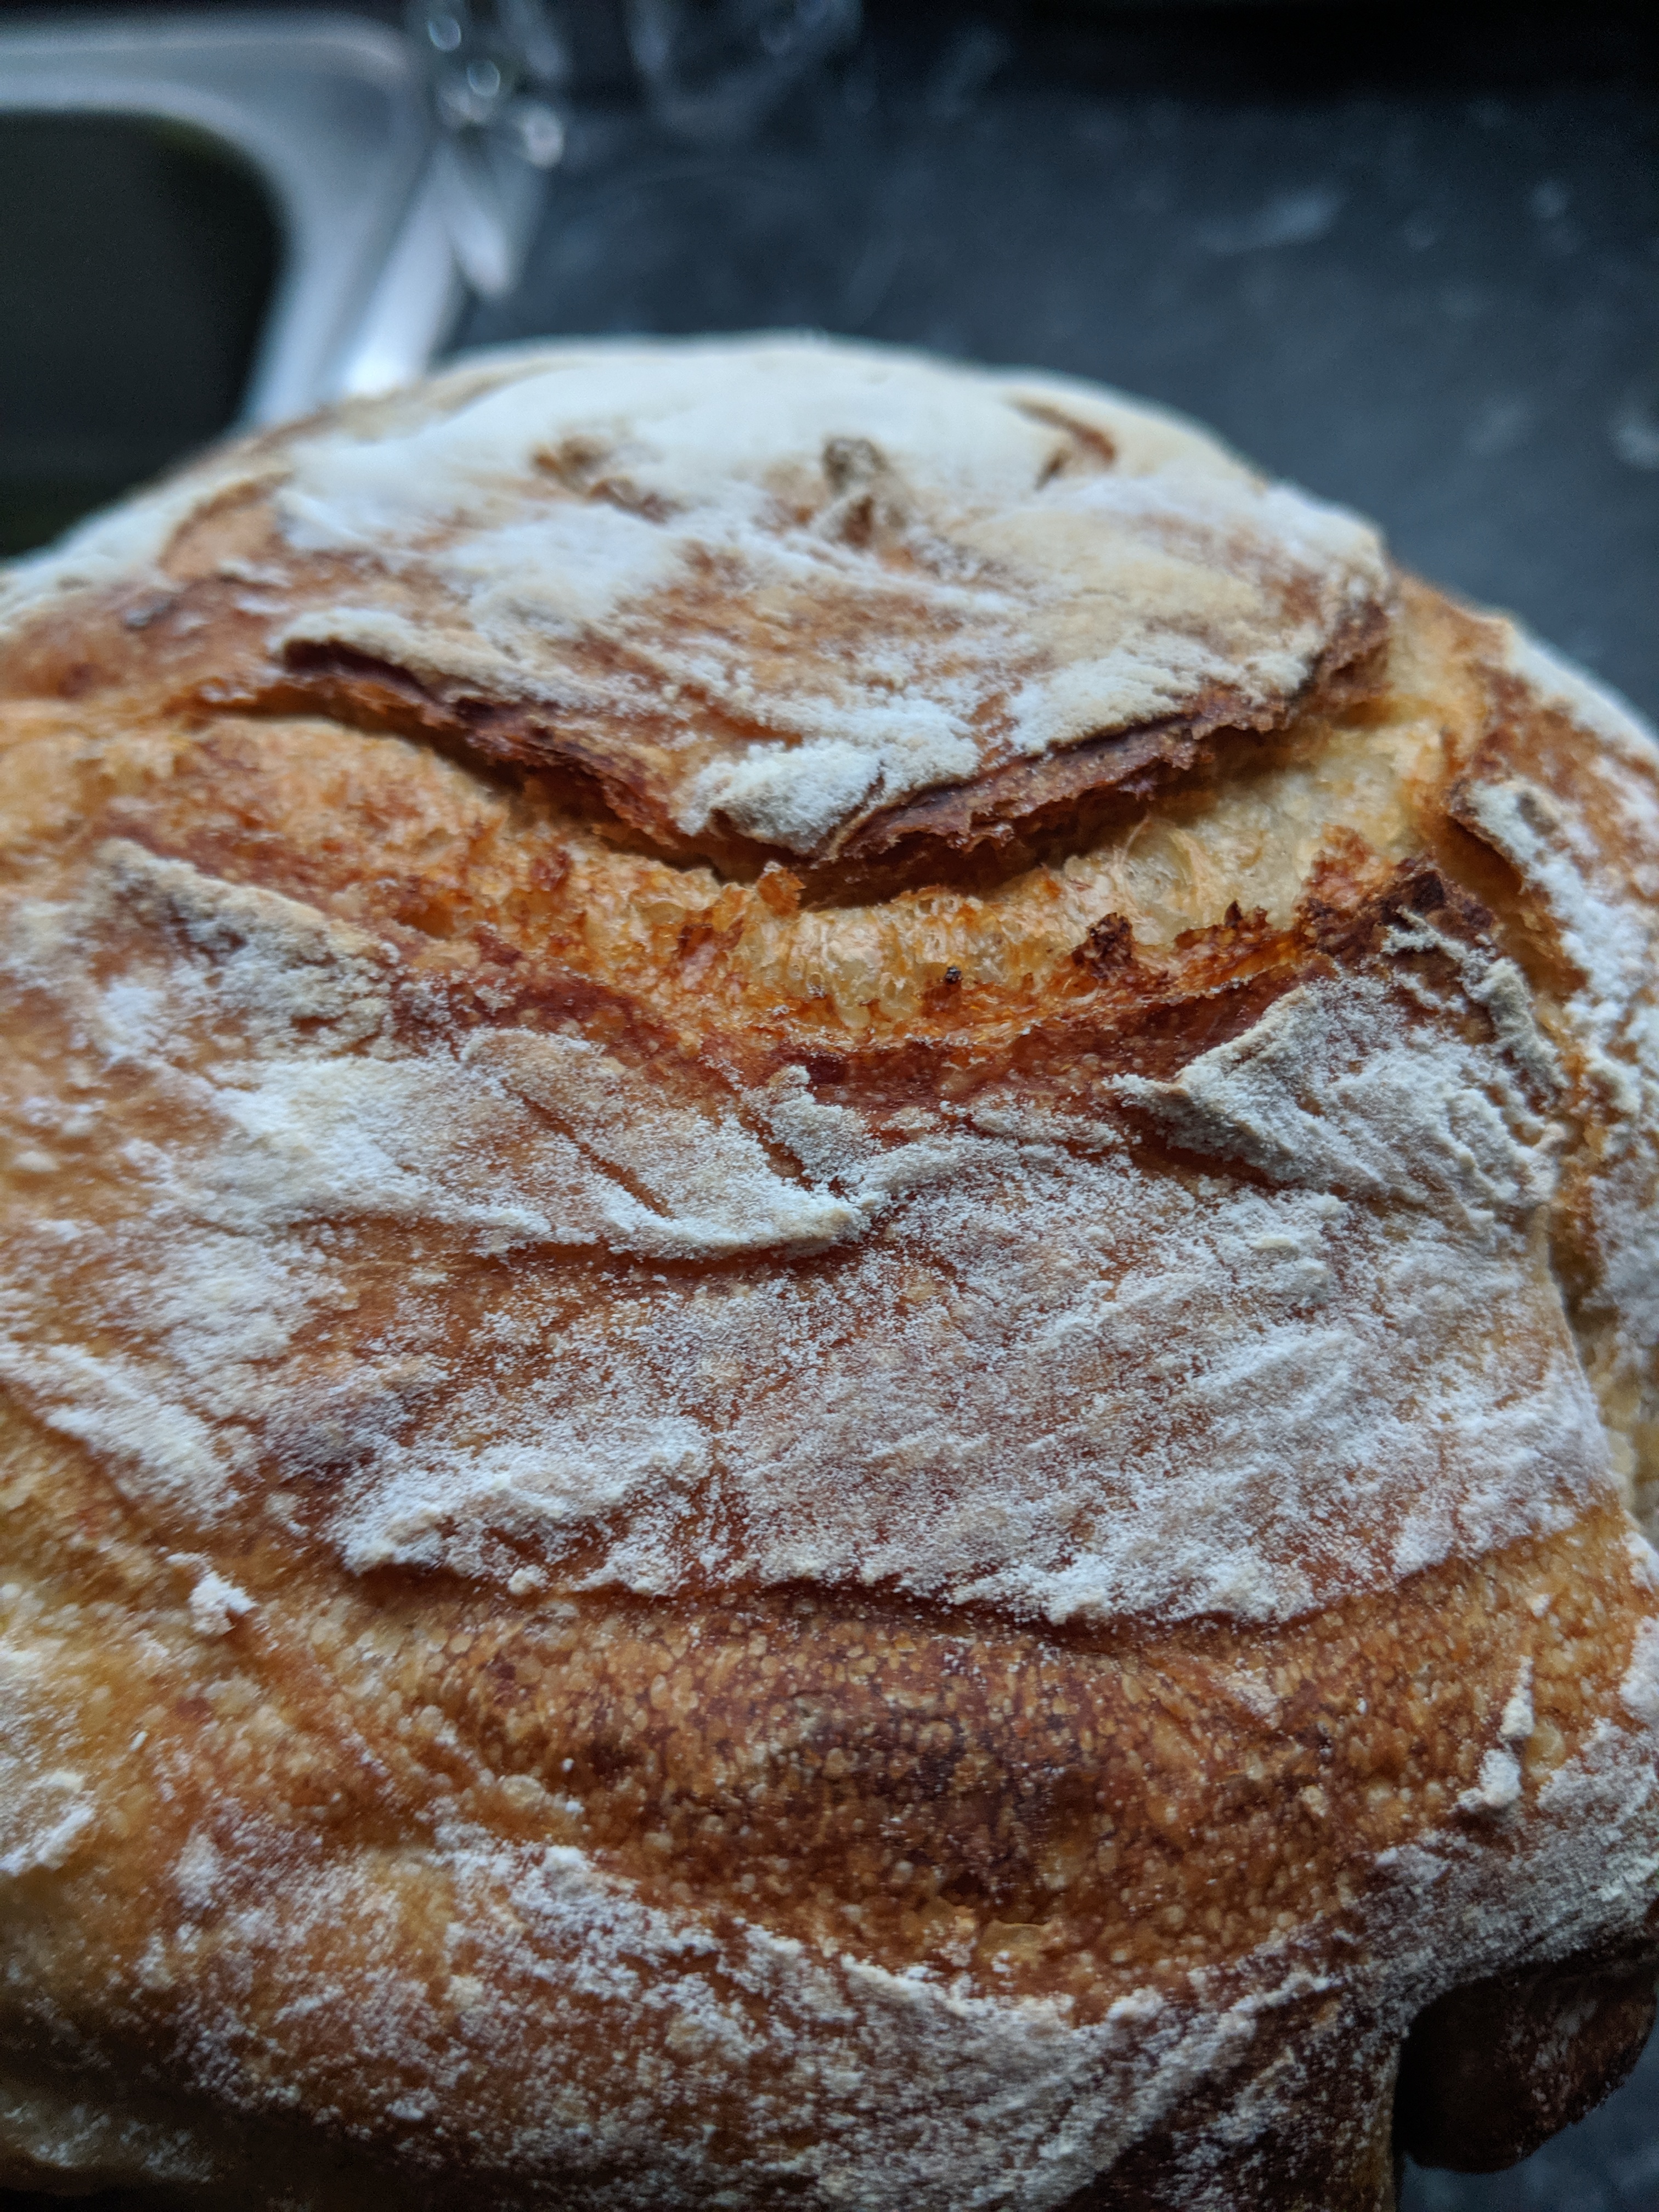
Now, given that I know how to make bread already, and have some go-to recipes for bread, I probably won’t revisit this one, but it was a pleasure to make as always! The picture of the finished product is below; compare it to Paul’s at the top and let me know how I did! Next week’s technical is the Maids of Honour and I’m looking forward to it. Find the recipe I used for this technical here.

Deeeeeeeelicious!

Bake Off Technical No. 2: Fig Rolls

Round two here we go! After our success in the first technical of the season, in ready to smash next one. In contrast to the previous article, I am writing this one as I bake so I can better record how it goes. I was putting off the second technical as it really doesn’t excite me. I associate fig rolls with them being the boring snack around Christmas that nobody wants to eat. Not something I would ever choose to bake myself, which is exactly the point of doing these challenges! Fig rolls have a soft biscuity/cakey outer with a nicely spiced fig filling. I am interested in the biscuit cake outer and what texture this will turn out as. Having watched the show, I know the shape and size I am aiming for, and to taste taste taste that filling to make sure the spices are just right.

Will my fig rolls look like these? Keep reading to find out!

One thing I like about the show’s technical recipes is that they make enough, but not too much. This recipe gives you 12 fig rolls, which will be enough to taste and see whether they’re worth making again. This recipe is pretty simple, and first off is the biscuit dough. Not sure what there is to say about this! It has baking powder is which is what makes it fluffy and cakey. I mixed this up and wrapped it into a happy cling film square which then needs to chill. Next up, I need to make the figgy filling.

The above photos are evidence that I actually sifted the flour! I usually skip this step, but in the spirit of actually following all the instructions I decided to push the boat out. The figgy filling had a good amount of stem ginger and ground cinnamon in it to complement the flavour of the dried figs. I’m not gonna lie, one all blitzed into a paste it looked a lot like a pile of poop.

They look like turds

Now the dough has finished chilling, and the fig filling has cooled, it’s time for assembly. I told you this is a quick one! I wonder if I added a little too much water to the filling, it was quite sticky to handle (much like poop?). I needed to roll two long sausages of fig filling to go in the middle of two long rectangles of dough. My rolling pin conveniently has centimetre markings on it so I could actually make them the right size!

There was plenty of filling and I had some dough scraps, so as well as the allotted twelve fig rolls, I managed to make a few extra small ones. They looked rather good and uniform sitting together on the tray. To make sure they weren’t too round (a criticism in the show) I pressed down firmly with the fork to flatten them a bit.

Pre bake

Aaaand we’re done. This was really really simple, and they look pretty great! They taste good too, for fig rolls. I have come to the conclusion they aren’t the sweet treat for me though – a little to dry for me, and the lack of chocolate is a bit sad. Maybe they could be improved by dipping them in chocolate? An experiment for another time…

Next up…floury baps, again courtesy of Paul Hollywood.

How did I do? Let me know!

Finished!

Angel Cake Slices: Great British Bake Off Technical No. 1!

It should go without saying that I am a huge fan of the Great British Bake Off. I can’t say that I have followed every series since its inauguration in 2010, but I have fond memories of watching in big groups at university, Mel and Sue cracking ridiculous jokes, the drama of the move from BBC to Channel 4. We gasp at the elusive handshakes, tut at the soggy bottoms and under-proved breads, cheer at the incredible showstoppers. Last year a group of my friends and I baked a good number of the technical challenges, and these afternoons were always accompanied by good food and hysteria. There was something about baking together that made us descend into giggling messes.

This year, I have recommitted to this challenge. I want to bake every single technical on the show this season. It won’t be in the week of the episode (I’m already two weeks behind!), the full recipe is allowed, and I won’t be sticking to a time limit. But I am excited to explore baking some new recipes that I wouldn’t have chosen otherwise. I might even find a new favourite!

The goal: 6 perfect slices of stacked Genoise sponge, sandwiched with Italian buttercream, topped with feathered royal icing

Challenge 1 was angel cake slices. Most people will have only eaten these as a shop bought Mr. Kipling pack. They wouldn’t be my first choice of cake snack, but they do look pretty. Three pastel coloured Genoise sponges, each a different flavour, stacked with Italian buttercream between and topped with a daintily feathered royal icing. From how the contestants did in the show, this looked like a difficult task. Many of the cakes were flat and small, the icing too runny, and the feathering too crude. Having watched the show, I hoped that I could improve on their mistakes. Thankfully I wasn’t approaching this challenge on my own; I was joined by Lucy and Emma.

Delicate origami required for this bake!

The first task was creating three equal parts in a baking tray to bake the sponges. We didn’t have a perfectly sized baking tray, but made do with what we had. Our sponges would be a bit squatter and longer than the ones on the show. Lucy’s kitchen is well equipped so we had a great stand mixer to whisk the eggs. One of the mistakes the bakers in the show made was skimping on this step because they were under time pressure. The air whipped into the eggs is the only raising agent in this cake so not enough air leads to not enough rise which leads to sad cakes. Nobody likes sad cakes!

A bit wonky, but a good rise because we took the time to whisk the eggs well

Folding in the flour, colouring, and flavouring while preserving the air whipped in was difficult, and it really helped that there were three of us to do this step. It meant that the time from mixer to oven was very quick, and reduced the amount of air lost as each separate bowl of mixture was waiting to be put in the tray. The bake was really good! We had a great rise on each cake, though the raspberry cake was wonky because of the baking parchment, and the lemon cake was slightly weighed down by the zest. While they were cooling, we make the italian buttercream.

Italian buttercream is very similar to Swiss buttercream, but the method of adding the sugar to the eggs is slightly different. I have always made Swiss buttercream in the past because I think it’s easier, but Italian is easy enough. You stream a sugar syrup into whipping egg whites until it is glossy and stiff. After that, you beat in the butter once the egg whites are at room temperature. Either method results in a far lighter and creamier buttercream than simply butter and sugar, and if you haven’t tried it before I would highly recommend.

A beautiful stacked and sandwiched angel slice before icing. From the top down: Lemon, raspberry, vanilla.

We did a bit of fiddling and trimming of the cakes to make them nice and even and I am so pleased with the stack that we ended up with! It had an even rise, and a good amount of buttercream between each layer. The final step was to make the royal icing, and carefully ice just the top of the stack before slicing it into the perfect 6 slices Prue and Paul were looking for. We nearly had a disaster when the royal icing threatened to drip down the sides of our perfect stack, but Lucy did a great job with a small spoon keeping it in check. Emma and Lucy nominated me to do the thin lines of pink royal icing ready to feather which was a delicate operation, but it turned out really well.

Once iced and dried a little bit, the last thing to do was slice. Because we had slightly different dimensions of cake, and because ours rose so well, they actually began to topple over as soon as we had sliced them! The only sensible course of action was to eat them immediately.

They were, of course, pretty good. The flavour of each layer came through, and the colours were pretty good. Ultimately they were a tasty and attractive cake, but one that involved too much faff for me to attempt again. I’ll definitely make more Genoise sponges, but not to carefully stack and slice like this!

What do you think? How did we do? Next up we have fig rolls, and who knows whether they will be easier or harder than this one!

Chickens (the first of probably many posts)

Chickens, in my opinion, fall into the (sadly) underappreciated category of animals. At first glance, sure, they just seem like silly, scatty bundles of feathers without much substance – bar their obvious use as a roast or to facilitate your perfectly soft and fluffy scrambled eggs on buttery toast. However! They’re so, so much more. Firstly, the huge number of breeds provide such variety – ranging from the standard Rhode Island Red which is most commonly used to provide eggs, to the adorable Bantam which is a fluffy miniature chicken which lays small but delicious eggs. Whilst discussing breeds I have to mention the Frizzles which are just too delightful for words, but I’ll try to do them justice. Essentially, I think their appearance encapsulates what I like to imagine would be going on inside a chicken’s head. Pure chaos but displayed in such a fancy way, to make this chaos appear planned and as if the chicken is rather affronted that we would insinuate its existence is pure chaos.

Maybe this picture explains my description of the Frizzle a bit better…

Over the years I’ve kept many different colours of Bantams, silky soft ‘lavenders’ (greys), honey toned buffs, jet black hens with purple and green iridescence and creamy white hens, soft as a cloud. All of which of course had the trademark feathered legs and feet, giving them a regal look, as if they had dressed in their best pantaloons. I bred from these wonderful hens, hatching many beautiful, tiny bantams chicks which always grew up far too quickly, going from scurrying around peeping and chirping to flying (albeit clumsily) on their tiny wings over the sides of the run where we kept them with their mothers. These little balls of fluff would often be found by my parents in bedrooms, on sofas and in pockets as my sister and I refused to be parted from them. For a while I also firmly believed I would run a chicken circus; training for this involved me walking around with my hen balanced on my head, which she graciously complied with. I also had the lofty aspiration of training them to fly on command but maybe unsurprisingly that presented as too much of a challenge…. 

Fresh eggs, plus a hen-pecked dog

To contrast with my tiny feathered friends, my sister kept Cochins, essentially giant Bantams, which were constant sources of amusement. These huge birds strutted around with such self-importance and character yet were totally hen-pecked (literally and figuratively) by the tiny Bantams. They also were very clumsy due to their great stature which, unsurprisingly, was not very helpful when pottering around in the garden over twigs and branches, leading to constant tripping up. 

The aptly named ‘Floppy’ starting to find her feet

A few years ago, our very old hens started to get a little doddery and we realised we might need to start sourcing more hens or face being left hen-less. I started researching into rehoming hens rather than going for the traditionally adorable little hens I’d always had. I found a rehoming centre near my family home through the BHWT (British Hen Welfare Trust) and signed up to collect three hens. At this point I’d done a fair amount of research so understood my hens would arrive once an egg farm was clearing out their current hens and the charity would collect the hens and distribute them to new, responsible homes. I was also warned that my hens would be scared, lacking feathers, confused, unhappy and generally in a bad way – this sometimes resulting in a rather short life span once I’d rehomed them. The three hens I collected were terrified and confused by their new home once I’d brought them back. Having never seen grass, rain or other animals, they had a lot to learn in a short adjustment period… However, despite a lot of initial hesitation, they soon began to explore and learn to enjoy their new home. Watching the rather scrappy trio, who probably had enough feathers for one hen between them, find their bearings and begin to understand that this new world was good and tasty was hilarious but also sad, as obviously these hens had been forced to live, in my opinion, a completely unnatural and cruel existence. As they began to find their feet (both literally and metaphorically) they grew back their feathers and gained so much confidence that they often would pick fights with the dogs – the dogs generally always running away confused and displaced!

Hanging out with one of the hens

Whilst they did continue to flourish and fill out, these three hens died after around 3-4 years after collection due to them being worn out in their overuse as battery hens. Despite the short life-span, I really enjoyed the journey of rehoming and looking after these hens and decided to continue this, rather than shifting back to the non-battery hens of my childhood; although I’m sure I’ll be tempted by some exotic breeds in the future, even if it’s purely for the comedy value of their appearance! 

A baking afternoon with Lucy

Lucy might be one of the people in this world who likes to bake more than I do. We were discussing butter, and which types are the best (why ever bother with unsalted??), and she buys enough butter that it makes an appreciable dent in her overall food spending. That, my friends, is commitment to baking. When she came to visit me in Henley, we planned an extravagant weekend of baking the most delicious things. I think the only savoury things I ate for the entire time were the cheese twists we made.

So. What did we make? Well…deep breath…coconut and white chocolate cookies sandwiched with swiss meringue buttercream and strawberry and raspberry coulis, vanilla ice cream, cheese twists and chocolate and cinnamon babka. We also made homemade lemonade to drink while baking, but drew the line at macarons too as that would be a little excessive. Heh.

It was a boiling hot weekend, so first on the list was the lemonade. We made a bit of sugar syrup (eyeballed sugar and water in a pan) which we cooled then added to a glass along with the juice of half a lemon, a bunch of frozen raspberries, and ice cubes, then filled up to the top with fizzy water. To top it off, I had some stainless steel straws to drink it through. Deeeelicious!

Then, we had to turn the oven on and the temperature rose, and didn’t really go down again. This is important later on…

We used a coconut cookie recipe which we modified to include white chocolate chips. It had a lot of rehydrated dessicated coconut in the dough which gave them a great texture. They weren’t smack-you-in-the-face coconutty, but had a lovely taste of coconut that lingered in the mouth after you ate them. We made lots and lots of small cookies, ready to pair them up for sandwiches later.

Happy rough puff in the fridge, on some of the butter we were yet to use

While they were baking we began the dough for the cheese twists. This was a simple rough puff, which I had never done before! Though made slightly more difficult by the hot weather, it just involved coarsely combining butter and flour, then rolling and folding three times interspersed with some quality fridge time. As we had to leave it in the fridge to solidify each time, we also made the swiss meringue buttercream and the coulis while waiting. Swiss meringue buttercream is one of my favourite things. Lucy introduced me to it, and it is just superior to American buttercream in every way. It’s sweet, but not cloyingly so, and the addition of the egg white means that it’s light and fluffy even though it is so sweet. It cools to be firm and structurally sound, and looks so glossy and attractive on whatever you use it with. Plus, it’s so easy! We just google any recipe for the correct ratios of egg white, sugar, and butter (and maybe decrease the butter), then whisk the whites and sugar over a bain marie, transfer to a stand mixer and slowly add the butter. If things don’t look right, the answer is always keep mixing. Or put it in the fridge for a bit.

As soon as the cookies and buttercream and coulis were ready, we got excited and tried to assemble the cookie sandwiches. They were delicious, but remember that it was boiling…they weren’t very structurally sound, so we had to put them in the fridge as soon as possible to stop the top cookie sliding off!

The only photo I have of the ice cream

Next up was the ice cream. When you make ice cream yourself it really emphasises how bad it is for you. All the best things are the most unhealthy, and this ice cream was amaaaazing. The ingredients were 600ml double cream, a tin of condensed milk, and vanilla paste. That was it. We whisked it and whisked it in the stand mixer, then put it in the freezer for a few hours. It was so simple, and I was amazed at how smooth it ended up as we didn’t have to whisk it again during the freezing process. It was of course very important to test it regularly to see it if had frozen (it had not).

Final two things for the first day were to bake the cheese twists, and to mix the babka dough that needed to prove overnight. The cheese twist filling had parmesan, paprika, pepper and cayenne pepper in it, and we stuck it to the dough as best we could with egg white. We had made this recipe up, so winged it with the twisting. The outcome was pretty great if I may say so myself. The first batch we probably baked at too high a heat as the cheese darkened before the pastry cooked, but the second batch were perfect. We took them out as they were just underdone so they were crispy on the outside but slightly soft in the centre. We made many many of them, but they didn’t last the weekend!

The babka dough was a recipe I have made in the past, but wasn’t happy with how I had baked it. I had been taken in by the darkness of the chocolate and underbaked it so it was delicious but not really a cake or bread. After a lovely morning jog along the river, we cracked on with shaping, rolling, cutting, proving, and baking this babka. It was still a warm day so the dough was very sticky, but we successfully cut and twisted three different babka breads. We did one in a loaf tin (which is traditional), then one as a ring, and one in a small round cake tin. We managed to take them out at just the right time, so they were baked but not dry, and it was oh so yummy as a late breakfast!

It was sad when Lucy had to leave, but I made sure to send lots of the baking with her. When we were clearing up it was astounding how much butter we had used over the course of 24 hours, but it was totally worth it. I would definitely make the babka again, though halve the recipe and up the filling – maybe add some chunks, or some raisins. In fact, we were really pleased with everything we made, and I hope we get to do it again soon.

Recipes used:
ice cream https://www.loavesanddishes.net/easy-3-ingredient-freezer-ice-cream/
chocolate babka (we added cinnamon) https://www.youtube.com/watch?v=q8VFsAGDleo&t=24s
cheese twists https://www.bbc.co.uk/food/recipes/cheats_rough_puff_pastry_91549 used rough puff similar to this, then added 1 block of grated parmesan mixed with cayenne pepper, pepper, and paprika for the cheesy filling
I can’t for the life of me find the coconut cookie recipe, the swiss meringue recipe is any one you can google, and the raspberry coulis is from these puits d’amour https://thegreatbritishbakeoff.co.uk/prues-puits-damour/

Just SOME of the butter we used over the weekend (also spot the parmesan from the cheese twists)

Sourdough starter: a novice’s guide

Meet Ryeley, my rye-based sourdough starter

To make sourdough bread, or sourdough anything, what you need is a sourdough starter. They can be big or small, fed with lots of different flours, and each one has a unique combination of yeasts that grow inside it. Some bakeries have heritage starters that have been around for over a century! If you want to get in on the sourdough boom, here’s an easy way of doing it. Note: I started playing with sourdough about 6 months ago. I don’t know everything, but I am enthusiastic and have learned a lot, including some myths that I will talk about at the end of the article. I am sure that in a few years I will look back, embarrassed at my lack of knowledge, but what I will tell you today will be enough to get you started. You will need:

Get ready for bread like this
  • Glass jar – sourdough likes glass, not plastic. A wide neck is good, and the lid shouldn’t ever be airtight
  • Scales – to weight out your ingredients
  • Spoon/spatula
  • Flour – for best success, get some vaguely fancy rye flour. This is probably your most expensive outlay, and even the priciest flour is maybe £3. Remember, this will probably dictate a lot of the flavour of the starter
  • Water
  • Patience – making this takes at least 5 days, and up to 2 weeks before your starter is fully happy!

First things first, let’s make the starter. This involves mixing together flour and water every day for 5 days, and leaving the mixture at room temperature for the rest of the time.

Bubbles!
  • Day 1: 100g flour + 100g water.
  • Day 2: 50g flour + 50g water.
  • Day 3: 50g flour + 50g water. You might see bubbles by now!
  • Day 4: 50g flour + 50g water. You should be seeing some bubbles
  • Day 5: 50g flour + 50g water. You should have a starter now! A bit bubbly and smelling slightly sour. Time to name your new pet.
I’ve got the hang of a basic loaf now

Even though your starter is alive and bubbling by day 5, I would say that it will take a couple weeks for it to properly find its feet. Different yeast strains are competing, and a few will win out to populate most of the starter but this takes a little time. After day 5, you can put your starter in the fridge, but when I made mine I kept him out and fed him every few days for maybe two weeks. The first loaf I made about a week in didn’t rise so much, but subsequent ones did once Ryeley was more mature.

At some point your starter is going to get quite large given all the flour we keep feeding it unless we do something to make it smaller! The main way of making sure it doesn’t overflow the jar is by using it to bake with, but you can also discard starter and store it for other things. Literally just scoop some starter out before you feed it next so it’s a reasonable size. You can also throw this discard away, but that feels wasteful and there are so many things you can make from it! I’ve made delicious pancakes, crumpets and cakes with discard.

This is where I keep my discard, ready for pancakes

I prefer to keep a smaller starter than the one this guide makes – probably less than 200g total. I don’t need to feed it as much flour, and it’s much more active when I do feed it (less starter being fed new flour means more food for each yeast!). It’s important to use a little more flour to make the starter so that there’s enough yeast to begin with, but after it’s up and running do consider making it just big enough.

Some sourdough myths:

Feed your starter EVERY day, and the EXACT same time, or your starter will be TERRIBLE

A lot of guides go on about how you MUST feed your starter daily, and at exactly the same time each day, but I’m here to tell you that you don’t have to! Firstly, keeping a starter in the fridge means that it is less active and needs to be fed less often anyway, but also these guides say this because they are baking bread extremely frequently and need their starters to be reliable. True, if you are baking many loaves per day or week, feeding daily or even more regularly makes sense. Feeding on a schedule means that the yeast follow a good pattern of activity, which lends itself to uniform outcomes on bakes. For me, there is no way I could eat that amount of bread or afford that much flour to feed and discard so much. I am happy keeping my starter in the fridge, feeding when it looks like it needs it, using a recipe that has a levain (more on this later – it means I can be sure the yeast is active enough), and accepting that I might have more variation in my loaves than a professional bakery.

Feed your starter regularly or it will DIEEEEEE

This is my starter after being abandoned for a week. All I did was discard some and give it a good feed. Happy as anything

A starter can take a surprising amount of neglect. I am regularly away for 2 weeks or more at a time, and I’ve never had a problem with my starter dying. I feed him just before I leave, and when I get back sometimes I give him a little bit more TLC to get him back to full strength – a day or two of room temp and feeding daily is more than enough.

You have to be really precise. About EVERYTHING

Nope! Whether that applies to feeding your starter or making your bread, it’s ok if you’re a little out. Sure, it changes how the starter or dough handles a bit, but it’s not a disaster. In fact, doing this is one of the best ways of learning. Accidentally add too much flour. See what happens. Maybe your starter is too stiff, or the dough hard to knead. Now you know for next time, and you’ll have a better idea of what it should be like. The bread you make will still be edible either way!

Doooo it. Get that bread.

If you now have a starter and would like to bake some bread, I would recommend halving this recipe be Joshua Weissman ( https://www.youtube.com/watch?v=eod5cUxAHRM&t=587s ) and giving it a go. Tweak it, use different flours, different proving times, see what happens, learn along the way and let me know how you get on!

Sourdough exploits

My Instagram Discover page, featuring chocolate, dessert, coffee, and lots of sourdough baking!

What comes into mind when you think of the word ‘sourdough’? Probably fancy brunches, smashed avocado, £6 for a loaf of bread. Sourdough bread is increasingly popular at the moment, fuelled by a love of brunch, a move towards what I would call ‘artisanry’ and a desire for ‘clean’ or ‘healthy’ food (I would like to write more in detail about this trend and actually research it at some point, but right now I want to show you pictures of bread I have baked!). Places like Gail’s Bakery and Brick House have popularised this style of bread, as have beautiful bread Instagrams. It’s not unusual to see piles of loaves artistically stacked in cafes, bakeries and markets alike.

I find this posh, artisanal stereotype of sourdough, or any bread for that matter, amusing because bread is one of the simplest things to make. At the most base level, it takes 4 ingredients: flour, water, salt, raising agent. In normal bread, the raising agent is yeast, and in sourdough bread this is your ‘starter’. I grew up eating home-cooked bread from a bread machine, and rarely eating ‘plastic’ bread from supermarkets. We only ever baked yeasted breads, so my first experience with sourdough bread must have been at one of those fancy cafes I was talking about. I love the crustiness, the crumbs that flake off it, the irregular innards and the slight tang that you get from a slice of sourdough. I knew it was easy to bake your own bread, but it was only this year that I decided to give it a go with sourdough.

This is Ryeley. He is my rye starter. Geddit?

The process of creating a sourdough starter is the first step to having sourdough bread. I think of my starter(s) (I now have two. Their names are Rye-ley and Georgina. Yes, this is extra.) as very low maintenance pets who live in my fridge. They are simply flour and water mixed together in a 1:1 ratio populated by the yeasts that live in the flour you use. The yeasts eat the flour over time, multiply, and emit gases as they consume the flour, so you have to feed them semi-frequently so they have something to eat. I’ll go into a guide on how to make your starter in a different post. You take a portion of the starter you have each time you bake and use that in the bread mixture.

Sourdough bread is quite involved, and it takes a bit of time to get it right. Often it takes two or three days from starting the recipe to having a finished loaf, and all sorts of factors can influence the outcome of the bread. How happy your starter is, what flour you use, how much water you add, how long and how warm you prove the dough for, how you shape and score the bread, and so many more variables need to be taken into account. For a lover of baking like me this is so much fun. Over time I am getting to know my starters, and learning what influences what in the bread. The first few loaves weren’t disasters, but I had so much I wanted to change and improve on every time I baked. Now I know that Ryeley is a pretty happy starter and munches away at flour nicely even when neglected, whereas Georgina is a bit of a fussy child and gets grumpy without her regular feed. I know that I need to flour teatowels GENEROUSLY otherwise stickages occur. I know a little more about how to tell when a dough has developed enough gluten and whether it has proved enough. And oh boy I am only just getting started in the art of scoring the loaves to make pretty designs on top. At this point I have tried out three or four recipes, as well as altering things myself to try and get it right. And since I’ve started playing with sourdough it’s gone from winter to summer, which affects everything all over again!

I haven’t bought bread since February, and I am hoping to keep this up. I think that as well as being tastier than store bought bread, I am saving money. The only cost of these loaves is the flour I buy to bake with. Each loaf is maybe 250g flour, which works out as 50p per loaf if I were to use the fanciest flour possible (yes I went to Waitrose and bought a bag of flour that cost £3), and much less with other flours.

Bread isn’t the only thing that uses sourdough starter. Anything that uses yeast you can theoretically replace the yeast with starter, adjusting recipes for moisture and rising time. So far I have also tried sourdough pancakes, and baking an incredible banana bread with sourdough in the mixture. In general, this sort of sourdough baking simply adds a more savoury or tangy flavour to your recipe. Charlotte has made crumpets with her starter and says they are delicious. My next goal is to make some sourdough pizza, trying to compete with Franco Manca in deliciousness. Maybe I’ll have to buy a pizza oven…

Plants

I think I am potentially overly attached to my plants. I absolutely adore them, I honestly think they are one of the best things out there. There’s the obvious fact that without them we simply couldn’t survive – no plants = no oxygen etc. However, there are just so many other great things about them, and they are so versatile in all their uses! I have an appreciation for pretty much all plants, but I definitely favour growing fruits and vegetables as there’s so much happiness to be had in starting with a seed and ending up with a beautiful crop of something edible. Plus, home-grown produce is just absolutely delicious. 

Wild flowers at parents’ house

I grew up in the countryside and attended a school (Steiner) where gardening/farming was part of the curriculum so moving up to University in London was a big shift. Growing up I was fortunate enough to be immersed in an environment where growing your own food was normal and there was an abundance of beautiful flowers, both wild and purposefully grown. Whereas in London, unless you are lucky enough to have an allotment, it’s pretty difficult to grow your own produce. I also hate how much plastic is used by supermarkets for packaging food, but, that’s a topic for another day… However, despite this lack of personal gardening space there are so many truly amazing gardens/parks in London and as I visit them I learn so much about new plants and horticulture. So in fact I actually feel grateful that I can experience two different ways of gardening and appreciating plants, rather than feeling bereft!

Operation Germination, plus my very happy herbs

Currently I live in the top floor of a house which restricts my options slightly. However, my solution to this was just to turn my room into a bit of a jungle! I started my little room garden after rescuing two VERY sad looking supermarket herb pots selling off, which are now separated out and live on very happily on my windowsill. Tip -supermarket pots of herbs will generally die soon after purchasing due to the volume of plants crammed into the pot. If you want to keep your new herbs alive just get a few more pots, some compost and separate the stems to repot them. They’re fairly robust little things so don’t worry if the separating process feels aggressive!

Strong signs of life!

After my herbs started to thrive, well, my planting escalated…. I was gifted a beautiful Tumbling Tomato plant so he (I have called him Terry) joined the rescued herb (parsley and basil, but unnamed) on the windowsill. Then came the mass planting! I ordered MANY seeds from a family favourite site (Tamar Organics) and proceeded to turn my room into a germination room for two types of squash, radishes, aubergine, two colours of courgette, beetroot, strawberries, basil and khol rabi. Not too excessive, right…? I was pretty excited about the beetroot as it’s was a variety named ‘Chioggia’ which has beautifully vibrant colouring through its white and red rings when cut open. Luckily, ‘Chioggia’ is doing well currently so hoping to get some beets from it soon! I then added to the collection after going on training camp to Varese and picking up some tomato seeds called ‘Golden Boy’ (too delightful) and some Physalis Peruviana (or ‘Cape Gooseberry’, the strange, fancy little orange berry encased in a cute little lantern normally served with desert). I also picked up a persimmon tree and managed to bring it (Percy) back in the truck, but sadly I had to take him home to my parents as I just couldn’t see him being happy in my flat – he’s super happy now though!

Percy doing pretty well for himself

The germination process was THE BEST. Every morning I would wake up and check out what new things would be poking through, I think my favourites were the courgette and squash as they could do some SERIOUS amounts of growth over the day/night. I freely admit I got way, way too caught up in this process… A reality/sanity check happened when I was leaning out my window merrily chatting to my plants and realised my neighbour was directly below… looking up at me… Pretty sure they think I’m nuts now. Hey ho, can’t blame them. I found old egg boxes were great for starting the germination process, as were old coffee tins. The only issue with the egg boxes was as they were small they couldn’t hold much water, so I had to really keep an eye on them. I have started to run out of things to hold seeds, which probably isn’t a bad thing especially as over the summer I’ll be away a lot so I’ll have to move my plant collection to a friend’s house. My little seeds are now in their teenage stage and I’m hoping they stay content and happy, with no issues. Although having said this, Terry however is being slightly difficult and has started to play the ‘I don’t like my leaves’ game, so I’m trying to nip that in the bud (ha ha). 


A tropical corridor. Enough said.

I visited the Chelsea Physic Garden last week, and would strongly recommend it, it is BEAUTIFUL! I also wasn’t fully aware of how instrumental plants have been in most medicines, again, reiterating my earlier point that plants are just the best. Plus, the glasshouses there truly are architectural gems which I believe have been there since 1902. Out of the many different houses I think the best was the ‘Tropical Corridor’ which ran along the back of the other glasshouses. Not only did it grow edible plants like coffee and black pepper but also was home to a malaria cure, grown there for over 300 years. Aside from the uses of species, the exotic plants which were able to grow here really were quite stunning, making you feel almost transported to another country. Once I decided to head home, I spotted some seeds and I’m now the proud mum of four lovely little pea shoots which have just burst through their soil. 

My orange tree, named Olive

I’m moving flats soon and have decided a garden is a MUST, especially as I have also just acquired an orange tree…! I can’t wait to see how all my little plants turn out, fingers crossed for some epic turnouts. Looking towards the future I would love to be predominantly self-sufficient in produce as I think it is a) super rewarding and b) a small thing that actually does a fair bit in supporting a more responsible lifestyle and c) I find it incredibly therapeutic and fun – but for now, I’m happy with my room allotment!

Watercolouring

I don’t think I would describe myself as an arty person. At school I was a ‘smart’ kid, doing well in my classes and exams, aiming for top grades and good unis. I did do art GCSE, but it was for fun, and not to pursue further. Nevertheless, I love art. I love finding an image or a painting and being transfixed by it. I love the process of discovering a new technique or seeing an image appear on paper. During art GCSE I mostly dabbled in pencil drawing and oil painting. Watercolours intimidated me because they were hard to control – with pencil or oils you could always erase a stray mark, or blend in and paint over things you didn’t like. With watercolours, you couldn’t scrub any out or you would end up with torn paper and muddy colours. As such, I avoided them.

So many pretty colours created from just three

Fast forward 8 years, and I keep seeing beautiful watercolour paintings on my Instagram feed. Gorgeous freehand flowers, striking landscapes and delicate patterns. Around the same time a family friend was getting rid of some old art supplies, and in the bundle happened to be some watercolour paper and brushes. Ever hopeful, I said that I would love to take it. It stayed under my bed for a good while until one day during exams, I was feeling particularly stressed and decided to calm myself down by browsing a lovely art shop in Cambridge. I found myself standing in front of the watercolour pans, looking at all the colours. There are so many brands, and tones, and you have to learn the lingo – half pan, full pan. I didn’t even know what gouache was! I asked the shop clerk for some help and they suggested buying just three pans, one of each primary colour. I told him I had some experience blending oils, so using just three colours would help me develop tone and understand watercolours a bit better. Leaving the shop with three little pans of pigment, I was excited.

I was proud of the tree on the right, but there’s a lot of things I wanted to improve

The first thing I did with the colours was make a ‘swatch’. I couldn’t think of what to paint, so I decided to get as many different colours from the paints as possible. I was amazed at all the different colours. The red was very vibrant, but the yellow and blue I chose were more earthy, so the palette would be suited for nature drawings. My first attempt at said nature drawings were at the Cambridge Botanical Gardens. It took ages! I wasn’t altogether happy with what I had created, but I had only just begun to get to grips with how the watercolours move, how they change character depending on how you use your brush, or how much water you add, or whether the page was wet or dry. Some bits of the painting ended up a bit of a muddy mess, but it was a start.

I really liked combining fineliner with the watercolour

So began my foray into watercolours. I dipped in and out, sometimes painting when I didn’t want to revise, and then after my exams finished to relax as well. Sometimes the limit of three colours was frustrating; I just couldn’t make some of the pinks and purples I wanted to include in my paintings, but I had to make do. Over the summer, my boyfriend’s sister had done a clear out, and was getting rid of a watercolour set. I leapt at the chance to get my brush on a greater range of colours! I found an Instagram account that painted gorgeous freehand flowers and went wild. Finally the pinks and bright yellows and deep violets were possible, and I tried to use all possible colours. Slowly over time I got better at knowing what the paint would do on the page, whether colours would blend well and whether they would bleed into each other. My mum mentioned that she would like one, and after a few months I felt confident enough to paint a landscape I thought she would like.

On camp in Avis, the light one afternoon was incredible, and I loved this view of the yellow fields against the beautifully cloudy sky. I spent a long time on this one trying to add detail

One thing I want to emphasise is that I’m still not very good, and that’s ok. I work on whatever watercolour paper I have around, and paint with some brushes from poundland. I hate wasting paint, so I always leave it on the palette and try to use it next time. But I have really enjoyed discovering a new medium of art, one that forces you to leave it be and accept the first strokes you put on the page, with less ability to change it later. There are some watercolours I have done now that I am very proud of, and I hope I continue to improve and take pride in what I paint, because I can be arty if I want to be.

Two tarts (not us)

Baking is always a way to unwind and not think about anything else in particular. We are always showing each other photos of baked goods, and sharing recipes. The best afternoons are spent manically baking about eight different things – if the oven is on you might as well use it to its best ability!

On the cards today was tarts. One of our friends’ parents has a garden where ‘rhubarb grows like a weed’ and so the recipes had to involve that. I also had some asparagus left from a lovely day buying a ton of veg from Henley market, so that needed using too. We decided on two tarts, one asparagus, tomato and goats cheese, and one rhubarb and frangipane. I also HAD to show Charlotte the sourdough loaves I baked the day before, and we also found a brownie mix in the cupboard, so I guess we’re making brownies too!

Spot the dangerous teaspoon

It’s worth mentioning today’s baking was done whilst still slightly delirious after a TWO HOUR WEIGHTS SESSION…!

First up, roasting the rhubarb with some orange zest and sugar, just to remove some excess juice. Whilst this was doing its thing we whacked the brownie in the oven (baking snacks are always appreciated). We decided to cook the savoury tart first, blind baking the case with a little difficulty due to the lack of baking beans, however, floppy side disaster was thankfully remedied by propping the sides up with scrunched grease-proof. We chopped the heads off the asparagus (for the aesthetic) and converted tart to quiche (for deliciousness) as we realised pastry + asparagus + goats cheese wouldn’t hold up particularly well. We mixed the asparagus stems, tomatoes and egg together with a little yoghurt, then poured it into the casing. We debated on how best to arrange the tips and cheese, but settled on an interpretive ‘abstract flower’ pattern. Finito, and in it went to bake.

Abstract flower, pinwheel or clock? Delicious either way

While that was going, we ate half of the brownie to keep our energy up (teaspoons are dangerous) and prepared the frangipane for the sweet tart. We added chopped hazelnuts alongside the ground almonds for edginess and texture (and deliciousness). As the oven was now fully occupied, plus Imogen only has one (???!!) tart tin so we just had to wait. We were considering adding spices to the frangipane but decided to just stick with vanilla to ‘let the rhubarb speak for itself’. Finally, savoury tart was done and we could commence herringbone-ing! This was also fairly abstract, precision rhubarb trimming was required to achieve the pattern but I think we got there in the end. After a liberal sprinkling of dark brown sugar it was ready for the oven. Finishing up the pastry we made some mini rhubarb galettes, this time adding ginger and cardamom.

The savoury tart was a BIG win. The combination of the slightly sweet pastry alongside the perfectly seasoned innards meant that it was cheesy and salty and peppery and altogether delicious. The asparagus was a perfect base, the tomatoes added a different texture and colour, and the goat’s cheese was, well, as good as goat’s cheese. We only used three eggs in the large tart, and this let the veg be the centre of attention. A+ would make again. The only possible improvement we could think of was pumpkin seeds, to add another layer of texture.

The brownies were simple and great. They came out of the oven hot and we were concerned that they may become cakey. Thankfully, as we ate and the brownies cooled, they became fudgier (or maybe we just lowered our standards).

Looks like a herring to me

The rhubarb tart was good, but there’s definitely room for improvement. Part of this may be our tasting of the tart while piping hot. Frangipane tends to develop in flavour over time, so we will have to retaste once the tart is cold (what a terrible breakfast), but initial bites weren’t as nutty as we would have liked. The rhubarb was nice and tart, and the herringbone pattern was ok, but could have been neater. It would have also been more aesthetic if it had been forced rhubarb, giving us a brighter pink colour.

The mini galettes were nice, little mouthfuls of tart rhubarb, with lovely aromas of ginger and cardamom coming off them. Not much more to say.

Recipes used: Tart pastry from Salt Fat Acid Heat, frangipane from Ottolenghi’s plum and frangipane tart, brownie mix from back of the cupboard, and the rest from our imaginations!